10,000 Words: Stable Diffusion Nanny Tutorials
2022 is definitely the year of the AI explosion, preceded by thestability.ai expand one’s financial resourcesStable Diffusion model, followed byOpen AI postChatGPTThe two are milestone node event, its importance is no less than when Apple released the iPhone, Google launched Android. they make AI is no longer a remote technical terms, but reachable, real intelligent application tools.
Unlike ChatGPT, which can be experienced directly, Stable Diffusion needs to be deployed on its own before it can be used, so not many people in China know about it yet. But Stable Diffusion is definitely a ChatGPT-level killer product in the field of AI image generation – it’s super easy to use, completely open source and free of charge, and generates images that are fake and shocking. Today, I’m going to teach you how to run Stable Diffusion locally step by step with a 10,000-word nanny tutorial, and show you how to generate AI-generated images that are as good as the real thing.
Article Catalog
What is Stable Diffusion
Stable Diffusion is a Latent Diffusion Model (LDM) that generates detailed images from text descriptions. It can also be used for tasks such as image restoration, image drawing, text to image and image to image. In simple words, we just need to give the textual description of the desired image in mentioning Stable Diffusion to generate a realistic image that meets your requirements!
Stable Diffusion converts the “image generation” process into a “diffusion” process that gradually removes noise, starting with random Gaussian noise, and gradually removing the noise through training until there is no more noise, and ultimately outputs an image that more closely matches the description of the text. The final output is an image closer to the text description. The disadvantage of this process is that the denoising process is very time and memory consuming, especially when generating high resolution images.Stable Diffusion introduces potential diffusion to solve this problem. Potential diffusion reduces the memory and computational cost by applying the diffusion process on a lower dimensional potential space instead of using the actual pixel space.
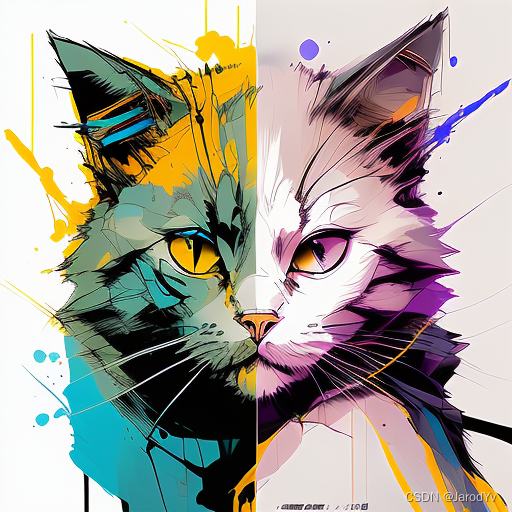
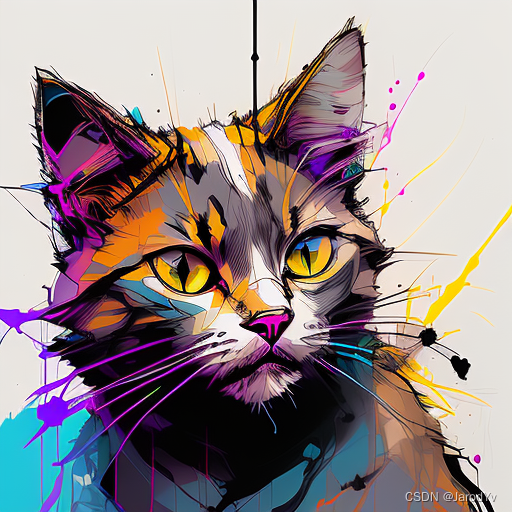
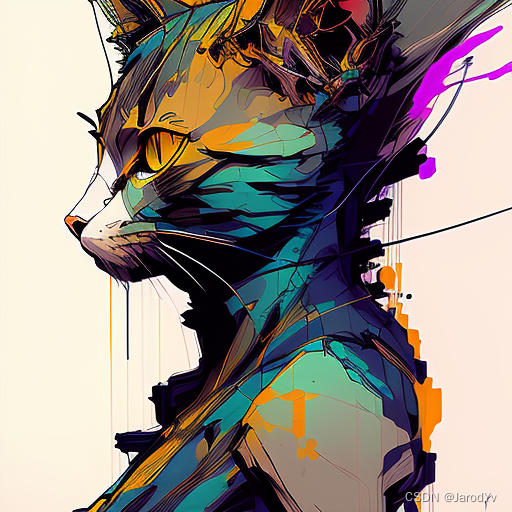
The biggest advantages of Stable Diffusion over DALL-E and Midjourney areexpand one’s financial resourcesThis means that Stable Diffusion has a lot of potential and is growing rapidly; it is already integrated with many tools and platforms and has a large number of pre-trained models available (seeStable Diffusion Resource List). It’s the active community that makes Stable Diffusion great at generating images in a variety of styles, so feel free to show a few of the images I’ve generated:
 | 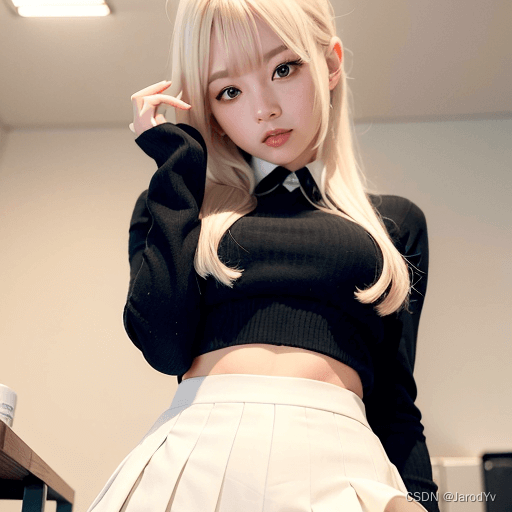 |  |
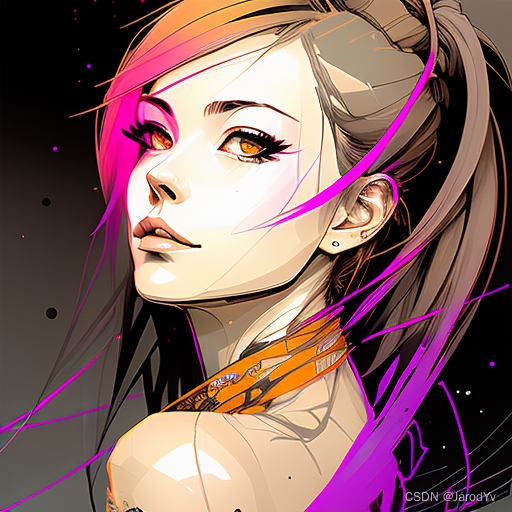 | 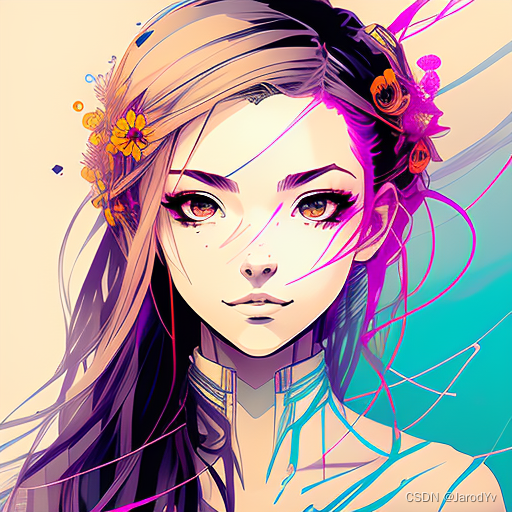 | 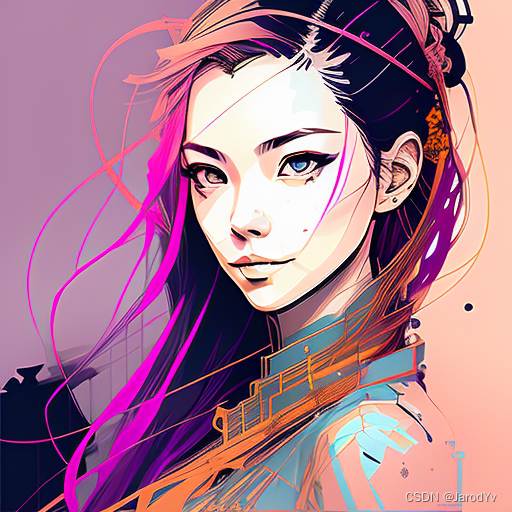 |
 |  |  |
Core concepts
In order to facilitate a better understanding of what follows, a few core concepts in Stable Diffusion are briefly explained below.For detailed principles of Stable Diffusion, please seeThe Principles of Stable Diffusion Explained.。
Auto Encoder
The VAE consists of two main components: an encoder and a decoder. The encoder converts the image to a low-dimensional latent representation (pixel space -> latent space), which will be passed as input to U_Net. the decoder does the opposite, converting the latent representation back to an image (latent space -> pixel space).

U-Net
U-Net also consists of an encoder and a decoder, both of which are composed of ResNet blocks. The encoder compresses the image representation into a lower resolution image and the decoder decodes the lower resolution back into a higher resolution image.
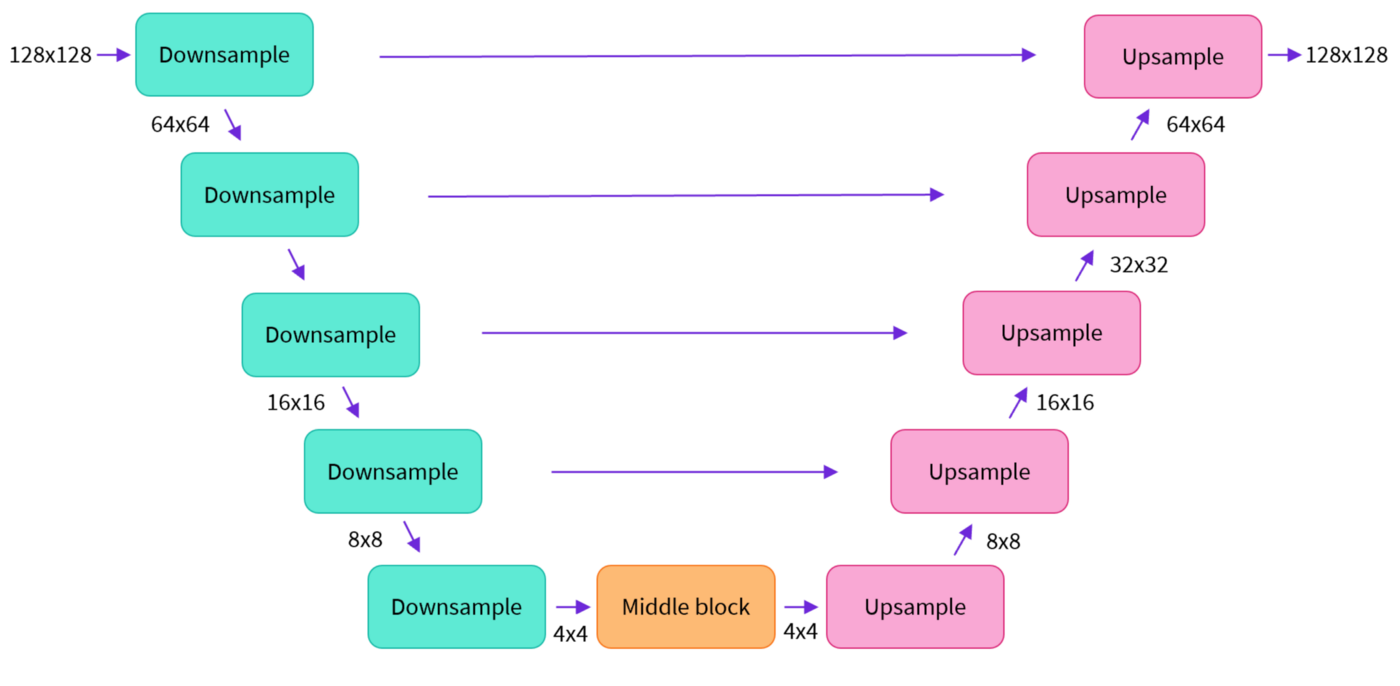
To prevent U-Net from losing important information during downsampling, it is common to add a shortcut connection between the downsampled ResNet of the encoder and the upsampled ResNet of the decoder.
In addition, the U-Net in Stable Diffusion is able to adjust its output on text embeddings by means of a cross-attention layer. The cross-attention layer is added to the encoder and decoder parts of the U-Net, usually between ResNet blocks.
text encoder
A text encoder transforms input cues into an embedding space that U-Net can understand. Typically a simple Transformer-based encoder that maps a sequence of tokens to a sequence of potential text embeddings.
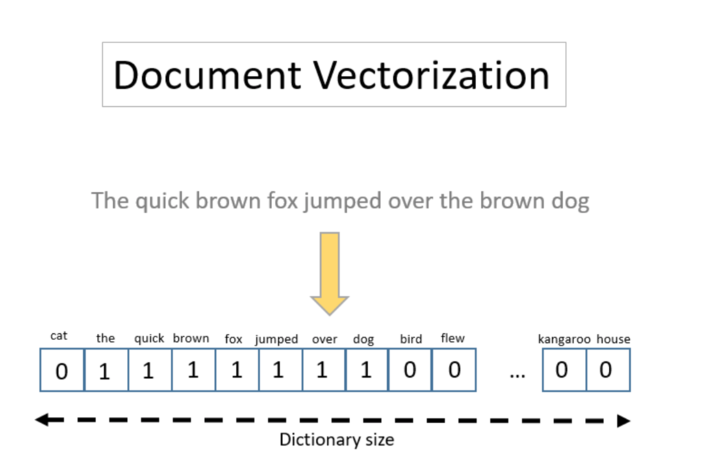
Good prompts are intuitively important to the quality of the output, which is why there is so much emphasis on prompt design. Prompt design is about finding keywords or expressions that allow the prompt to trigger the model to produce output with the desired properties or effects.
process of reasoning
The general workflow of Stable Diffusion is as follows:
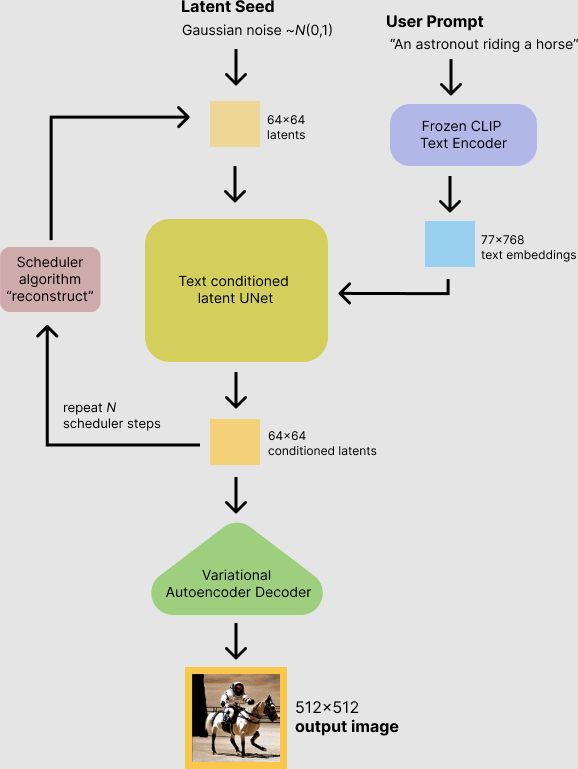
First, the Stable Diffusion model takes the latent seed and the text cue as inputs. The latent seed is then used to generate a random latent image representation of size 64×64, while the textual cues are converted to 77×768 textual embeddings by the CLIP text encoder.
Next, U-Net iteratively denoises random potential image representations conditional on text embedding. The output of U-Net is the noise residual, which is used to compute the denoised potential image representation by the scheduling algorithm. The scheduling algorithm computes the predicted denoised image representation based on the previous noise representation and the predicted noise residuals. Here there are many scheduling algorithms available and each algorithm has its own advantages and disadvantages, for Stable Diffusion the following are recommended:
The denoising process is repeated about 50 times to gradually retrieve better potential image representations. Upon completion, the potential image representation is decoded by the decoder portion of the variational autoencoder.
The overall process can be represented by the following flowchart:
Quickly experience Stable Diffusion
If you don’t want to build your own Stable Diffusion environment, or if you want to experience the power of Stable Diffusion before deploying it on your own, you can try the following 5 free tools:
1. Dream Studio
DreamStudio is the creator of Stable DiffusionStability AIThe official web application of the
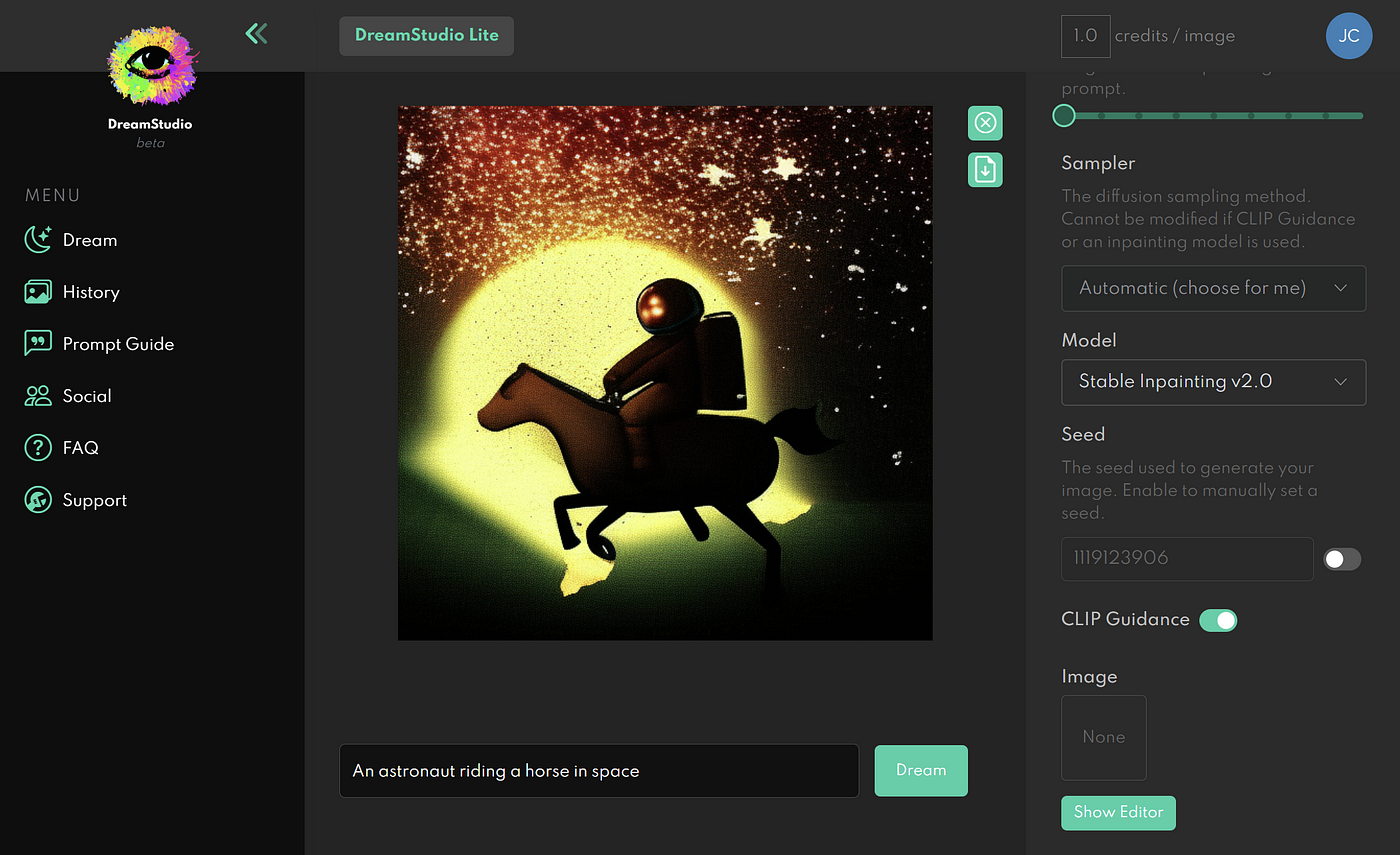
The biggest advantage is that it is official and supports all models under stability.ai, including the newly released Stable Diffusion v2.1.
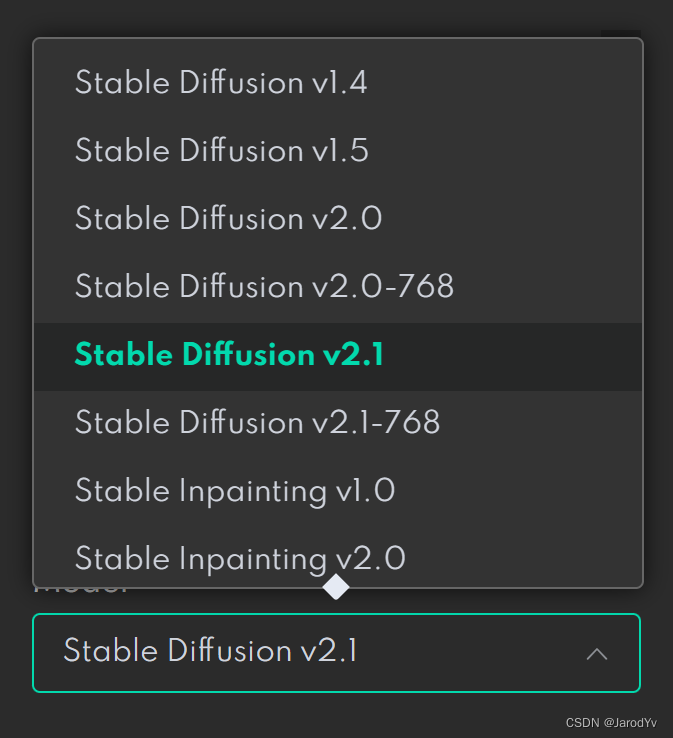
Using Dream Studio to generate images need to consume points, registration is a free gift of points, used to experience the basic enough. If you want to generate more pictures you can spend 10 dollars to buy points, about 1000 pictures can be generated.
2. Replicate
Replicateis a machine learning model sharing platform where you can share or use the models above via an API.
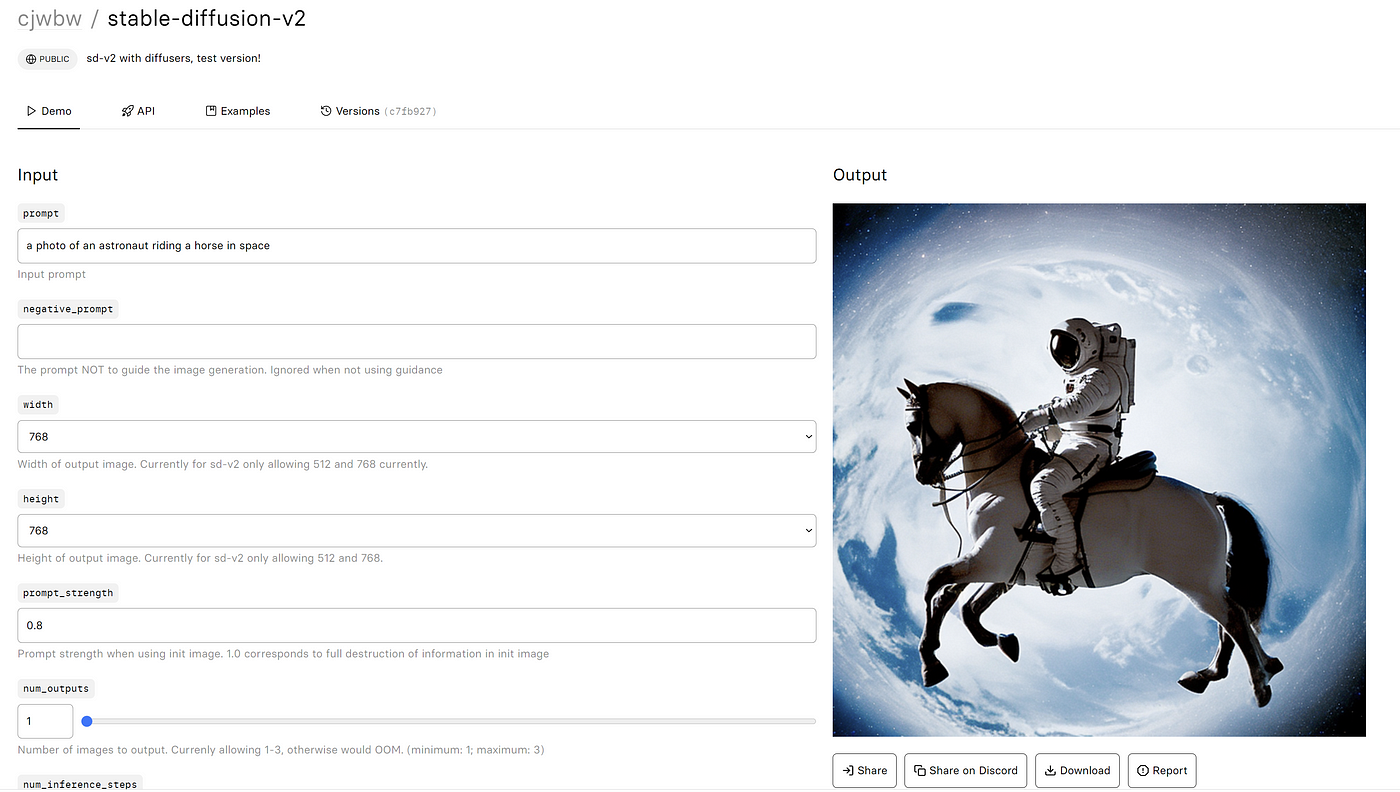
godcjwbwShared on ReplicateStable Diffusion v2.0models that you can test for free.
3. Playground AI
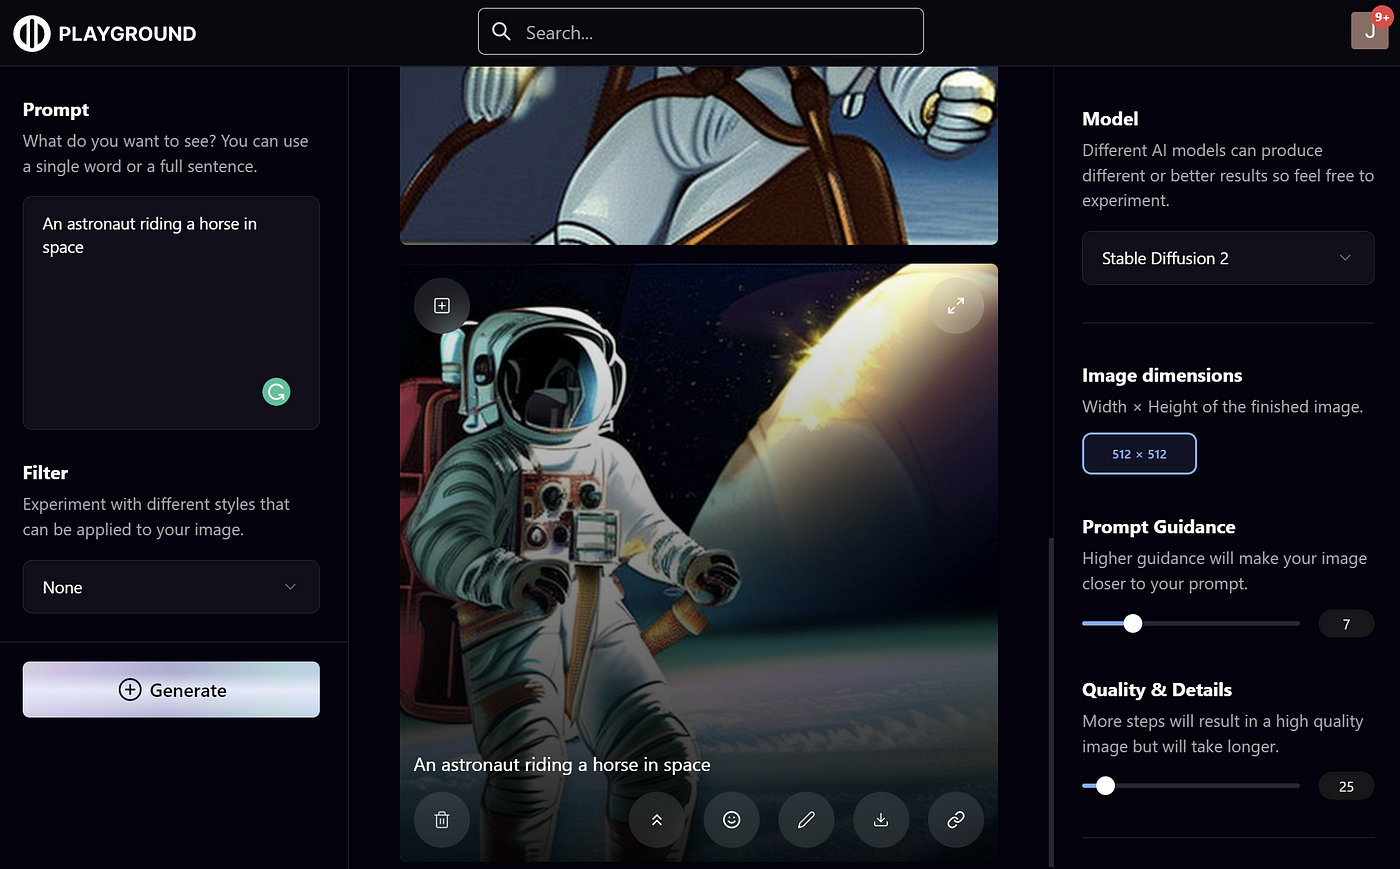
Playground AIIt is a website that focuses on AI image generation with a wide range of features and models. It has also recently gone live with the latest Stable Diffusion v2.1, which can be used for free but is limited to generating up to 1,000 images per user per day.
4. Google Colab
If you’re a data engineer or algorithm engineer, you might prefer to use Stable Diffusion in Jupyter Notebook.Anzor Qunash shared on Google ColabStable Diffusion 2.0 Colab(updated to 2.1), you can just copy it over and use it.
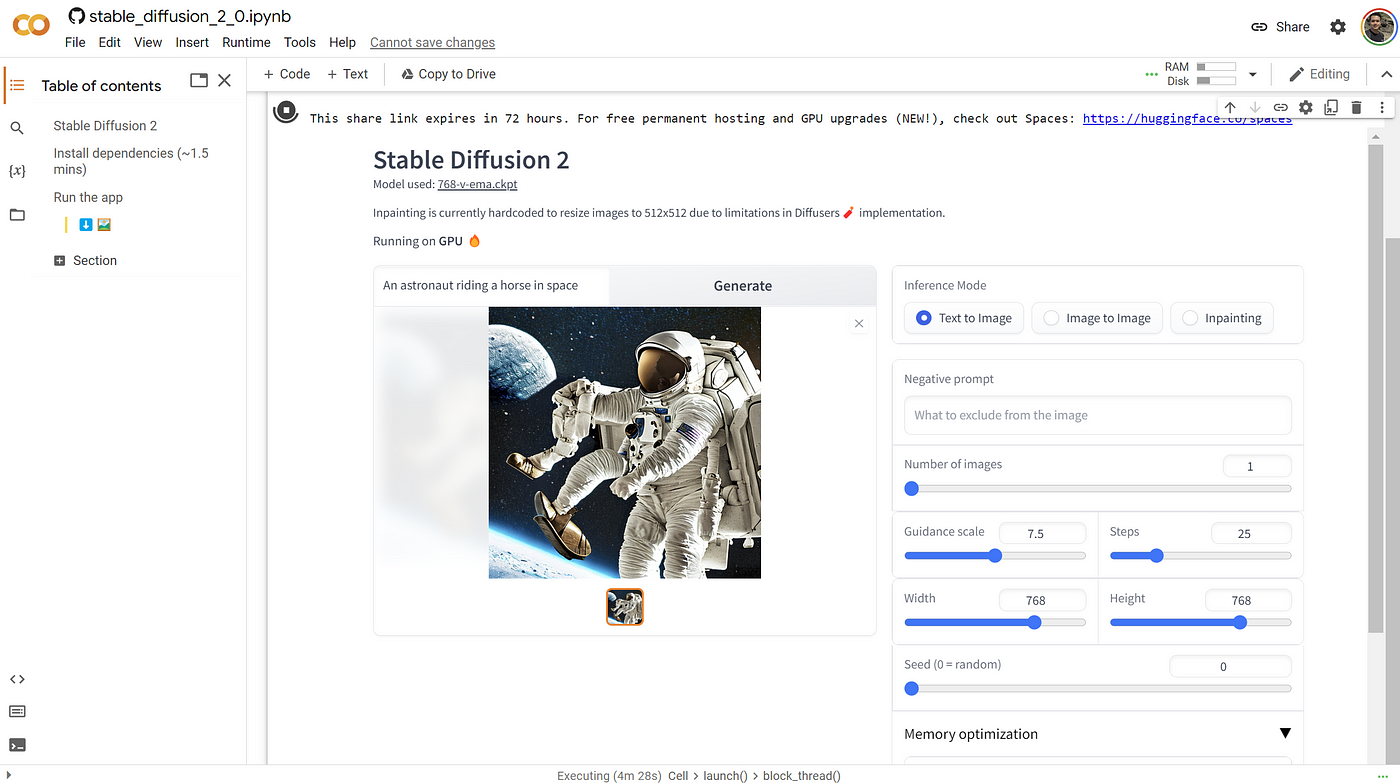
The Notebook is built with a gradio interface, just click the run button and the Gradio UI interface will be displayed. Then, you can generate any number of images on it, and you can adjust the parameters to control the generation effect.
5. BaseTen
Basetenis an MLOps platform for startups to rapidly develop, deploy, and test models in the production phase.BaseTen recently released API support for Stable Diffusion with ademo page。
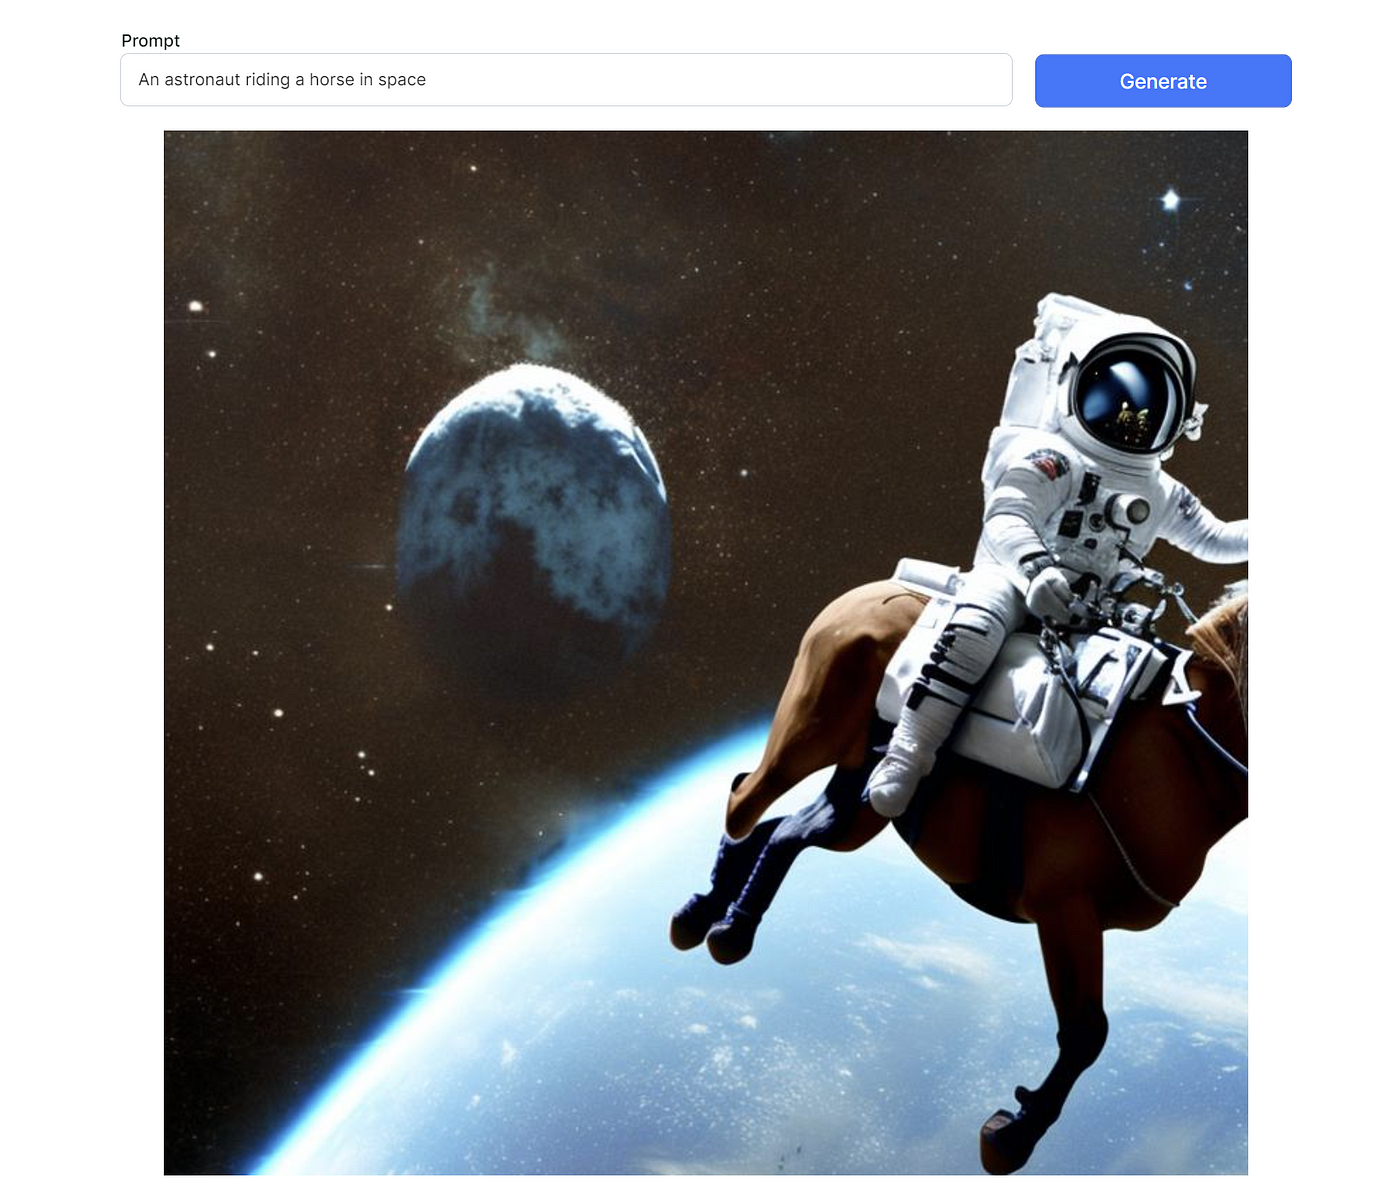
The tool is very simple, with only a text box and a generate button, no other parameters to adjust, and no limit on the number of generators.
Home department Stable Diffusion
The easiest way to deploy Stable Diffusion locally is to use theStable Diffusion Web Ui。
Stable Diffusion Web Ui is a code-free, visualized Stable Diffusion integrated runtime environment. It integrates and packages the installation and deployment of Stable Diffusion, provides one-click installation scripts, and provides a Web UI operation interface, which greatly simplifies the operation and use of Stable Diffusion, and makes it easy for no one who doesn’t know how to code to get started with the Stable Diffusion model.
System Configuration Requirements
Stable Diffusion is still quite resource-intensive, and therefore has some requirements for the underlying hardware.
- NVIDIA GPU at least 4GB video memory
- At least 10GB of available hard disk space
The above configuration is the basic requirements for Stable Diffusion to run, if you want to generate fast, the graphics card configuration is naturally the higher the better, the best video memory is also up to 8G. the recommended configuration is best not less than:
- NVIDIA RTX GPU with at least 8GB of video memory
- At least 25GB of available hard disk space
If the local machine configuration can not reach, you can consider using cloud web hosting. Currently the most economical is AWS’s g4dn.xlarge, ¥3.711/hour.
environmental preparation
Stable Diffusion Web Ui is developed in Python and is completely open source, so before we can run Stable Diffusion Web Ui, we need to install Git to pull the Stable Diffusion Web Ui source code and install Python.
Installing Git
Gitis an open source distributed version control system. Git is installed here to get the code for Stable Diffusion Web Ui. Of course, if we don’t install Git, we can also access the code via theCode package download linkDownload the code for Stable Diffusion Web Ui directly, but the code obtained this way cannot be subsequently updated, and every time Stable Diffusion Web Ui is upgraded, you have to re-download the code to overwrite the old version of the code. Git is very convenient, you can download the code via theclonecommand to get the code from the code base via thegit pullUpdate to the latest version of the code.
Git is easy to install, just go toGit Download PageDownload the corresponding platform installation package can be installed (Linux distributions generally come with Git can not be installed).
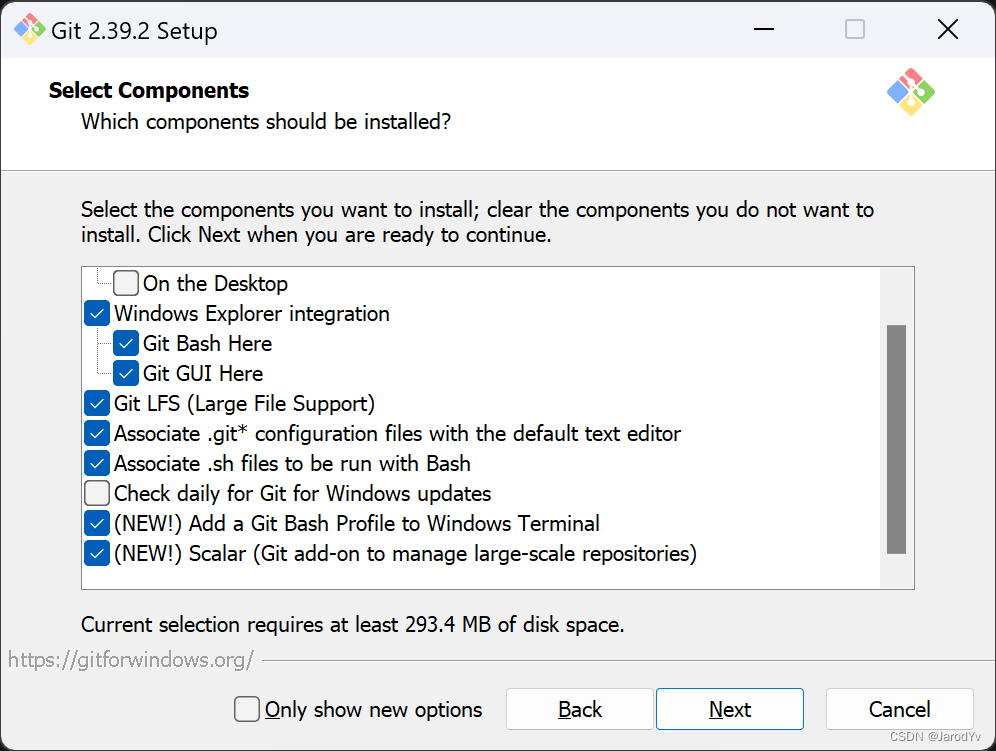
For Windows users, please note that you should check the “Add a Git Bash Profile to Windows Terminal” box on the installation configuration screen during installation.
Installing Python
There are many ways to install Python, here is the recommended way to install Python via theMinicondato install. There are several advantages to using Miniconda:
- Easy to create and manage multiple Python virtual environments. I recommend that each Python project creates its own separate set of Python virtual environments to prevent incorrect versions of python environments or libraries from causing the code to run incorrectly.
- Miniconda size is very small, only conda + python + pip + zlib and some other commonly used packages, small and flexible.
All you have to do is go toMiniconda Download PageJust download the installer for your platform, the latest Miniconda includesPython 3.10.9。
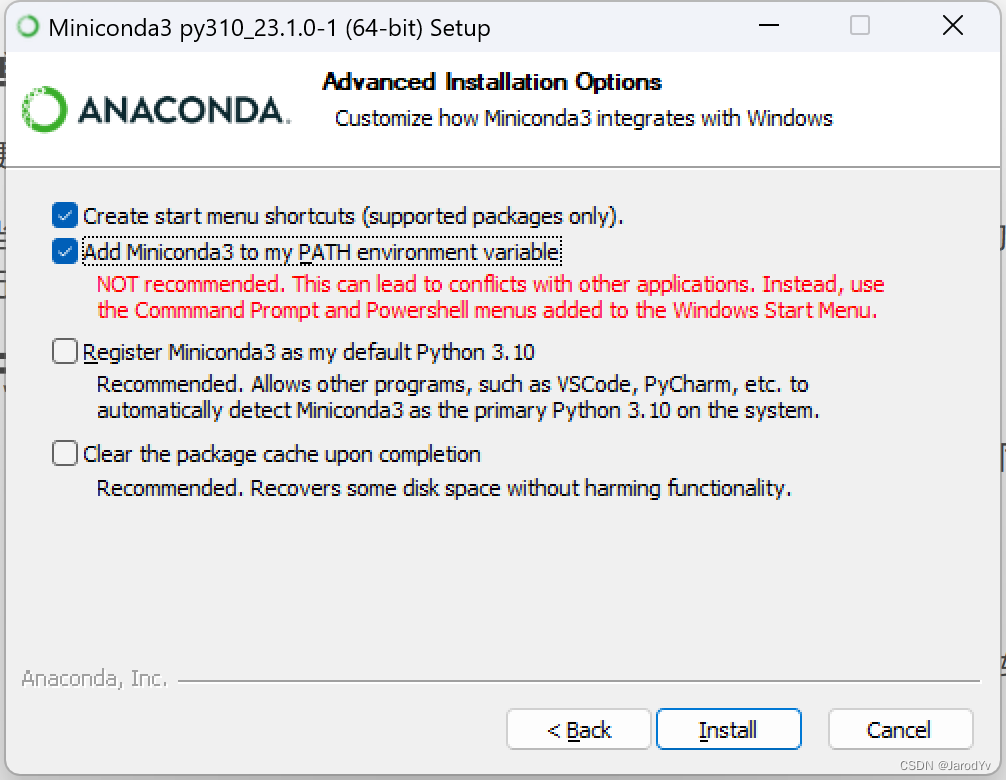
After downloading the installer, just double-click it to install it (the Linux version runs the downloaded shell script in the Shell.) For Windows users, please note that when you see the following screen, be sure to check the first option to add Miniconda to the environment variable PATH.
Configuration of domestic sources
Since the Python third-party libraries come from foreign sources, installing the libraries using the domestic network will result in slow downloads and lags, which not only delays the installation, but also makes it easy to fail. Therefore, we need to replace the installation source of conda with a domestic mirror, which can greatly improve the download speed and installation success rate. Here we recommend Tsinghua source, execute the following command to add:
conda config --add channels https://mirrors.tuna.tsinghua.edu.cn/anaconda/pkgs/free/
After successful addition you can add a new file via theconda config --show-sourcesView Current Source
channels:
  - https://mirrors.tuna.tsinghua.edu.cn/anaconda/pkgs/free/
  - defaults
show_channel_urls: True
In addition to Tsinghua source, you can also add CSU source or Aliyun source
Source of CSU
conda config –add channels https://mirrors.ustc.edu.cn/anaconda/pkgs/free/
AliCloud's source
conda config --add channels http://mirrors.aliyun.com/pypi/simple/
Finally, runconda clean -iClear the index cache to ensure that you are using the index provided by the mirror site.
Install the Stable Diffusion Web Ui
Once the environment is configured, we can start installing Stable Diffusion Web Ui.
First download the source code for Stable Diffusion Web Ui from GitHub:
git clone https://github.com/AUTOMATIC1111/stable-diffusion-webui.gitAfter the download is complete.cd stable-diffusion-webuiGo to the project directory of Stable Diffusion Web Ui, where you will see thewebui.batandwebui.shThese two files, these two files are the installation scripts for Stable Diffusion Web Ui.
- If you’re on Windows, just double-click and run it!
webui.batfile - If you are on a Linux system, run in the console
./webui.sh - If you’re on a Mac, use the same method as Linux
The installation script will automatically create a Python virtual environment and start downloading and installing the missing dependency libraries. This process may take a while, so please be patient. If the installation fails in the middle of the process, most likely due to a network connection timeout, you can re-execute the installation script, which will continue the installation from the last download location. Until you see the
Running on local URL: http://127.0.0.1:7860Indicates that Stable Diffusion Web Ui was installed successfully.
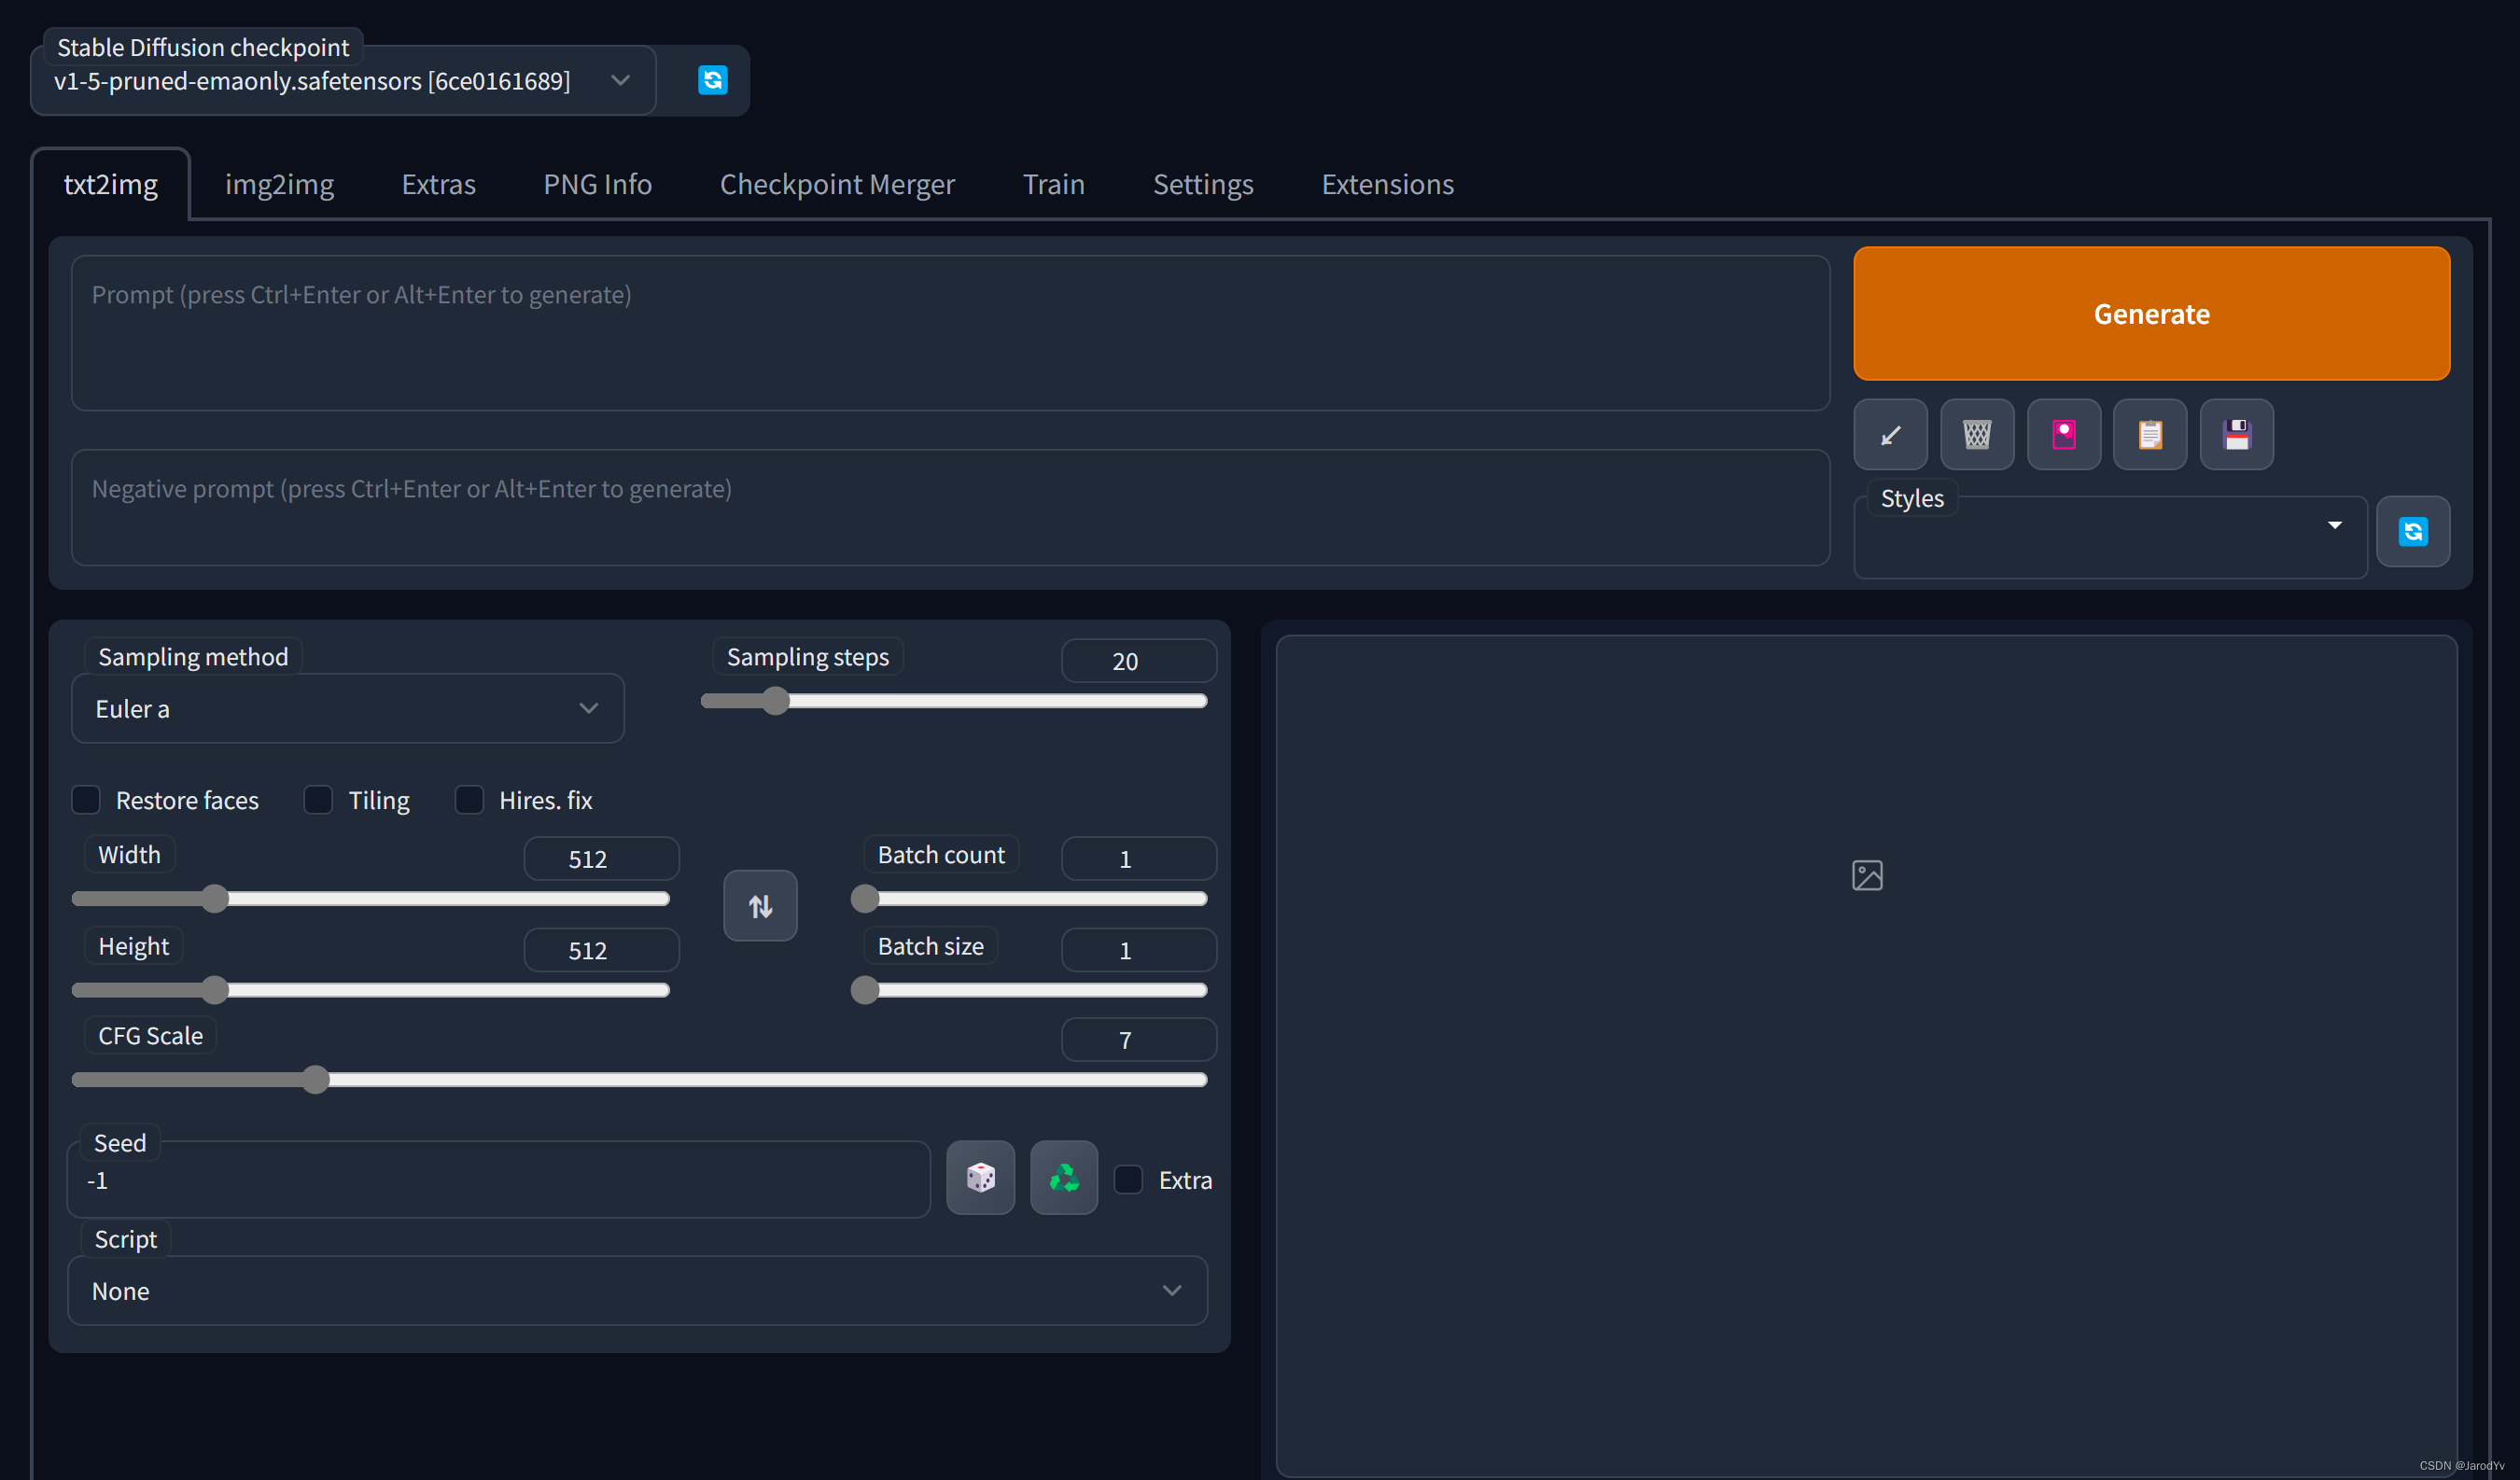
Open with your browserhttp://127.0.0.1:7860You’ll see the Stable Diffusion Web Ui interface.
Model Installation
The Stable Diffusion Web Ui installation process will download the Stable Diffusion v1.5 model by default, with the name v1-5-pruned-emaonly. if you want to use the latest Stable Diffusion v2.1, you can download the official version from Hugging Facestabilityai/stable-diffusion-2-1. After downloading, copy the model tomodelsdirectory of theStable-diffusioncatalog will do. When you are done, click the Refresh button in the upper left corner of the page to see the newly added model in the model drop-down list.

In addition to the standard model, Stable Diffusion has several other types of models, themodelsEach subdirectory of a directory is a type of model, the most used of which is the LoRA model.
The LoRA (Low-Rank Adaptation) model is a small stable diffusion model that can be fine-tuned to the standard model. It is usually 10-100 times smaller than the standard model, which makes the LoRA model a good balance between file size and training effect.LoRA can’t be used alone, it needs to be used in conjunction with the standard model, and this combination of use also brings great flexibility to Stable Diffusion.
The LoRA model needs to be downloaded and placed in theLoradirectory, use the LoRA syntax in the prompt with the following syntax format:
<lora:filename:multiplier>filenameis the filename of the LoRA model (without file suffix)
multiplier is the weight of the LoRA model, the default value is 1. Setting it to 0 will disable the model.
For rules on the use of Stable Diffusion tips seehere are。
Use a Stable Diffusion Web Ui
Introduction to the interface
The Stable Diffusion Web Ui is divided into 2 parts overall, the top one being theModel SelectionYou can select a downloaded pre-trained model from the drop-down list.

Below the model selection is a Tab bar where all the features offered by Stable Diffusion Web Ui are located.

- txt2img – Generate images based on text prompts;
- img2img – Generate an image based on the provided image as a model, combined with textual prompts;
- Extras – Optimized (clear, expanded) images;
- PNG Info – Displaying basic image information
- Checkpoint Merger – Model consolidation
- Train – Train a model with a certain image style based on the provided images
- Settings – System Settings
Usually the most usedtxt2img respond in singingimg2imgThe following is a detailed explanation of these 2 major features.
txt2img
txt2img has three regions:
- refreshment zone
- Parameter Adjustment Area
- Output Browsing Area
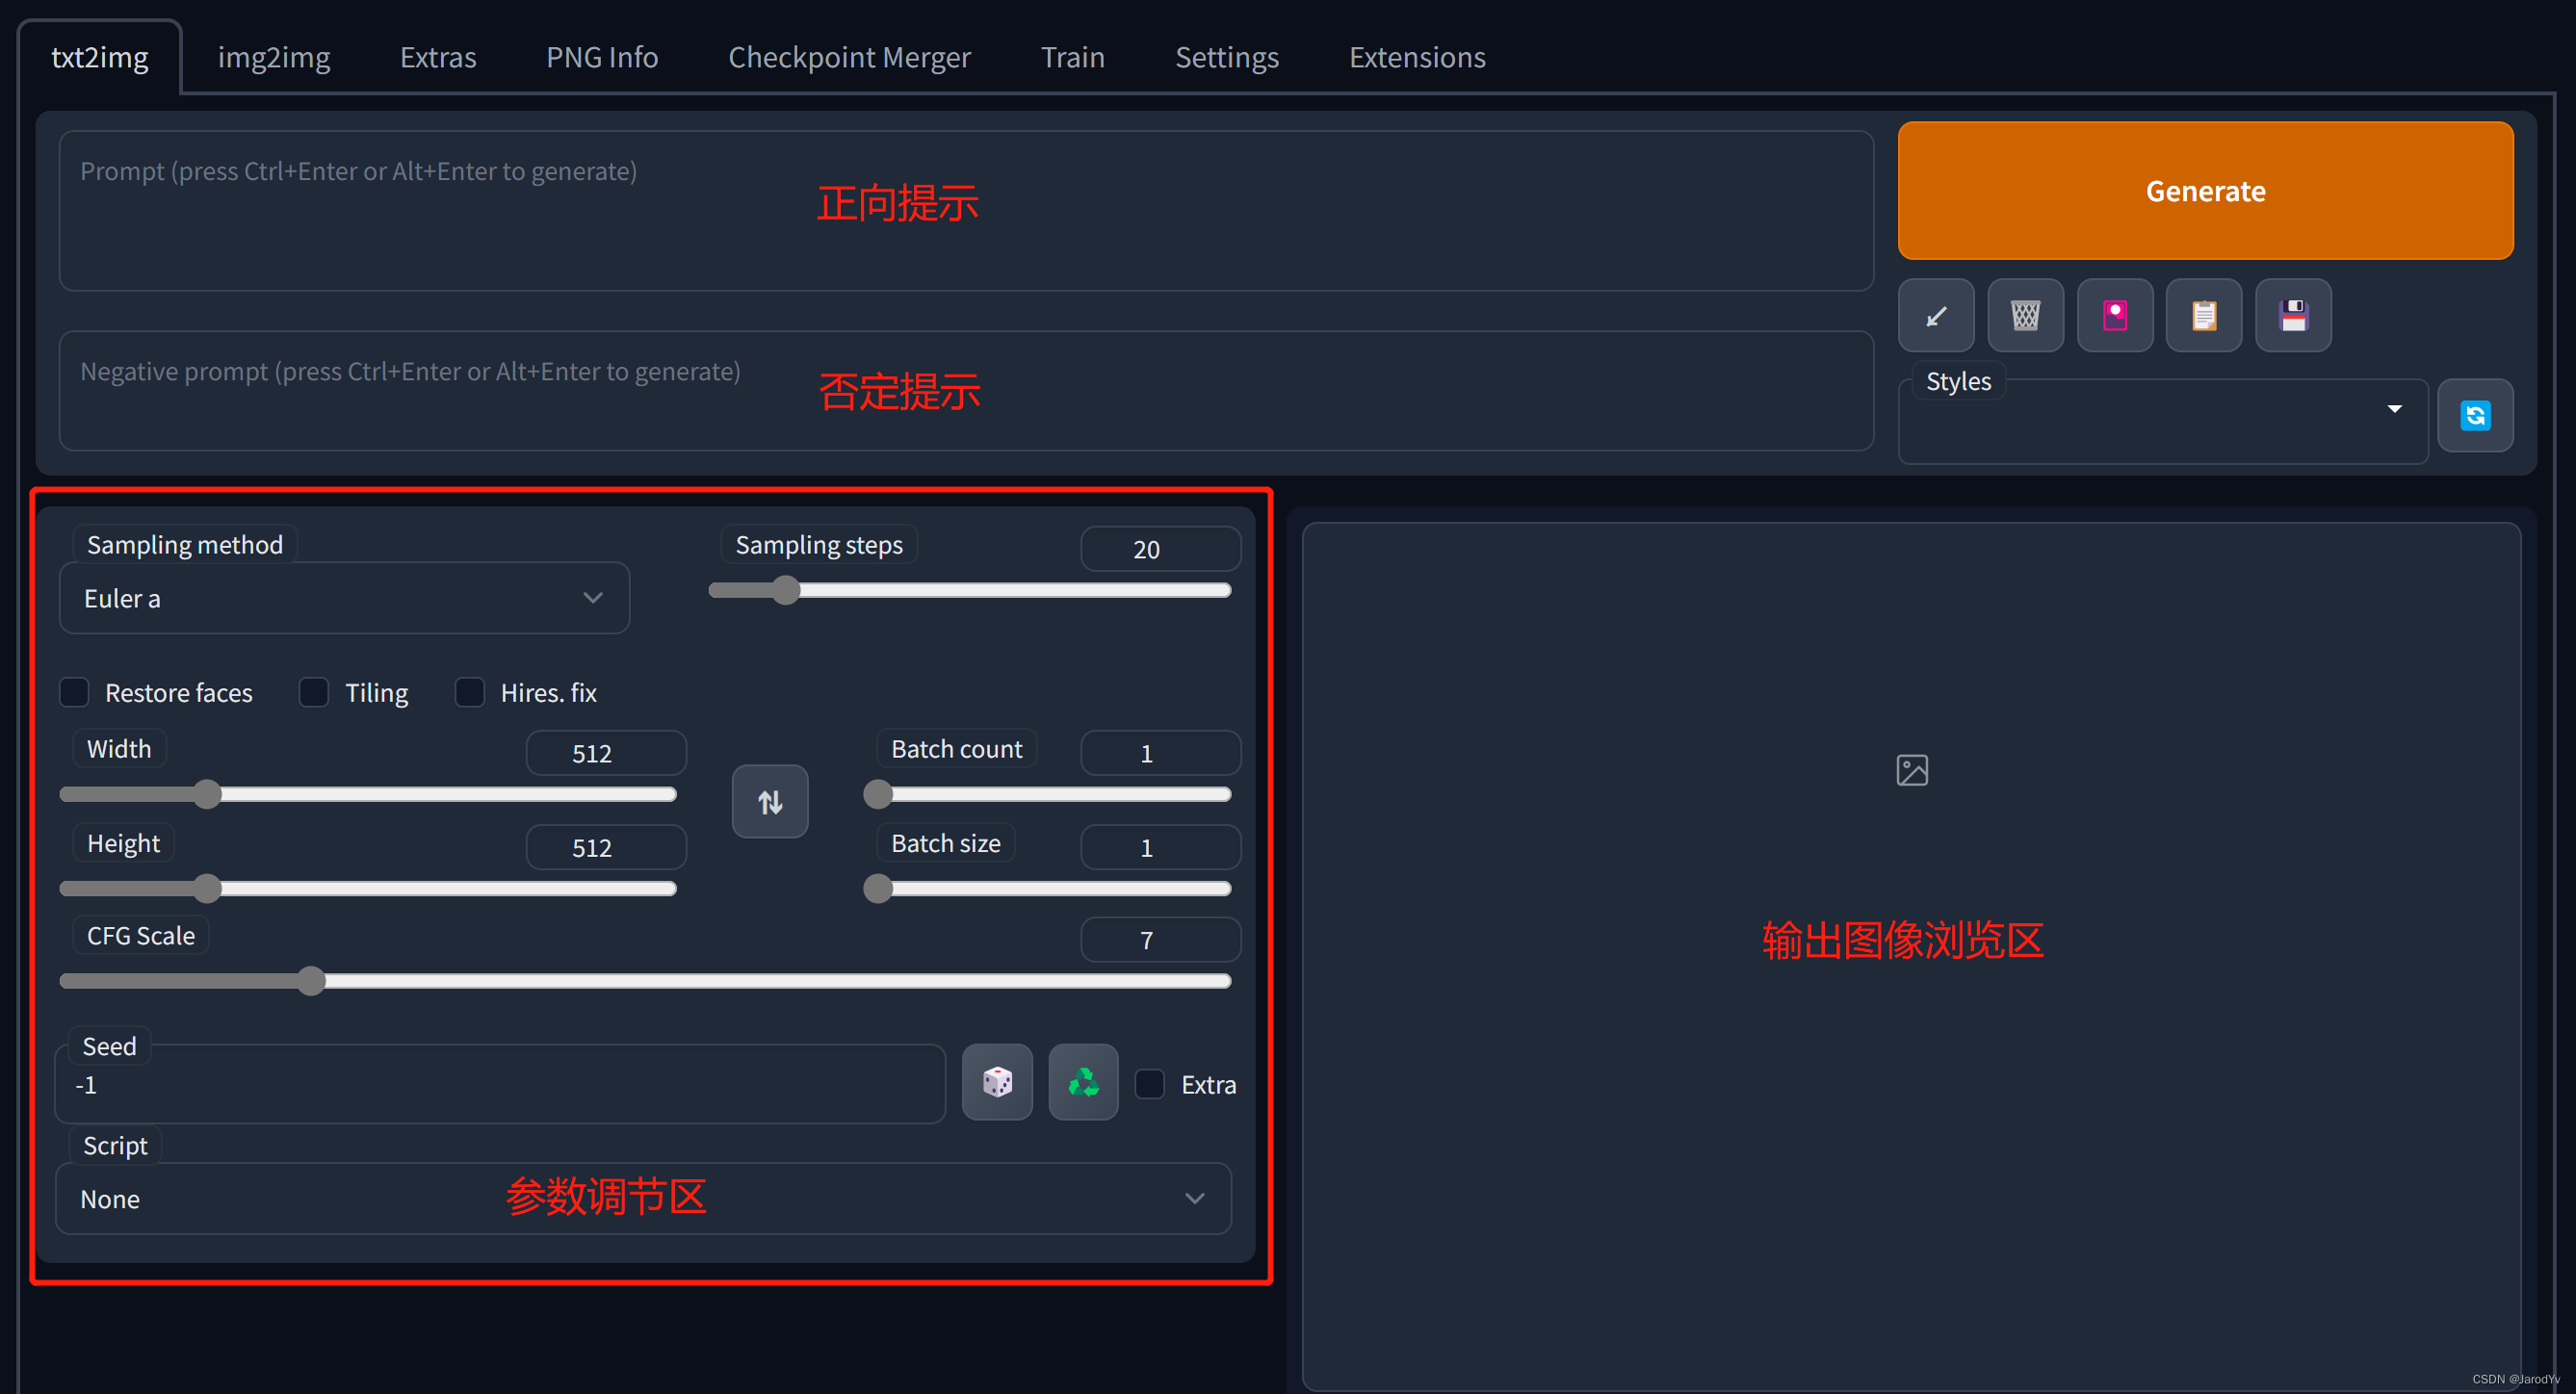
The prompt area is mainly 2 text boxes where you can enter the prompt text. One of them:
prompt: The main purpose is to describe the image. prompt is critical to the quality of Stable Diffusion image generation, so if you want to generate high quality images, you must work hard on the prompt design. A good prompt needs to be detailed and specific, and later we will specifically explain how to design a good prompt.
Negative prompt: The main thing is to tell the model what kind of style or elements I don’t want;
The Parameter Adjustment area provides a large number of parameters for controlling and optimizing the generation process:
Sampling method: Sampling modes of diffusion denoising algorithm, different sampling modes will bring different effects, specific need to be tested in the actual use of the test;
Sampling steps: The number of iterative steps the model takes to generate the image, with each additional iteration giving the AI more opportunities to compare the prompt with the current result to further adjust the image. Higher step counts require more computation time, but do not necessarily mean better results. Of course, not enough iterations will definitely reduce the quality of the output image;
Width、Height: output image width and height, the larger the size of the picture the more resources consumed, small video memory to pay special attention. Generally it is not recommended to set it too big, because it can be enlarged by Extras after generation;
Batch count、 Batch size: The control generates several graphs, the former takes a long time to compute and the latter requires a large amount of video memory;
CFG Scale: A classifier free bootstrap scale to control how well the image agrees with the cue, with lower values producing more creative content;
Seed: Random seed, as long as the seed is the same, the parameters and model are unchanged, the body of the generated image will not change drastically, suitable for fine-tuning the generated image;
Restore faces: Optimize Face, you can check this option when you are not satisfied with the generated face;
Tiling: Generate an image that can be tiled;
Highres. fix: Generated using a two-step process that creates an image at a smaller resolution and then improves the details in it without changing the composition, checking this option gives a new set of parameters, the important ones being:
Upscaler: Scaling algorithm;
Upscale by: Magnification;
Denoising strength: Determines how well the algorithm retains the content of the image. 0 changes nothing, 1 results in a completely different image;
img2img
img2img and txt2img interface is similar, the difference is that there is no txt2img in the parameter adjustment area, instead of the image model area.
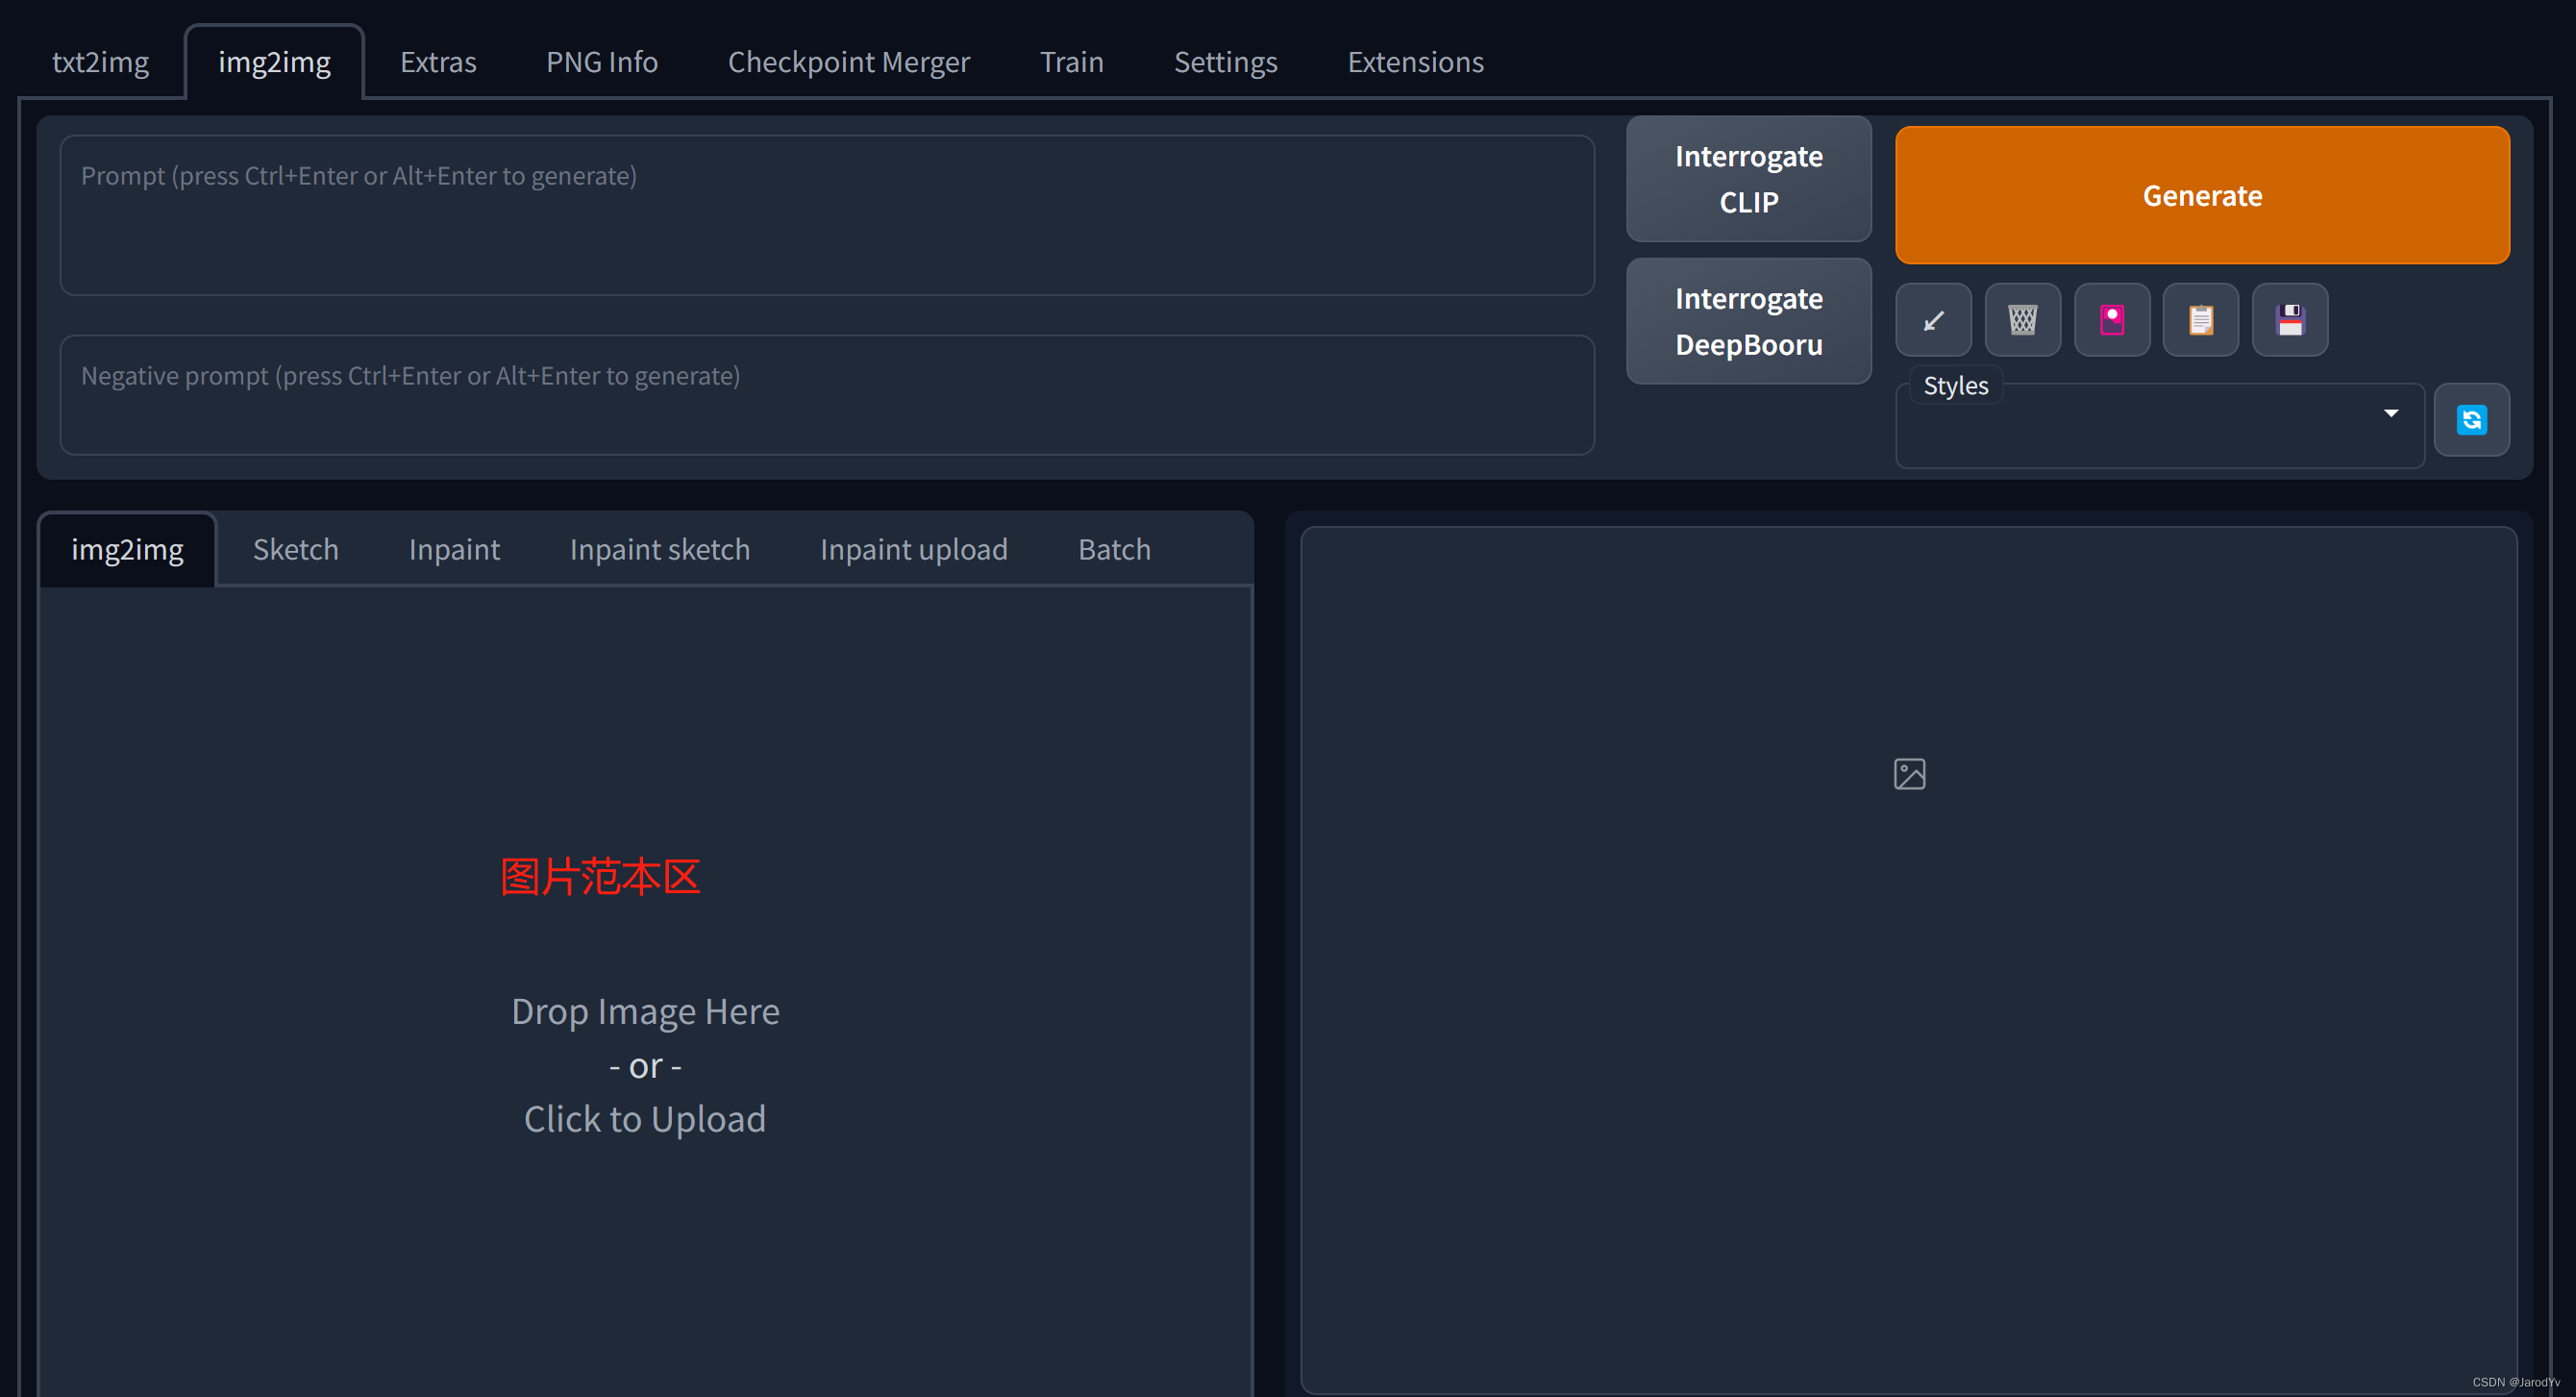
We can upload the model image for Stable Diffusion to mimic, otherwise it’s the same as txt2img
Chinese characterization of the interface
pass (a bill or inspection etc)here areDownload the Simplified Chinese language file and copy it to the “localizations” directory of your project folder. After that, in Settings -> User interface -> Localization (requires restart), select zh_CN in the drop-down list, if you can’t see zh_CN in the drop-down list, please click the refresh button on the right side first, then you can see it in the drop-down list. Remember to click the “Apply settings” button at the top of the page to save the settings.
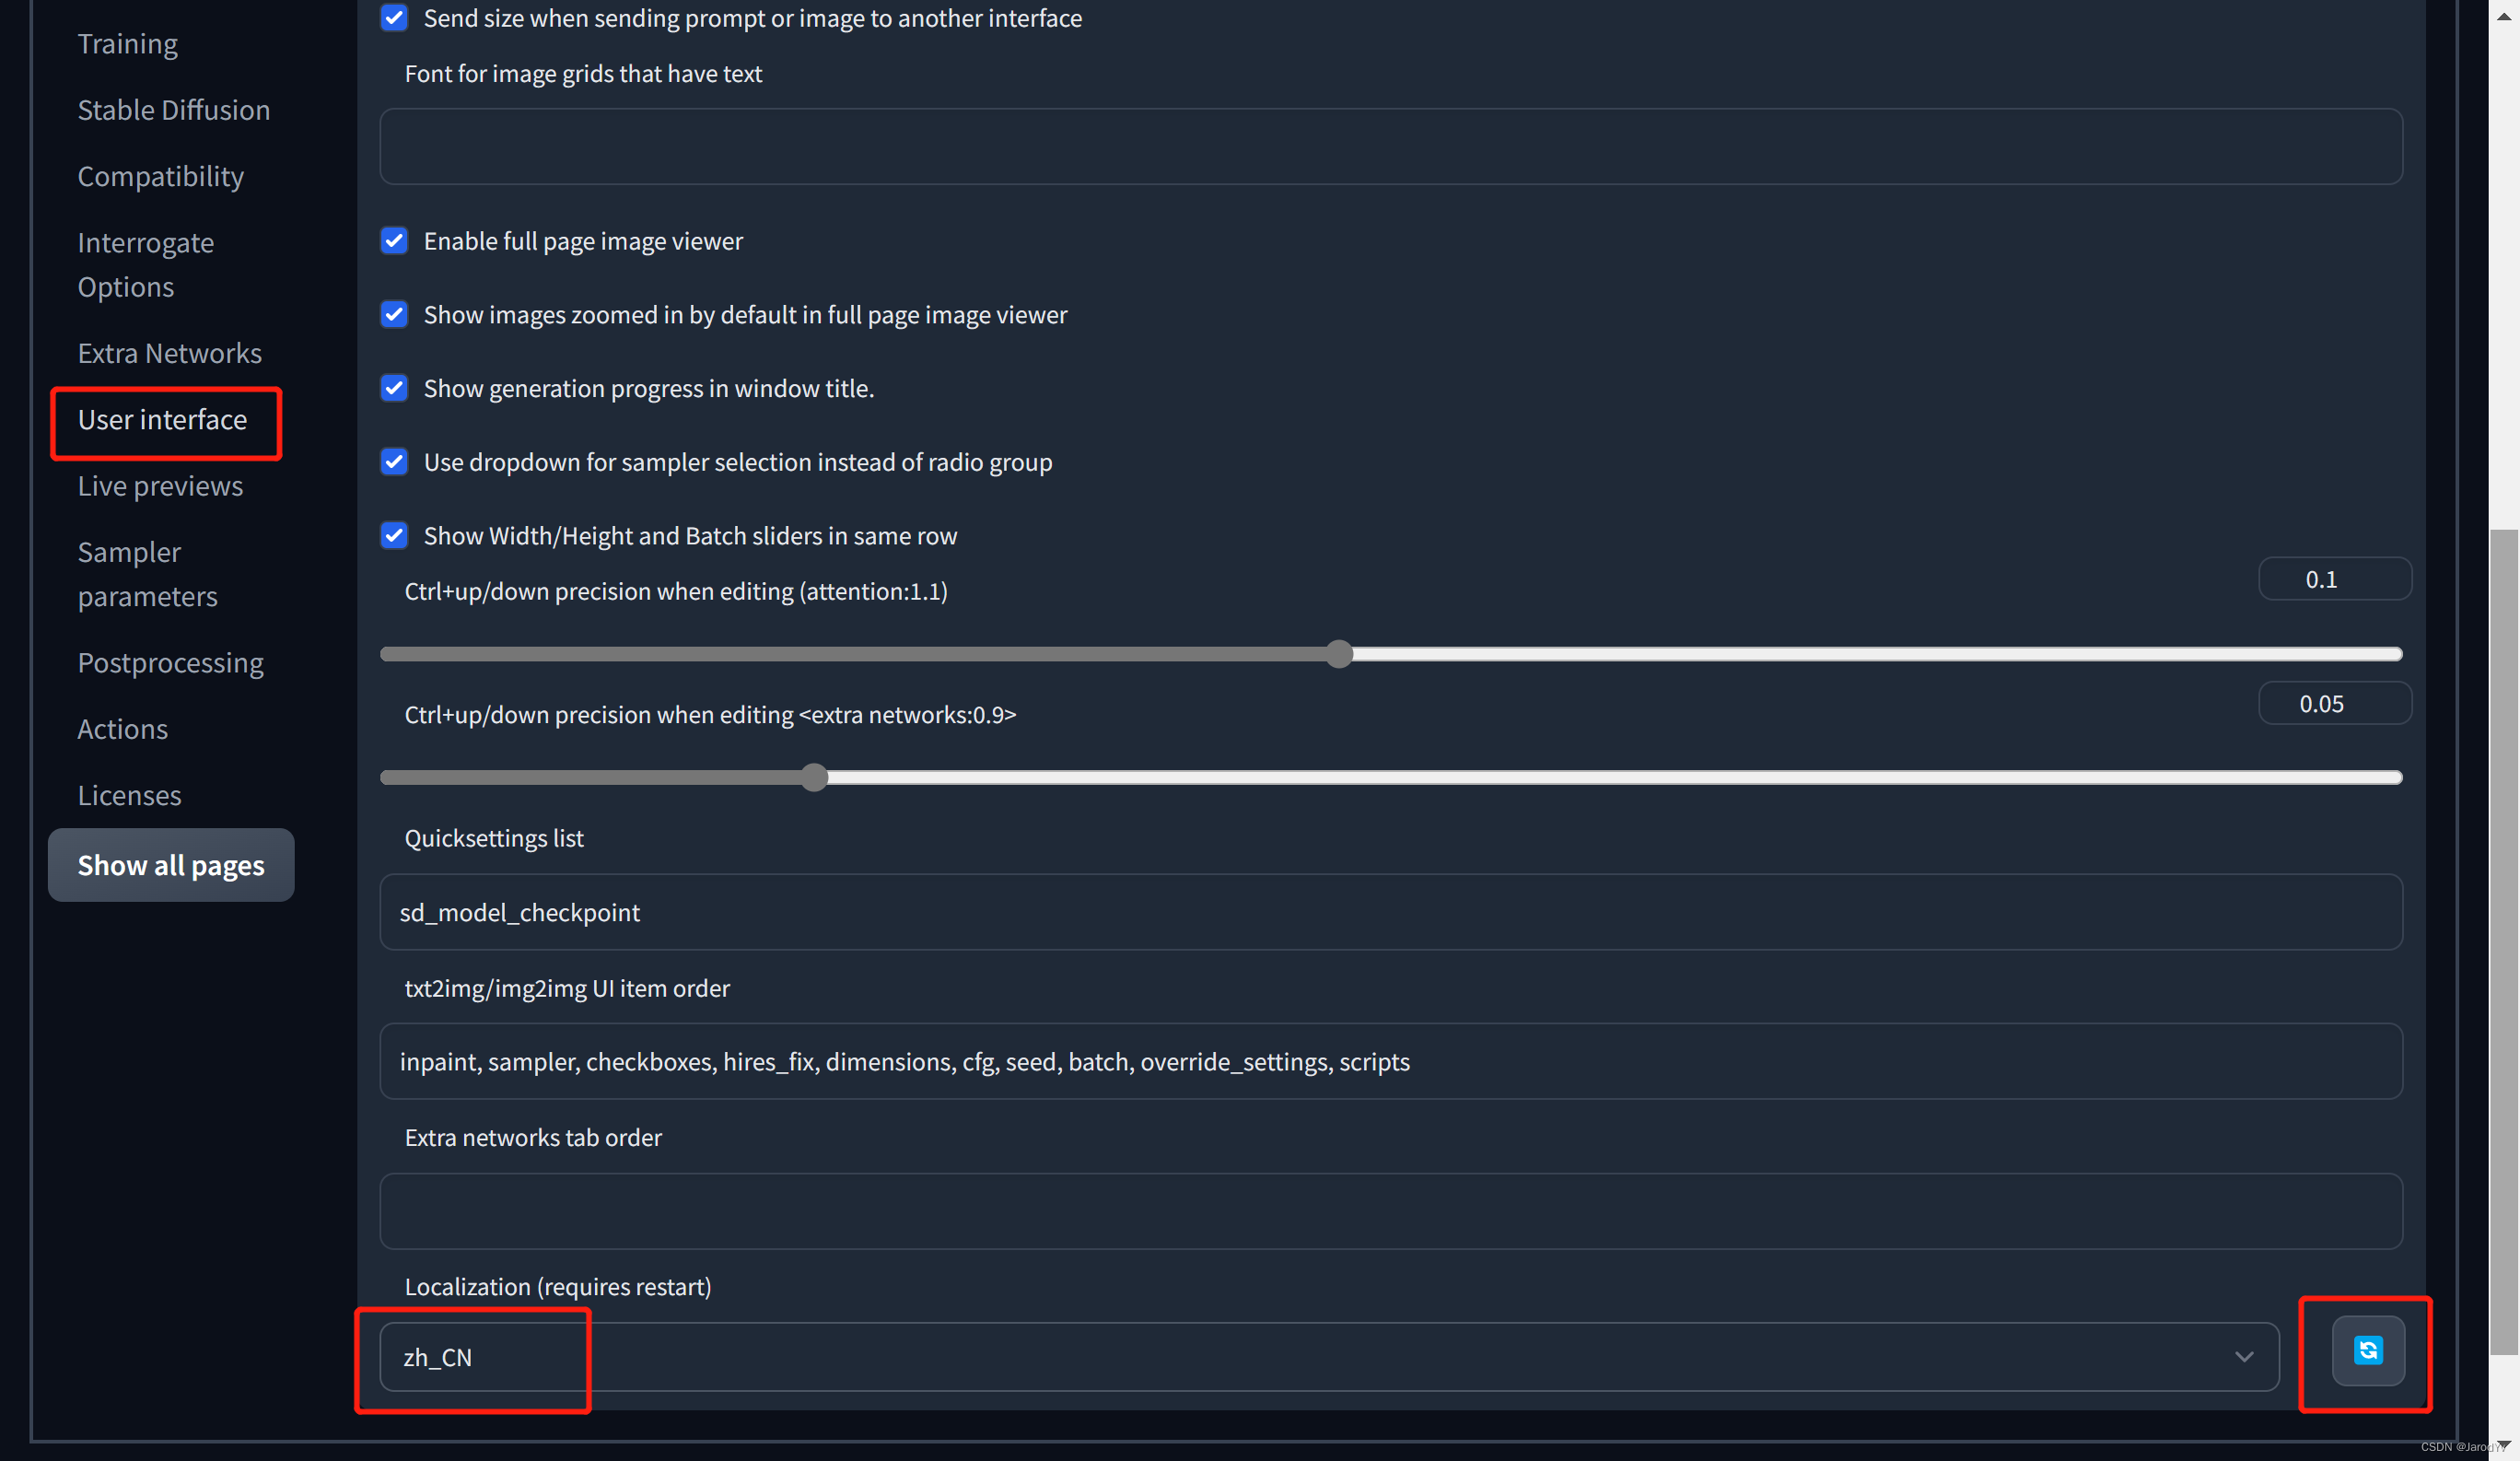
The language setting requires a reboot to take effect.Ctrl + CTerminate the Stable Diffusion Web Ui service first, then run thewebui.batorwebui.shAfter restarting, refresh the browser page to see that the language has changed to Simplified Chinese.
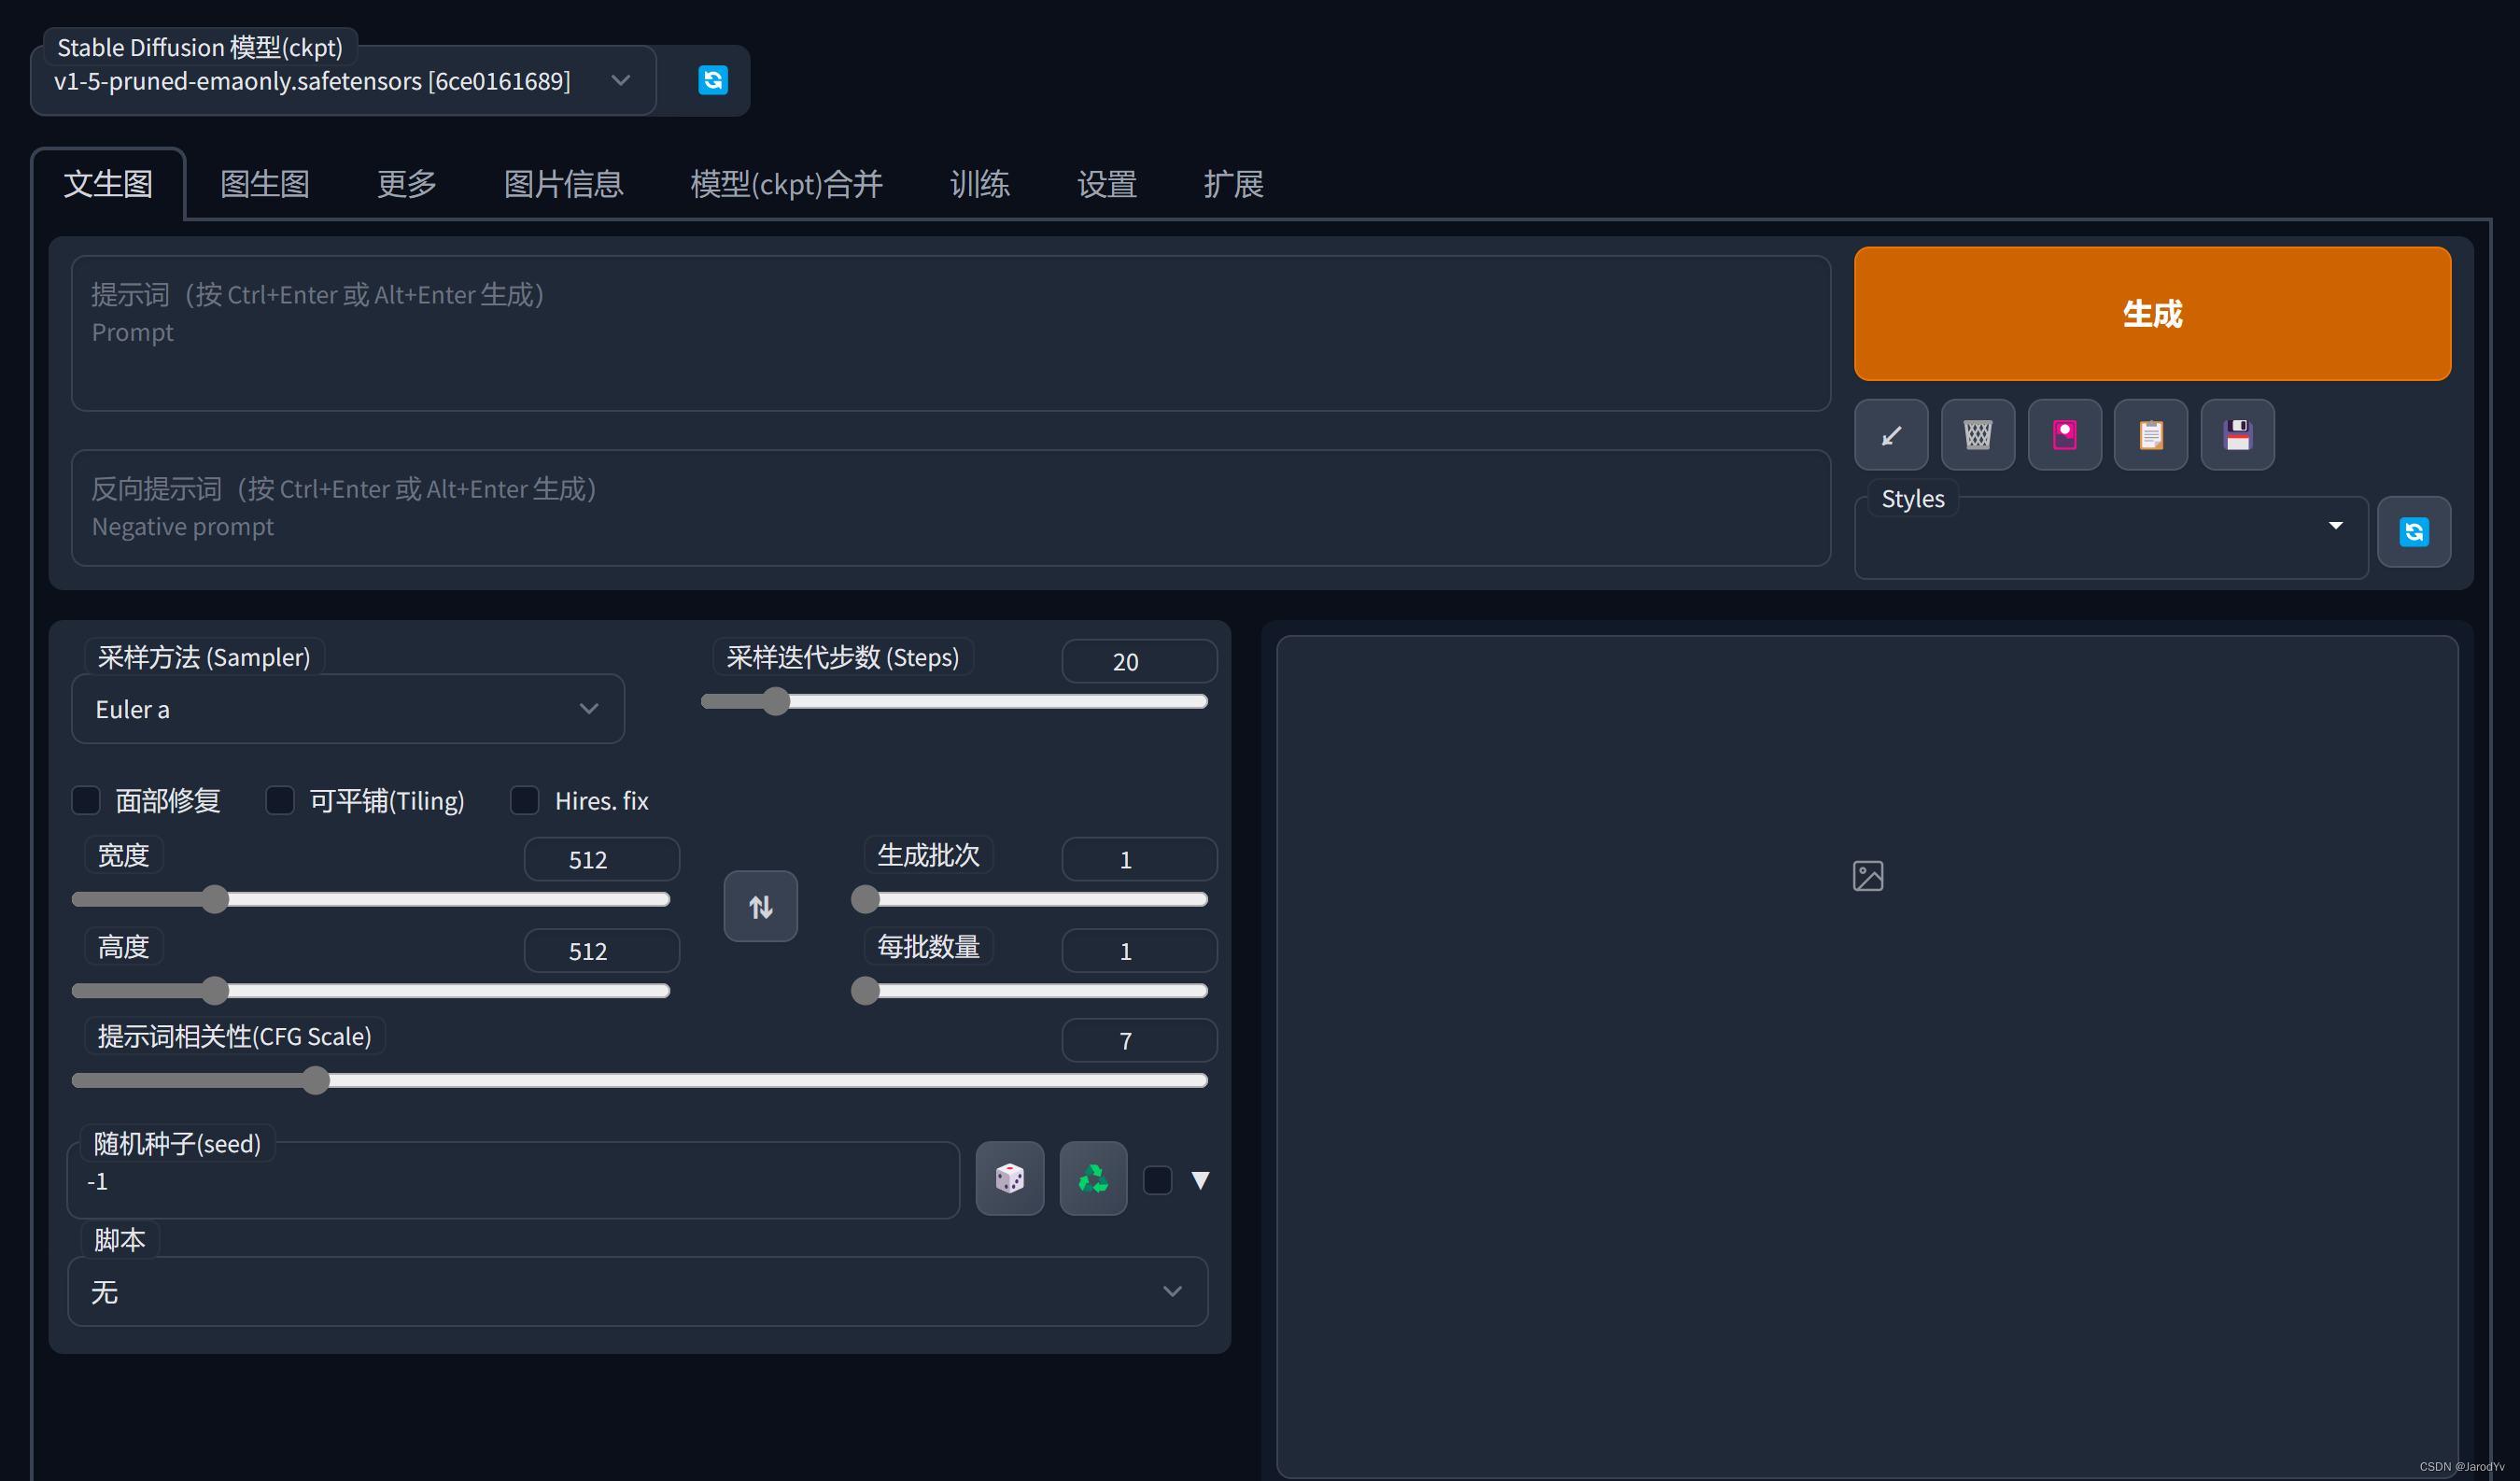
Note: the Chinese may not be perfect, individual places will miss Chinese or Chinese expression is not accurate, welcome to feedback errors and optimization suggestions. If you have the ability, we suggest you to use the English interface.
Prompt syntax
In order to produce images with a specific style, text cues must be provided in a specific format. This usually involves addinghint modifierOr add more keywords or key phrases to do so. Below is a description of Stable Diffusion’s prompt syntax rules.
Keywords or key phrases in the Stable Diffusion hint text are split by semicolon commas, and are generally weighted more heavily the further forward they are. We can think of modifying the weights by using hint modifiers.
- (tag): 5% increase in weighting
- [tag]: Reduce weighting by 5%
- (tag: weight): Setting specific weight values
Parentheses can be nested, e.g., (tag) has a weight of 1 × 1.05 = 1.05 1 \times 1.05 = 1.05 1×1.05=1.05, ((tag)) has a weight of 1 × 1.05 × 1.05 = 1.1025 1 \times 1.05 \times 1.05 = 1.1025 1×1.05×1.05=1.1025. Similarly [tag] has a weight of 1 1.05 = 0.952 \frac{1}{1.05} = 0.952 1.051=0.952, the weight of [[tag]] is 1 1.0 5 2 = 0.907 \frac{1}{1.05^2} = 0.907 1.0521=0.907 。
-
[tag1 | tag2]: Mix tag1 and tag2;
-
{tag1 | tag2 | tag3}: Randomly select a label from a collection of labels;
-
[tag1 : tag2 : 0.5 ]: indicates that tag1 is generated first, and when the generation process reaches 50%, tab2 is used instead; if an integer is entered, it indicates the step length, for example, 10, which means that tag2 is used after 10 steps are generated;
-
<lora:filename:multiplier>: LoRA Model Citation Syntax
typical example
mould
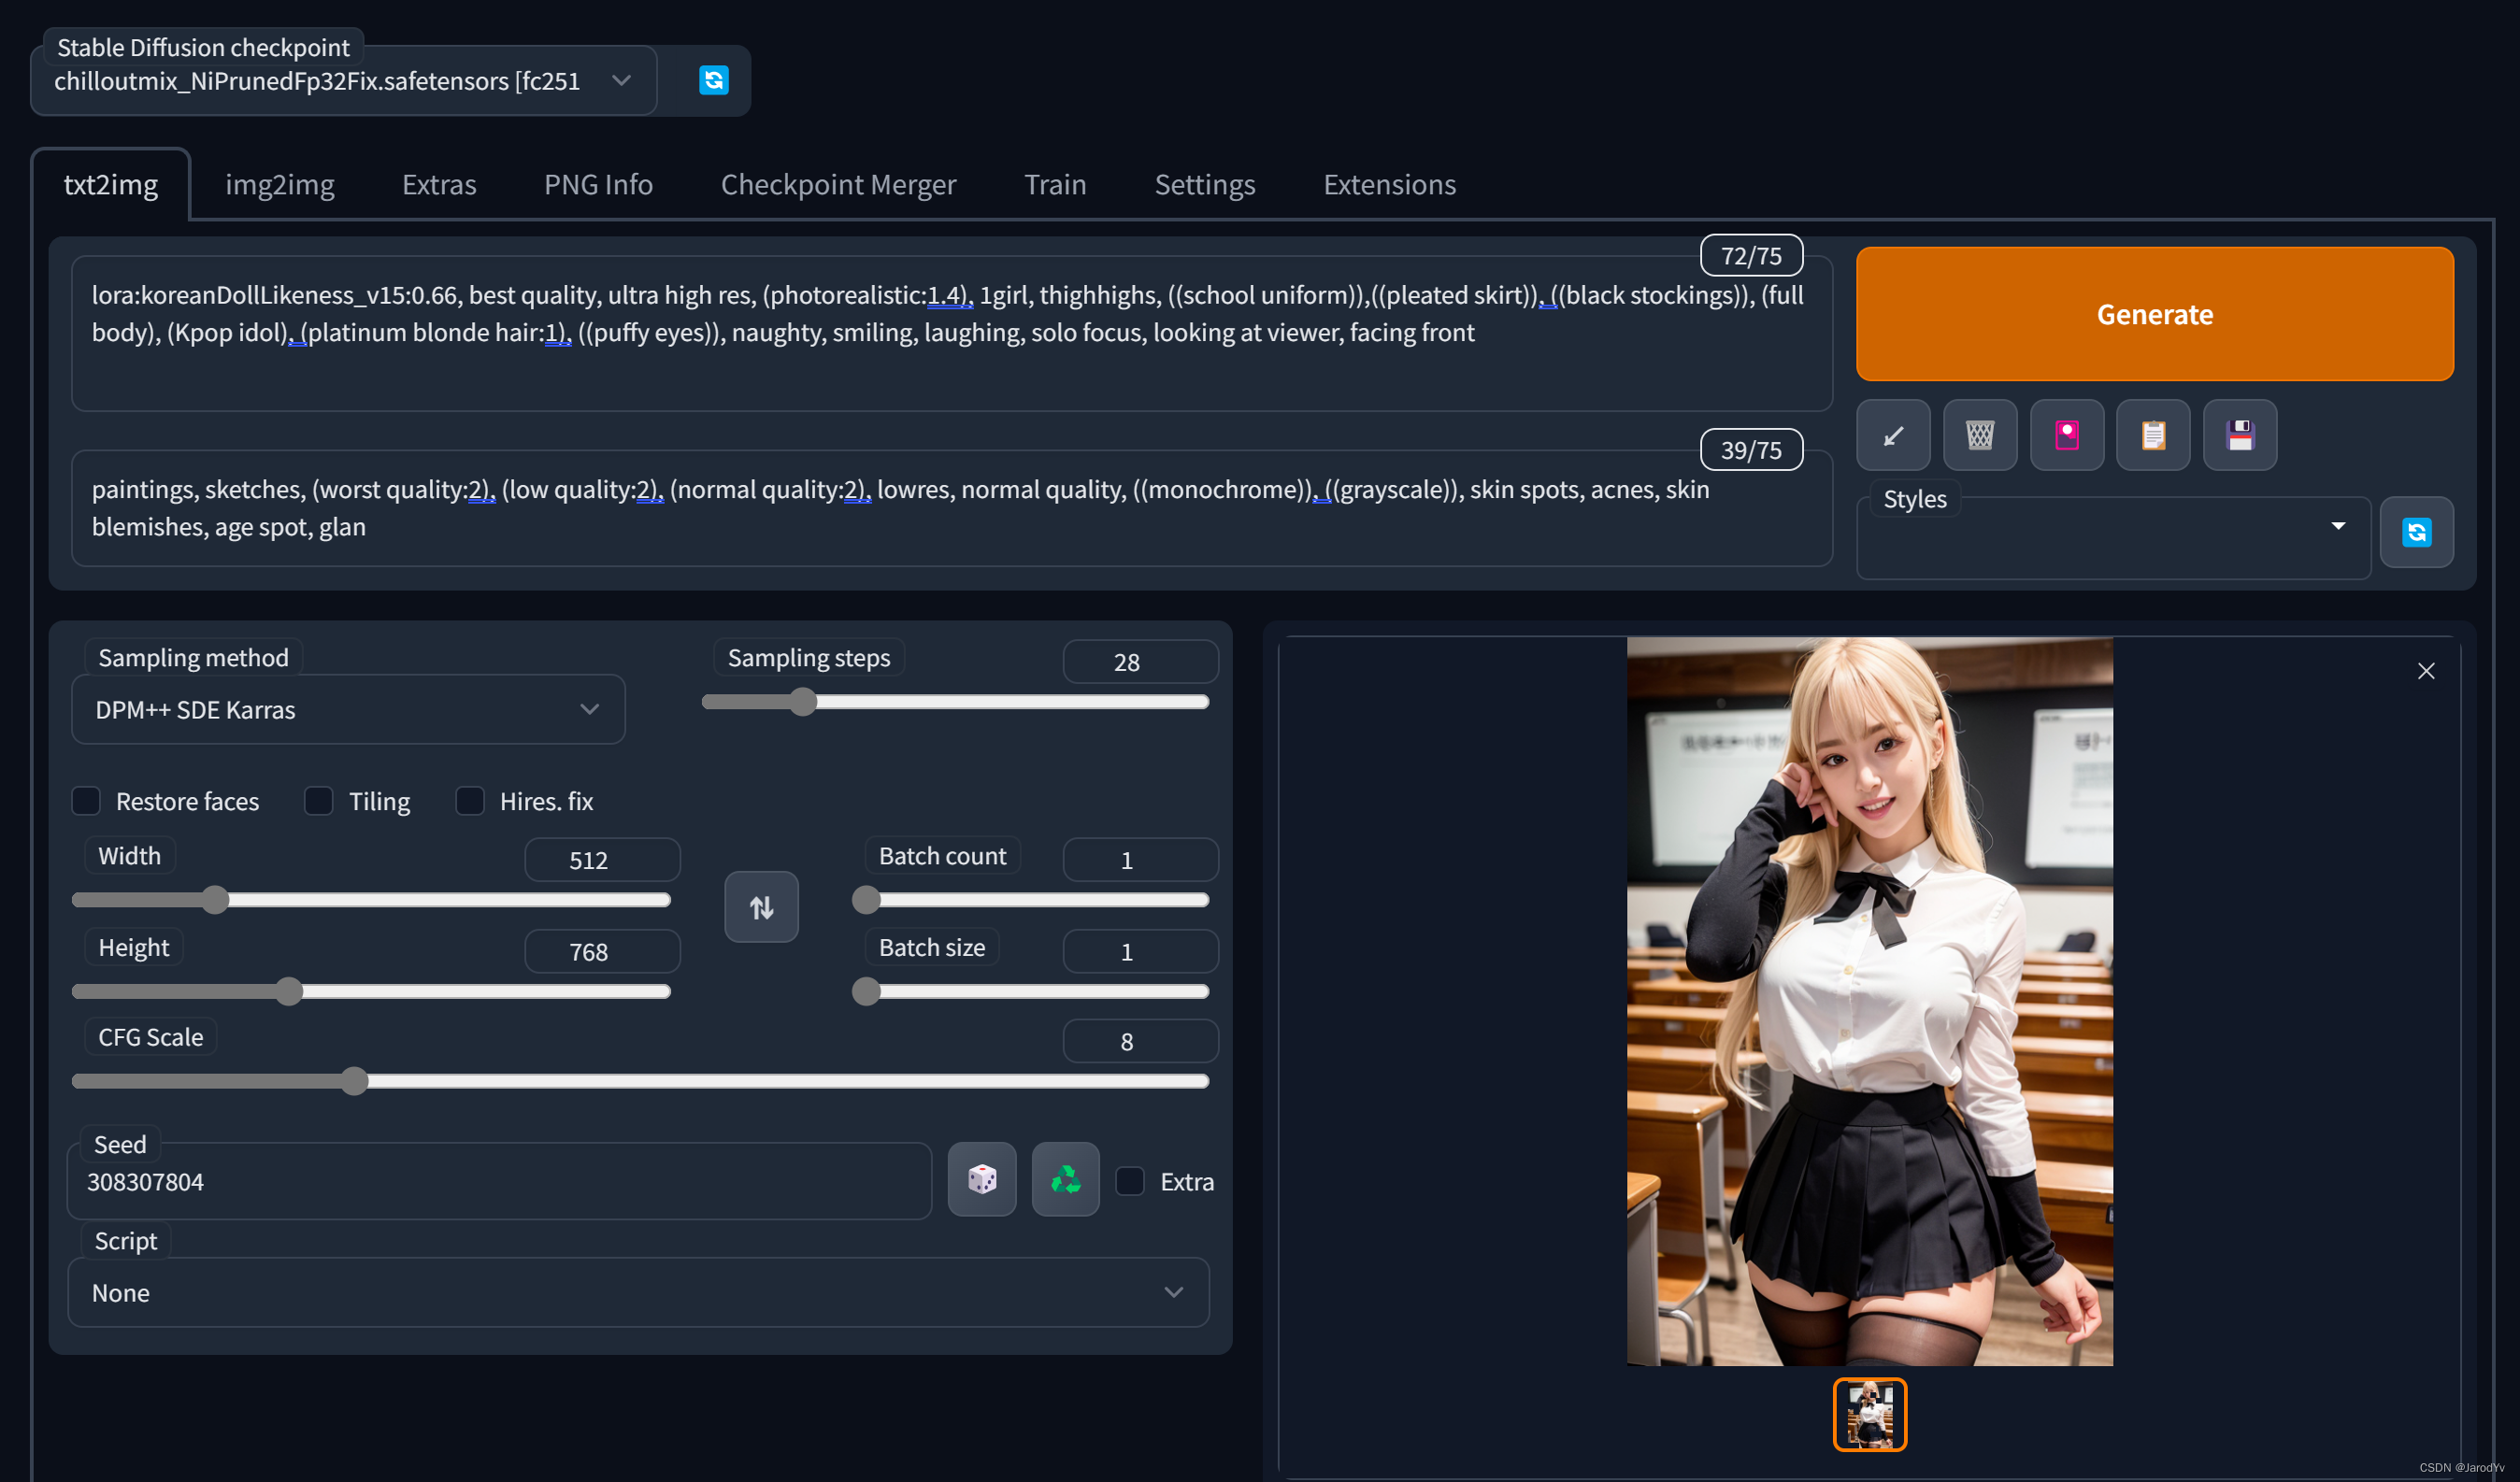
Here I will use chilloutmix + KoreanDollLikeness to generate realistic style Korean idol lady.
First you need to download the chilloutmix model (I used thechilloutmix_NiPrunedFp32Fix.safetensors), copy it to theStable-diffusiondirectory, you also need to download the LoRA model KoreanDollLikeness and copy it to theLoraCatalog.
Then in the main Stable Diffusion Web Ui screen in the Model Selection drop down select thechilloutmix_NiPrunedFp32Fix.safetensors. If you can’t find the model, refresh it by clicking the Refresh button on the right.
Prompt
After choosing the model, we start designing the prompt. first we introduce LoRA
<lora:koreanDollLikeness_v10:0.66>
Then define the style of the generated image, we want a hyper-realistic style, we can use the following keywords:
best quality, ultra high res, (photorealistic:1.4)
included among thesephotorealisticWe assign a higher weight of 1.4.
Moving on to defining the body of the image, here I’m going to do a weight enhancement of all the elements that I want to appear in the image:
1girl, thighhighs, ((school uniform)),((pleated skirt)), ((black stockings)), (full body), (Kpop idol), (platinum blonde hair:1), ((puffy eyes))
Finally, retouch some details of expression and pose:
smiling, solo focus, looking at viewer, facing front
So that our complete promt is.
<lora:koreanDollLikeness_v10:0.66>, best quality, ultra high res, (photorealistic:1.4), 1girl, thighhighs, ((school uniform)),((pleated skirt)), ((black stockings)), (full body), (Kpop idol), (platinum blonde hair:1), ((puffy eyes)), smiling, solo focus, looking at viewer, facing front
Negative prompt
We also need to provide Negative prompt to remove styles and elements we don’t want:
paintings, sketches, (worst quality:2), (low quality:2), (normal quality:2), lowres, normal quality, ((monochrome)), ((grayscale)), skin spots, acnes, skin blemishes, age spot, glan
The main thing here is to weed out painting style, sketchy, low quality, grayscale images while removing freckles, acne and other skin blemishes.
parameterization
In order to make the picture generated more real and natural, we need to do some adjustments to the parameters, the parameters need to be adjusted as follows:
- Sampler: DPM++ SDE Karras
- Sample Steps: 28
- CFG scale: 8
- Size: 512×768
Here you are encouraged to try other values, the above is just a set of parameters that I think work best.
generating
Once you have completed all the settings above, you can clickGenerateThe button generates the image now. The generation speed is determined by the performance of your device, on my computer it takes about 30s to generate a picture.

Stable Diffusion Resource List
Good generation quality can not be achieved without good models, here is a list of sources for obtaining Stable Diffusion pre-trained model resources.
1. Hugging Face
Hugging Faceis a website focused on building, training and deploying advanced open source machine learning models.
HuggingFace is the go-to platform for Stable Diffusion model creation, and there are currently more than 270 Stable Diffusion-related models on the platform, which can be found by using “Stable Diffusion” as a keyword.
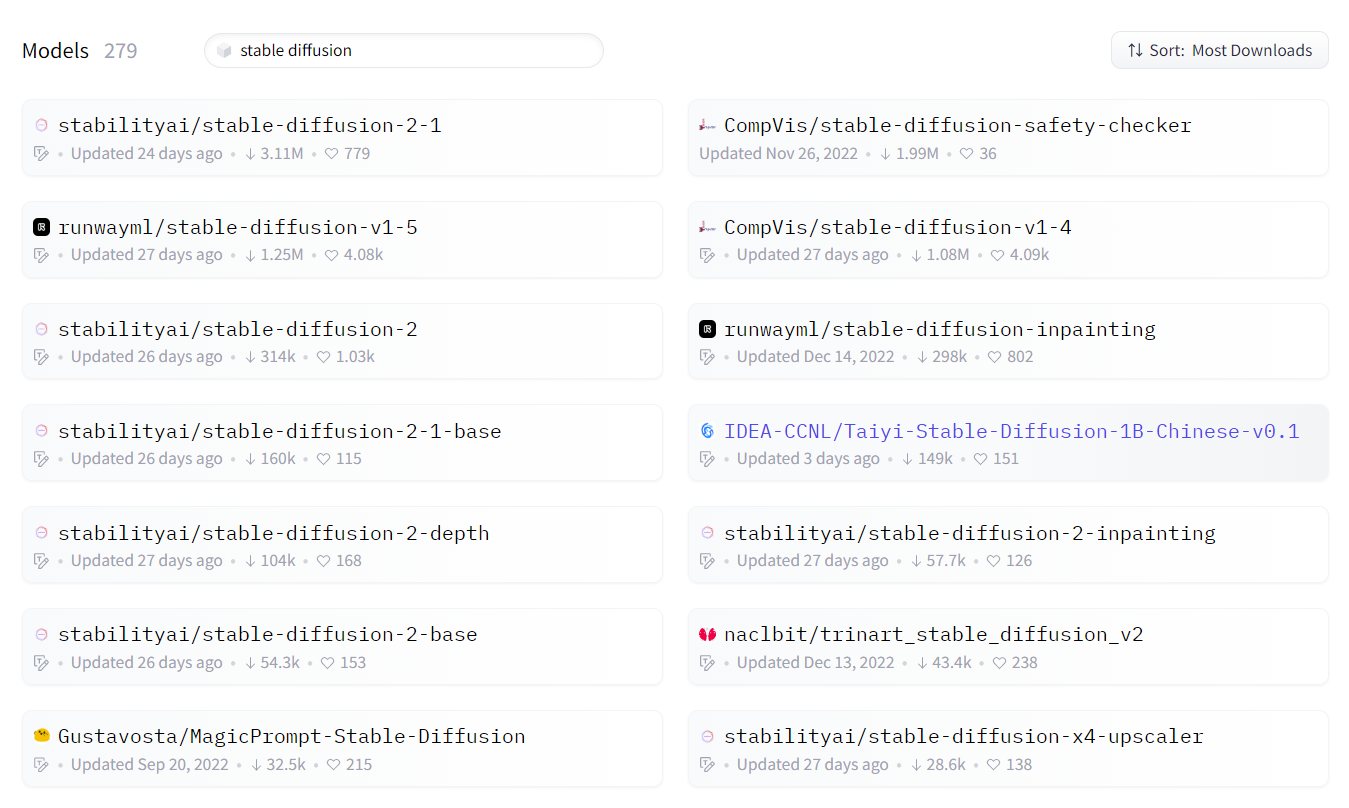
testimonialsDreamlike Photoreal 2.0This model, which is a realism model based on Stable Diffusion v1.5 made by Dreamlike.art, generates effects very close to real photos.

Another popular model isWaifu Diffusion, recommended to try.
2. Civitai
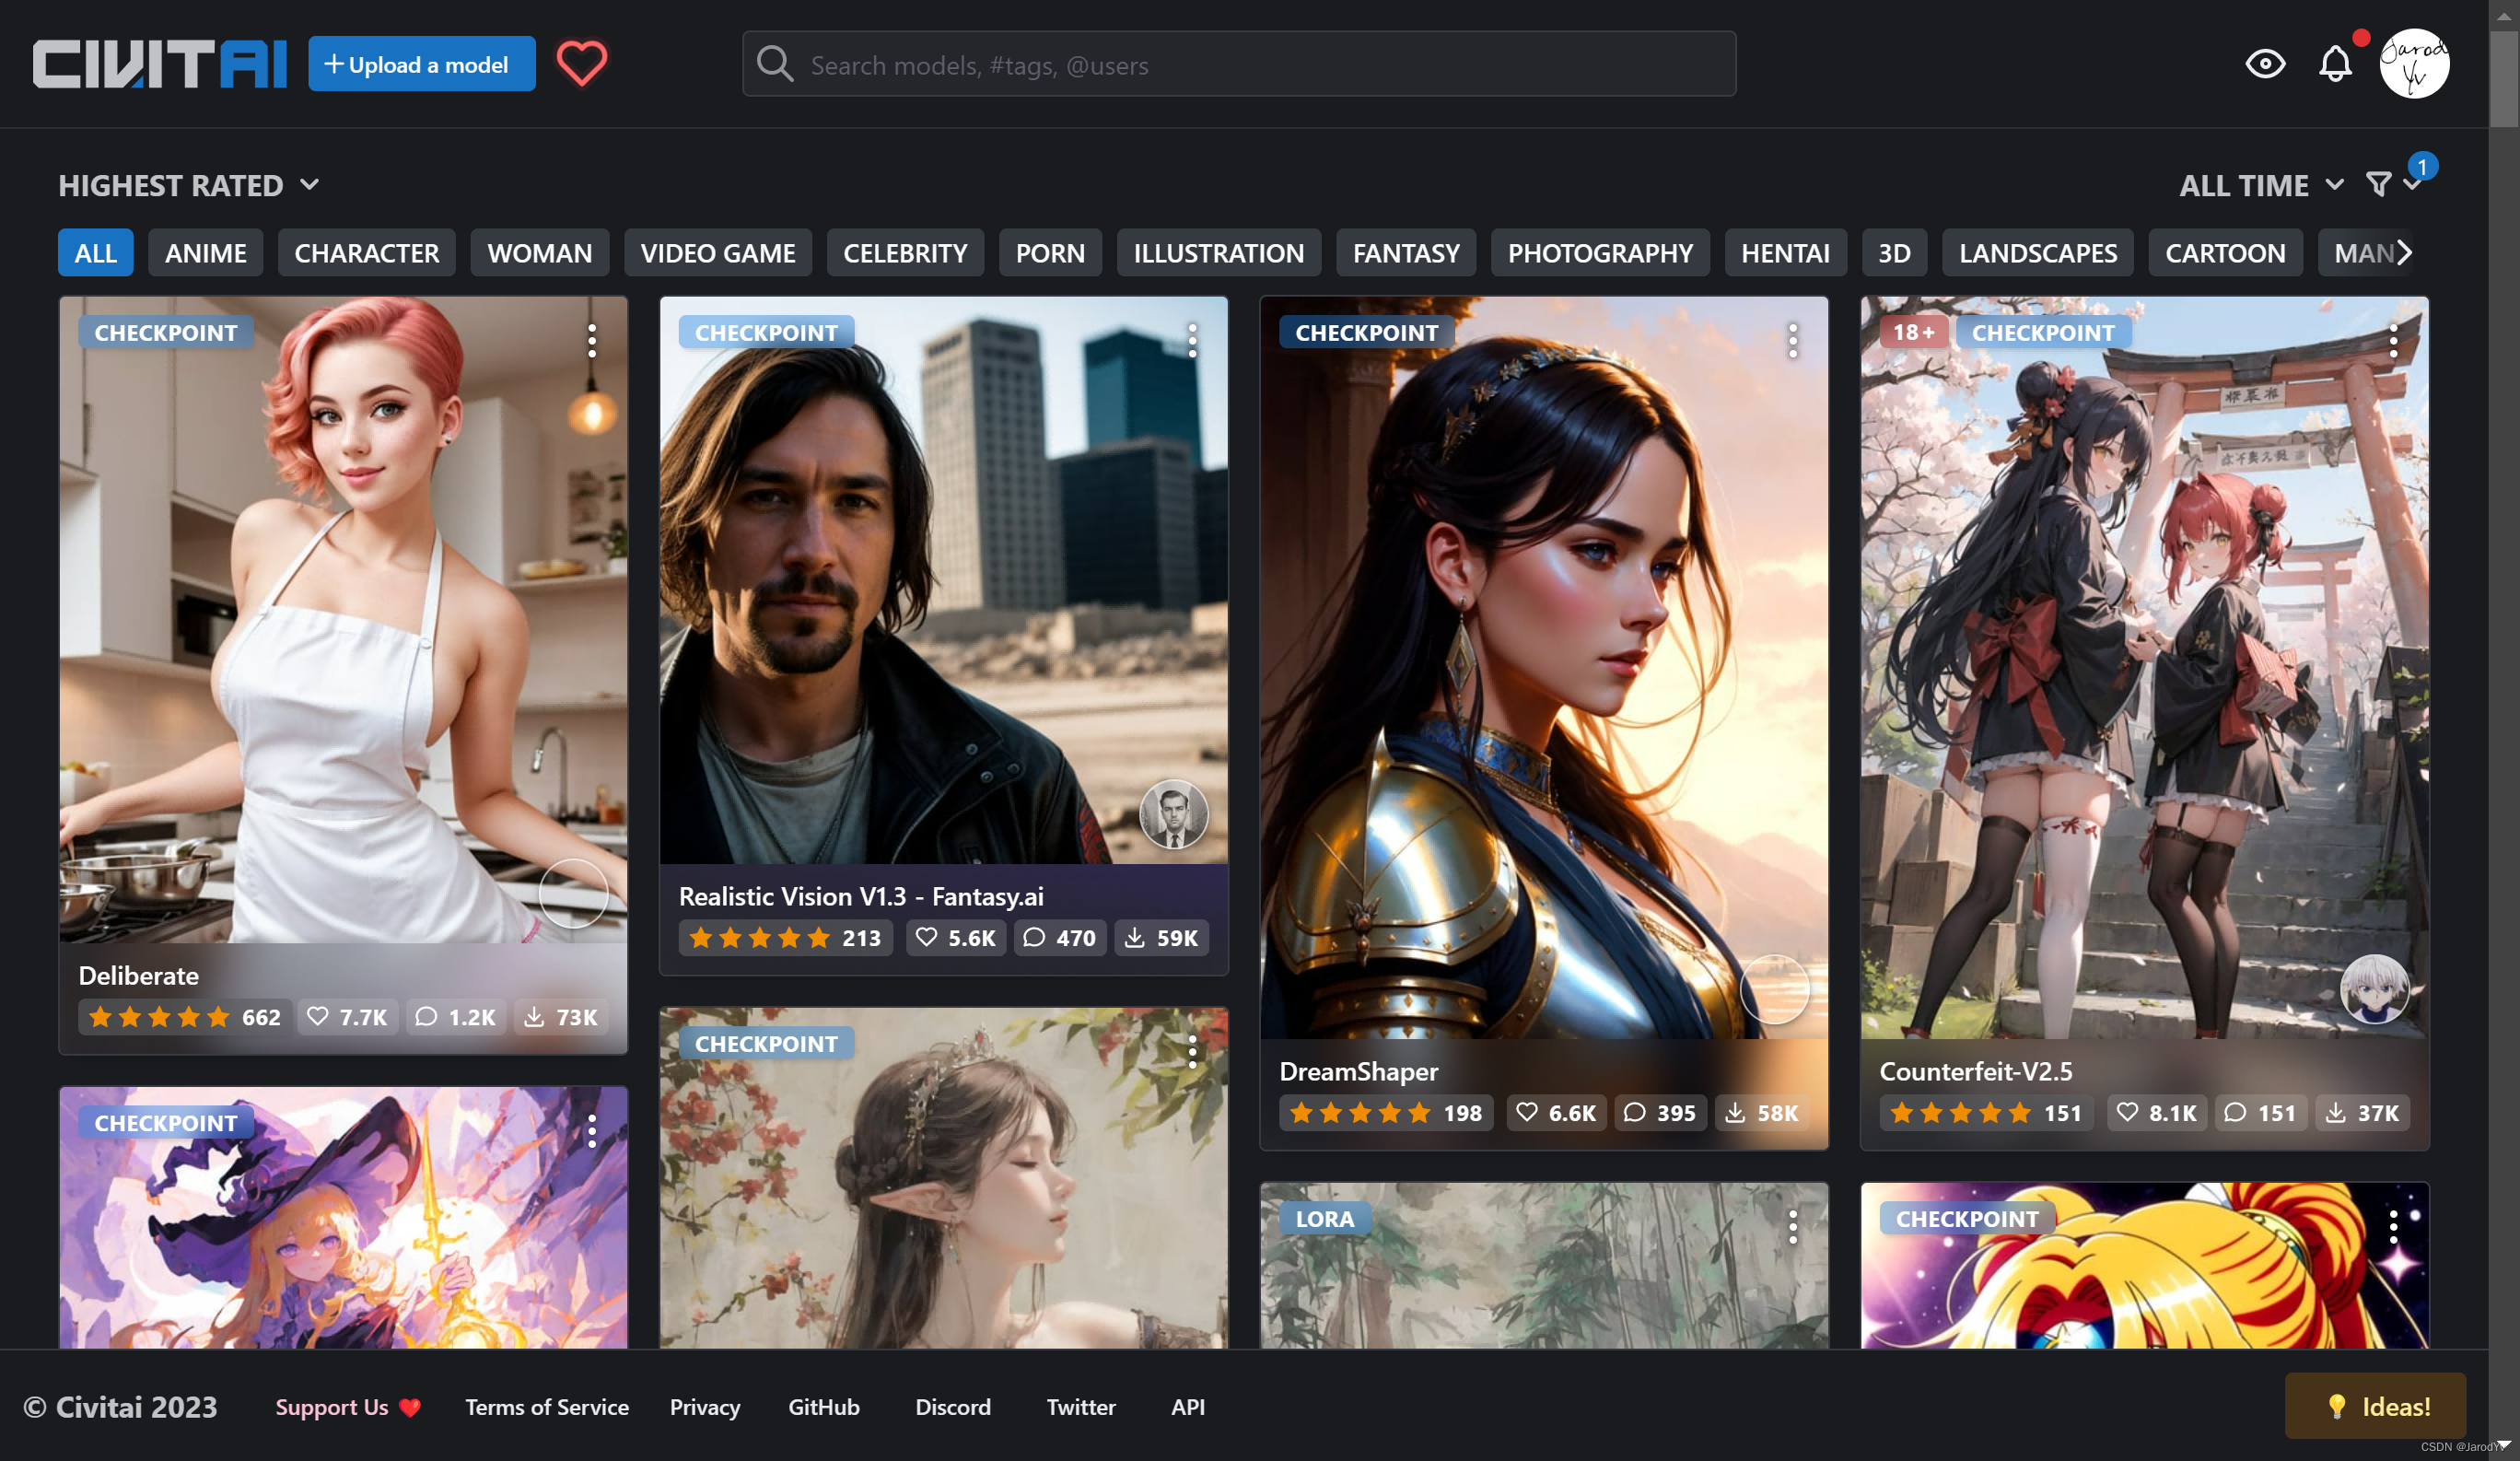
Civitaiis a website designed for Stable Diffusion AI art models. The platform currently has 1700 models uploaded from 250+ creators. It is by far the largest library of AI models I know of. You can share your own models or generate artwork on it.
3. Discord
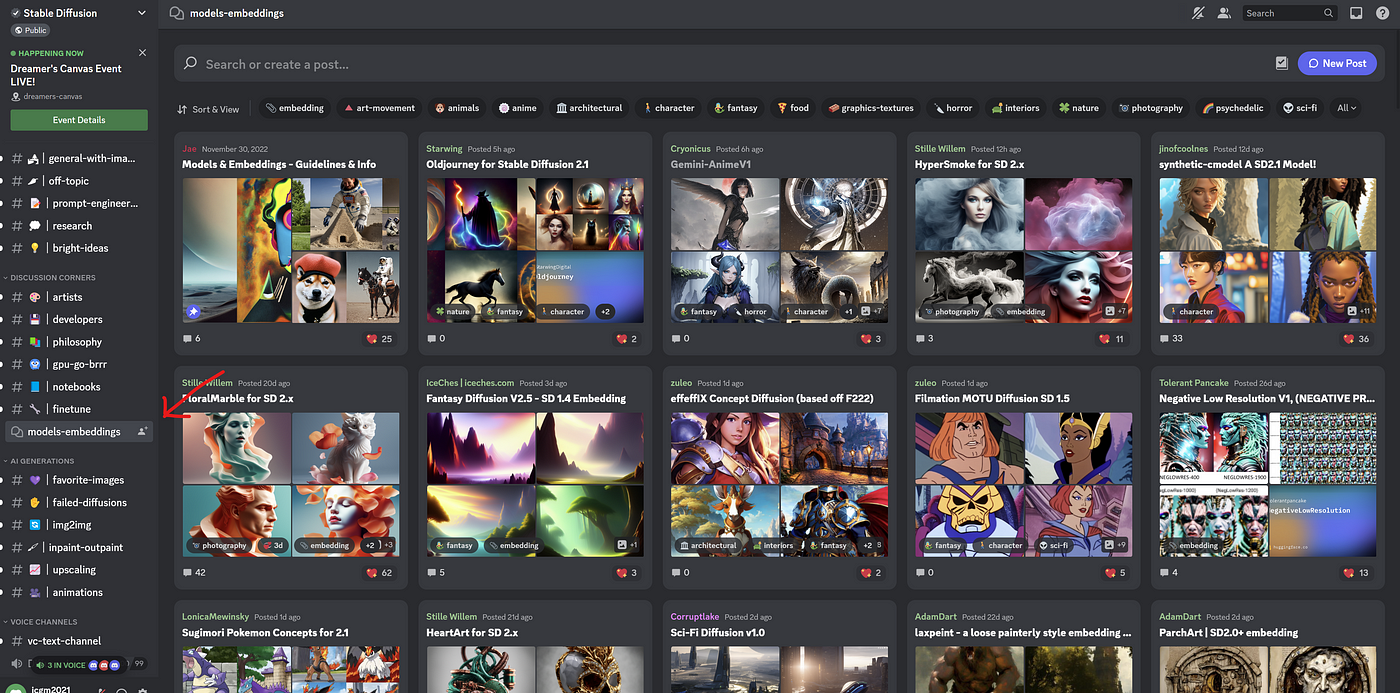
Stable Diffusion’s Discord page has a dedicated channel called “Models-Embeddings”, which offers a wide range of models that can be downloaded for free.
4. Rentry for SD
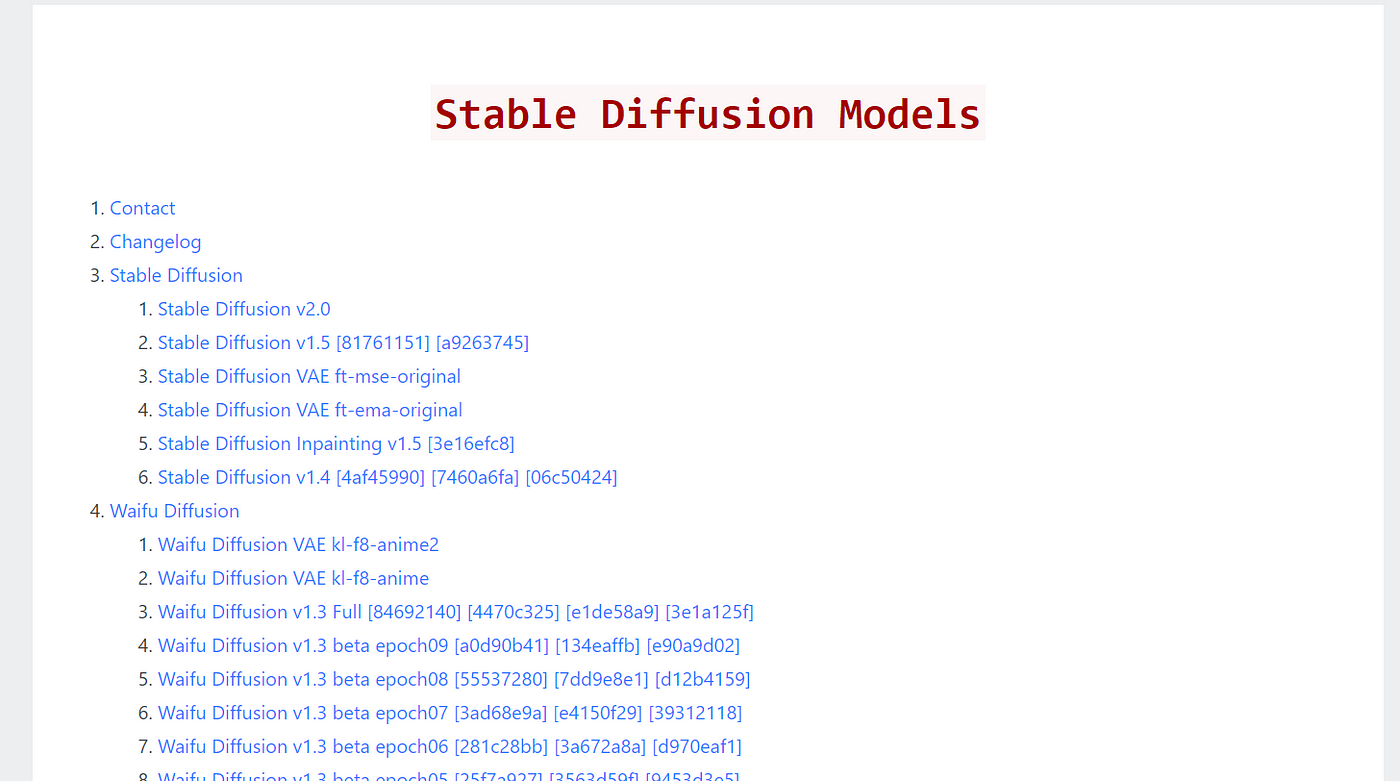
The Rentry website has a page for saving Stable Diffusion modelssdmodelsThe above consists of more than 70 models that can be downloaded for free.
Be careful when using these model resources: downloading custom AI models can be dangerous. For example, some may contain NSFW (unsafe) content.
Another risk is that these custom AI models may contain malicious code or malicious scripts, especially CKPT files. For safer use of AI models, try to choose safetensor file types.
