First a brief overview is divided into several steps:
I. Download Mysql
II. Installing Mysql
Third, verify that the Mysql installation is successful
IV. Configuring environment variables
V. Verify that the configuration of environment variables is successful
I. Download Mysql
To install MySQL on Windows or Mac, first download the latest version of MySQL Community Server from the official MySQL website:
Official website.https://www.mysql.com/
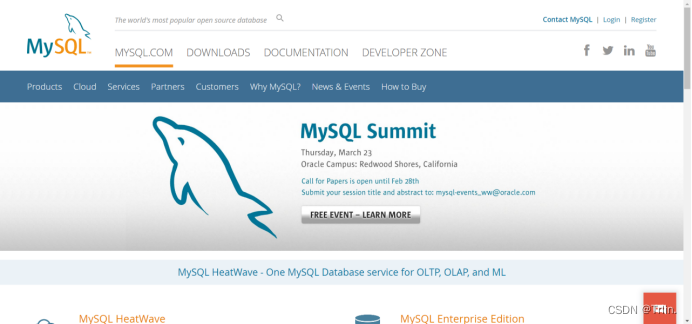
1. First, go to the official website
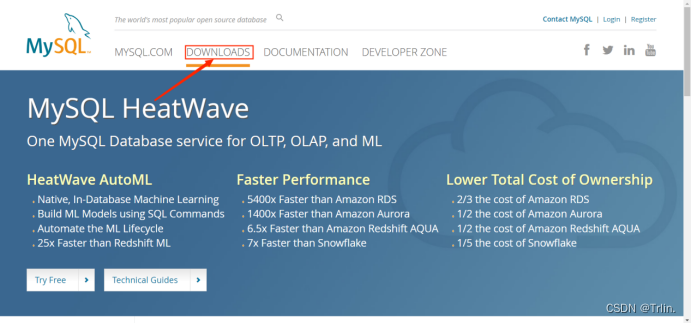
2. Click DOWNLOADS.
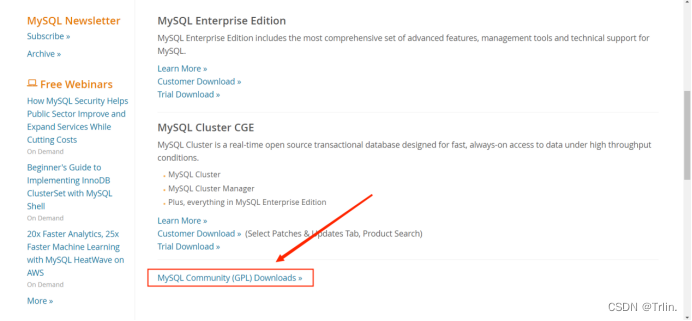
3. Click MySQL Community(GPL)Downloads
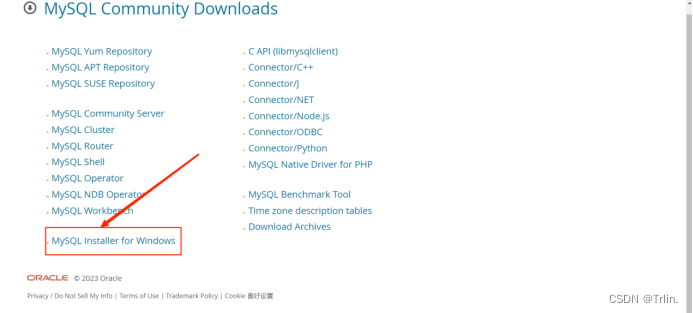
4.strike (on the keyboard)MySQL Installer for Windows
5. Click Download
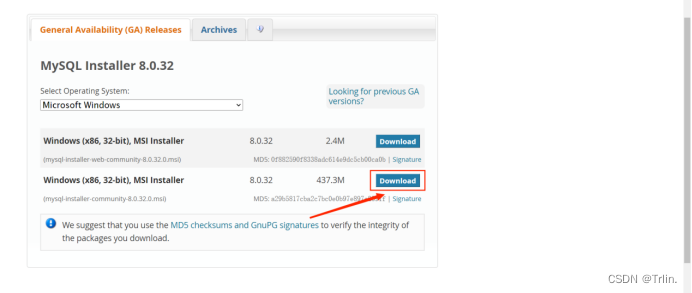
6. ClickNo thanks, just start my download ,Here you can skip the registration and download it directly.

II. Installing Mysql
1. Find the directory of the downloaded installer file and click on the
2. Start installation
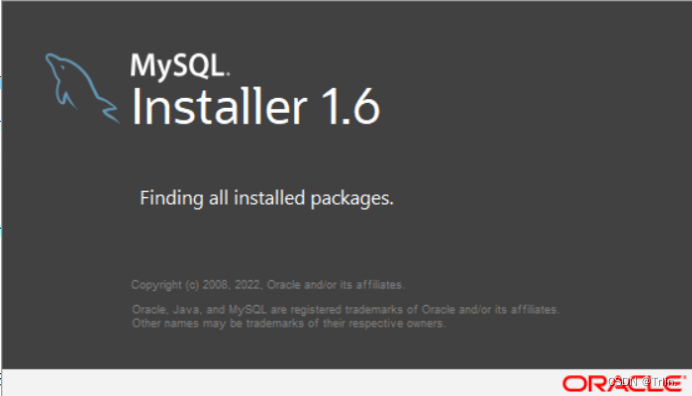
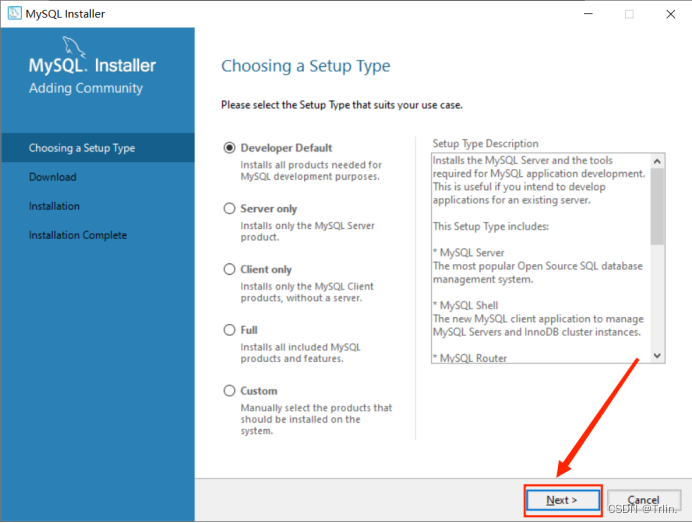
2. After entering the page, select the last customization option and click next.
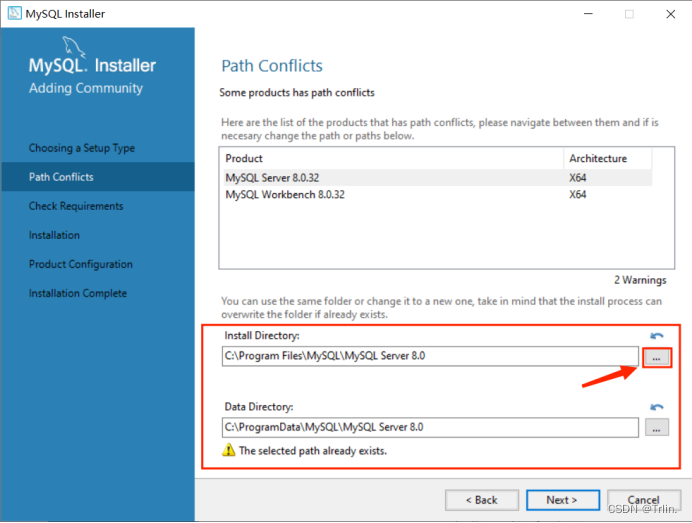
3. Select the version you want to install and make sure to change the installation path and data path.Pay attention to the installation path, you need to use it to configure environment variables later.OK and click NEXT to go to the next page.
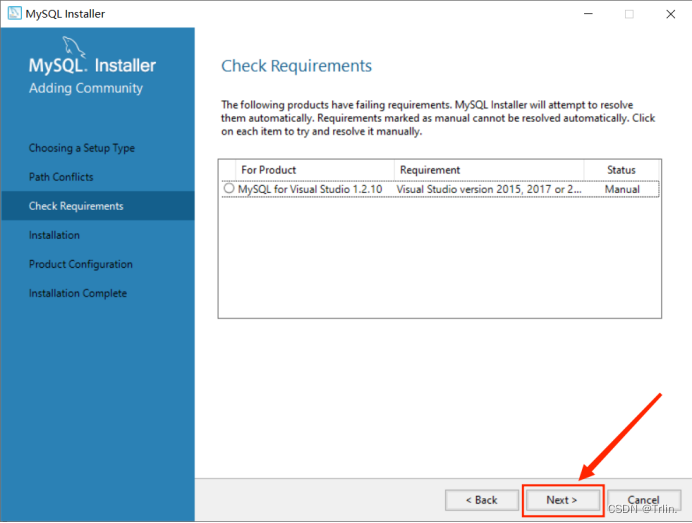
4. Enter this page and click next
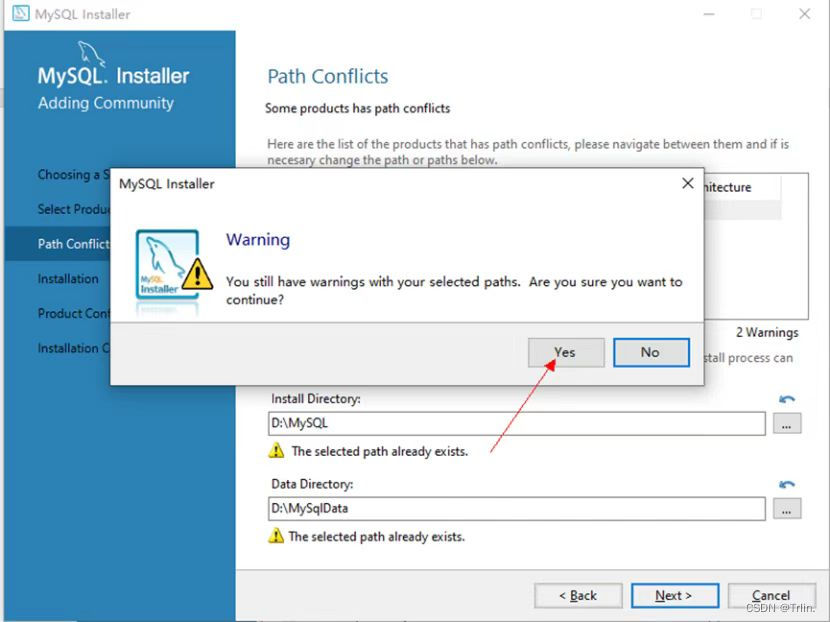
5. pop-up path warning, no need to manage, direct Yes .
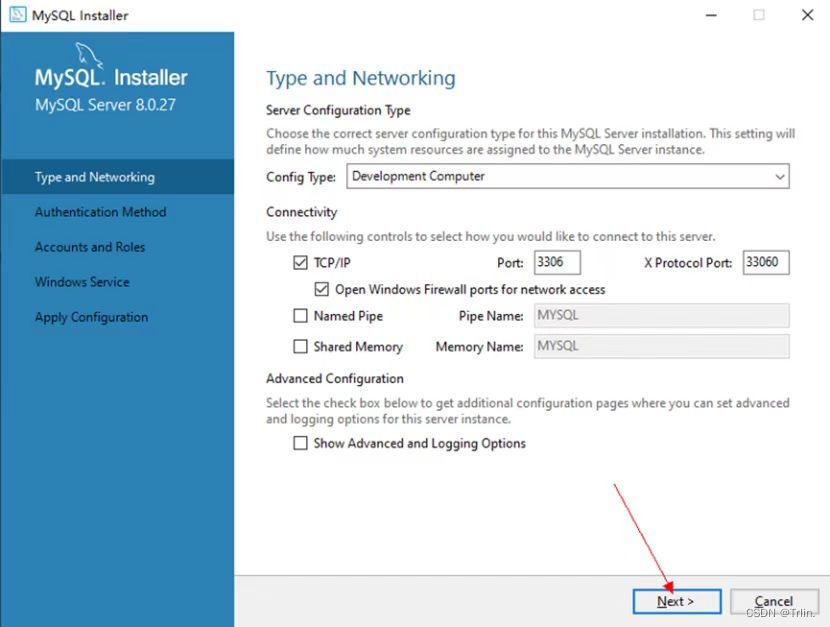
6. All the way through, click NEXT.
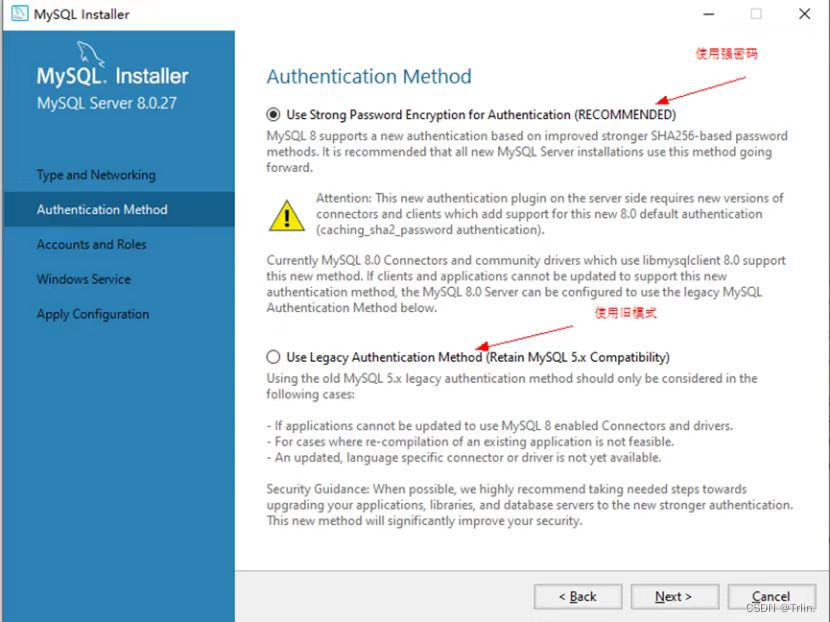
7. Setting passwords (using strong password authentication, using old-style authentication)
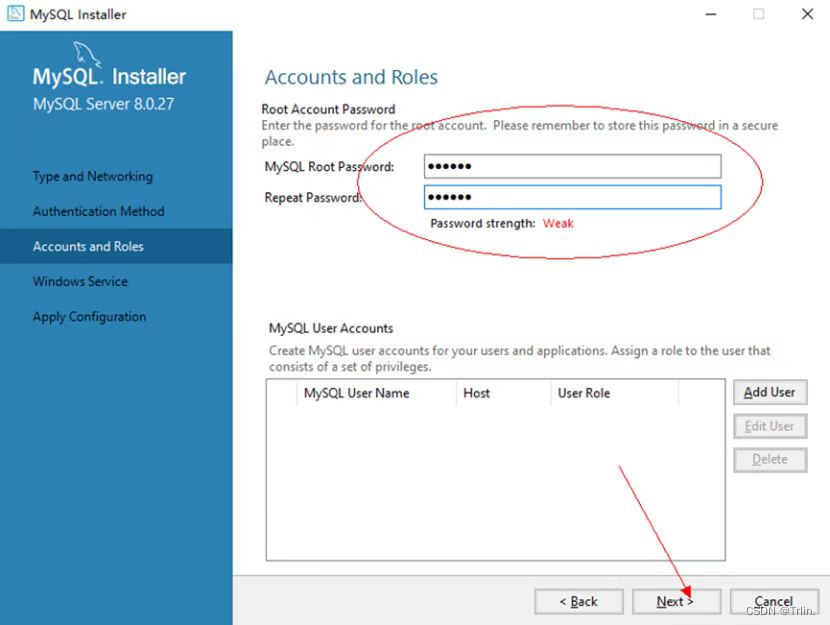
8.Next, directly click on “Execute”, start installing, click to install the need to wait a moment!
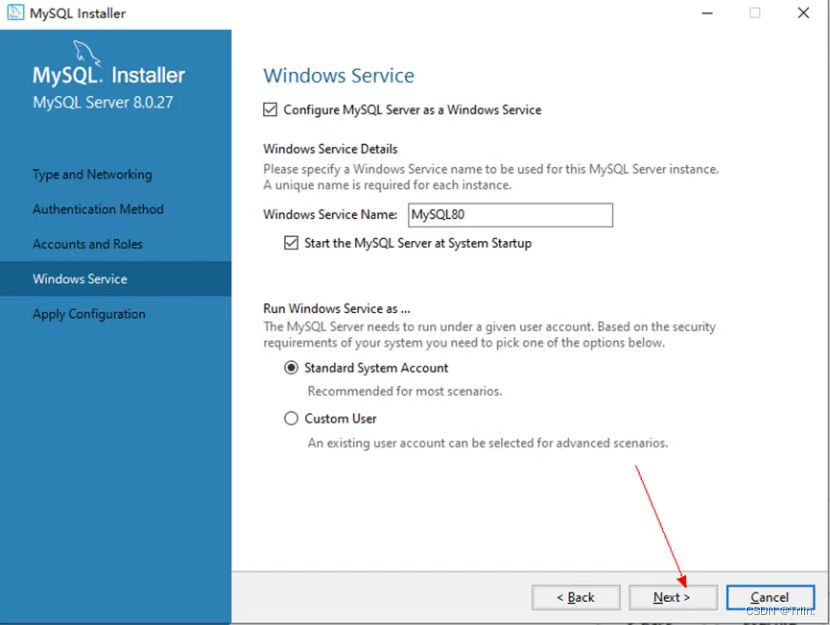
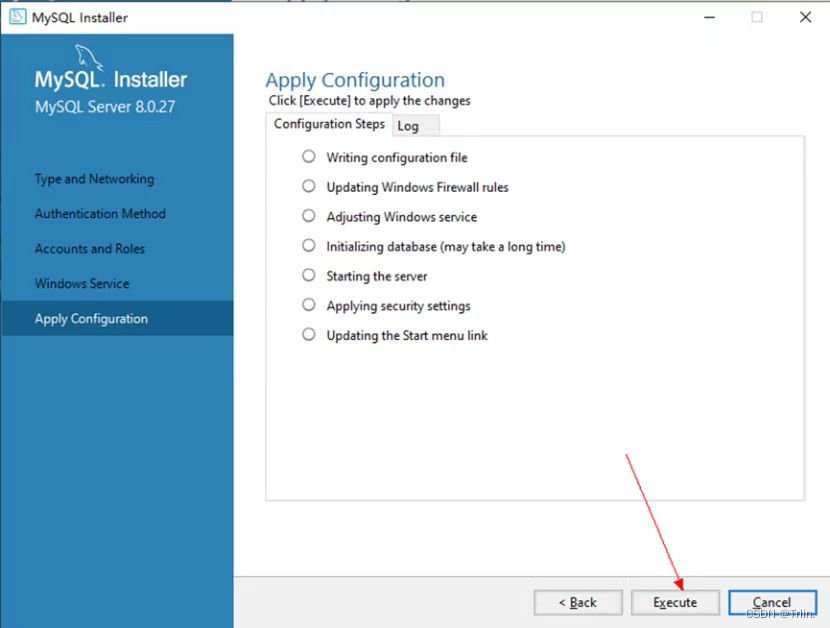
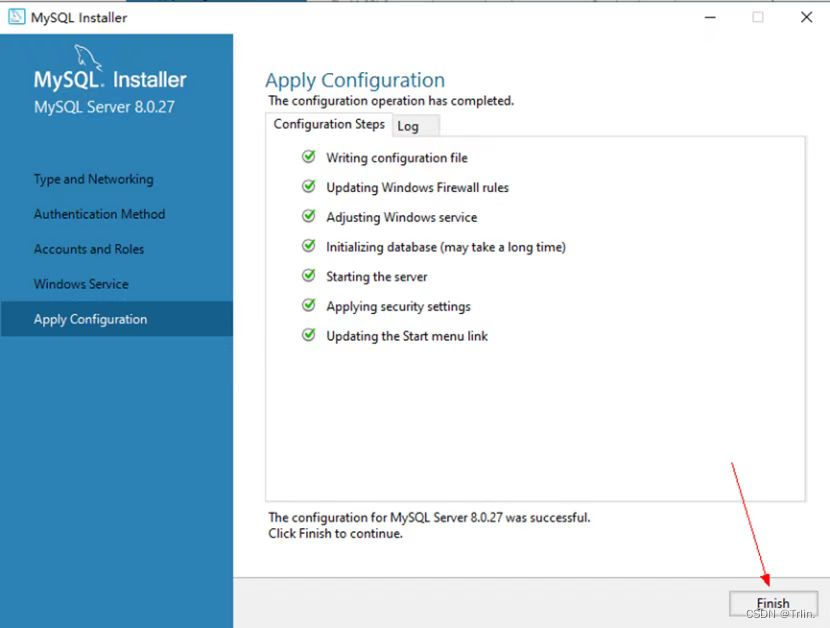
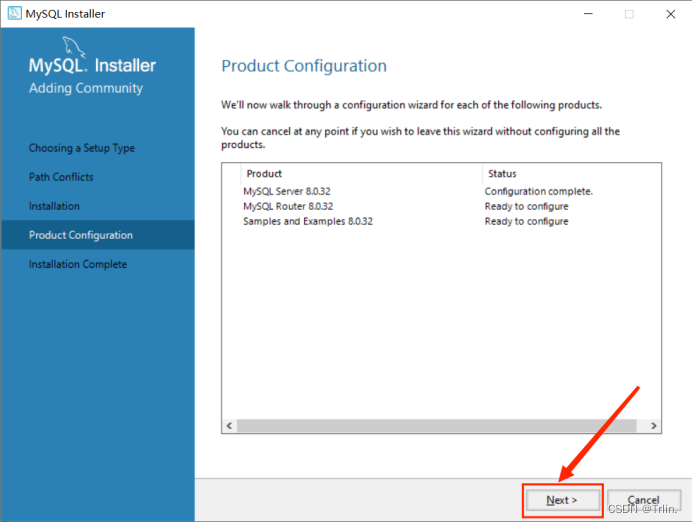
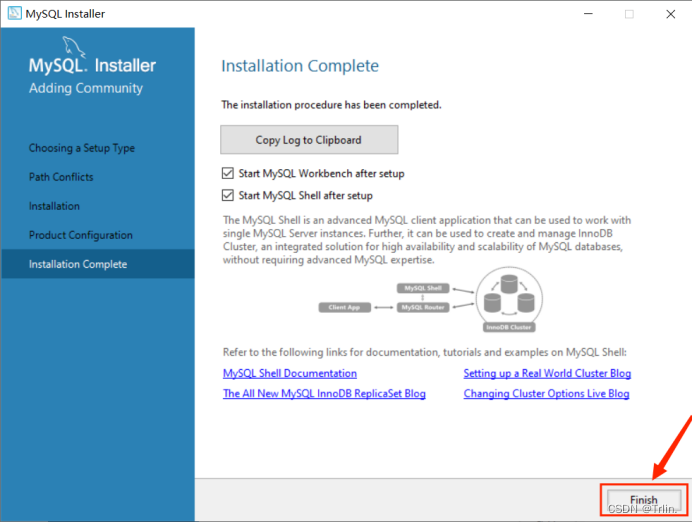
Installation completed
Third, verify that the Mysql installation is successful
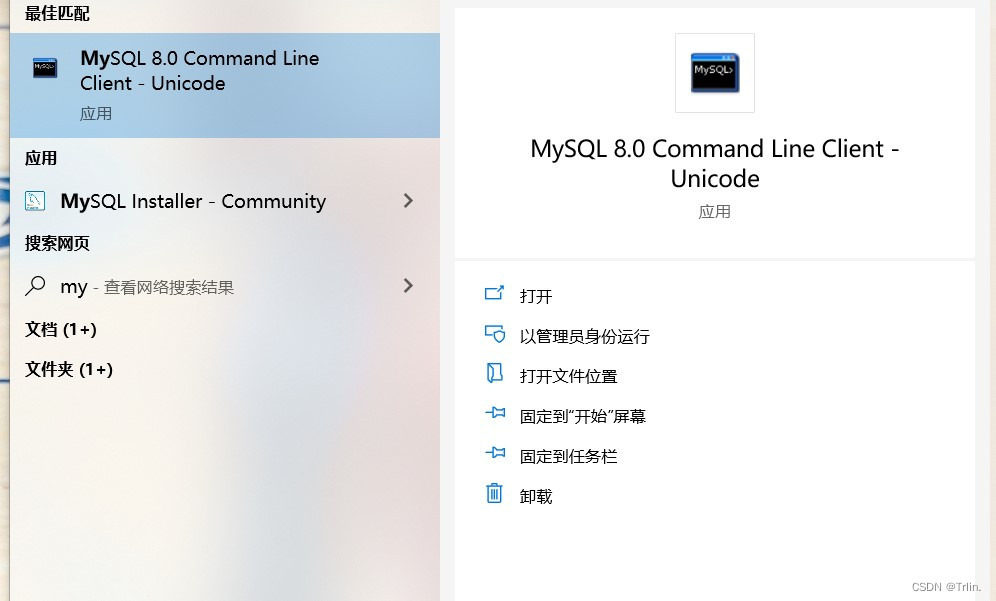
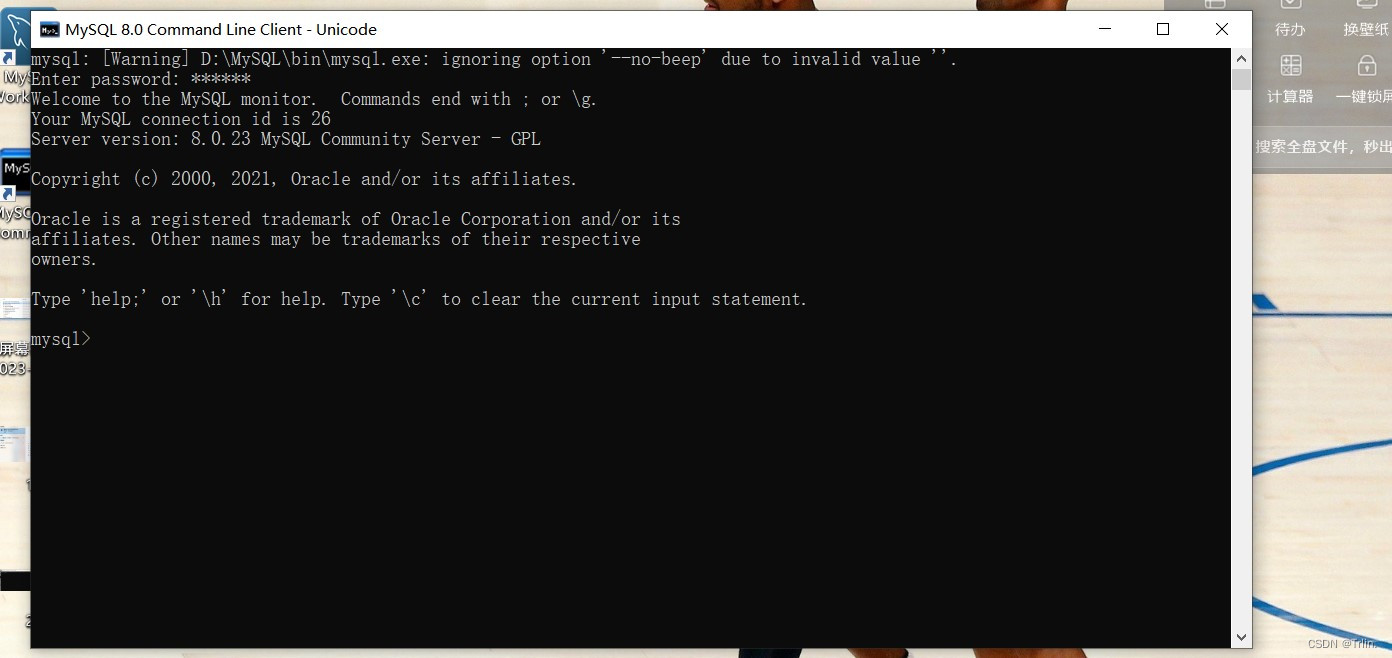
1. In Windows Start Search type in Mysql, and select the first one to open.
2. Enter the password used for installation.
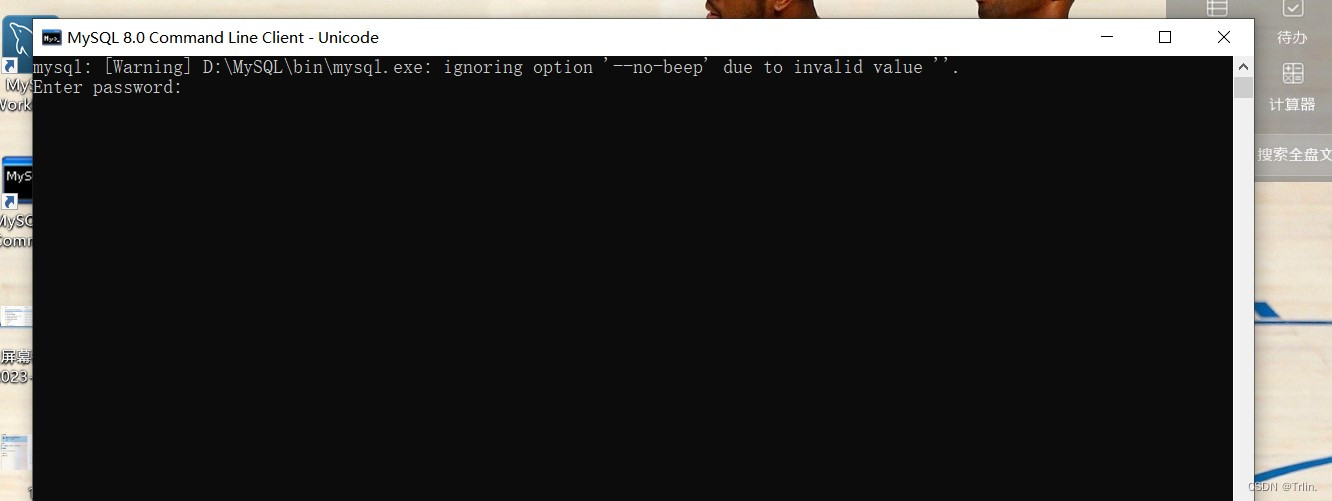
3. Indicates successful installation.
IV. Configuring environment variables
1. Find the MySQL installation path (note the bin file).

2. Right-click to open the properties of “this computer”, click “Advanced System Settings”, and then click “Environment Variables”.
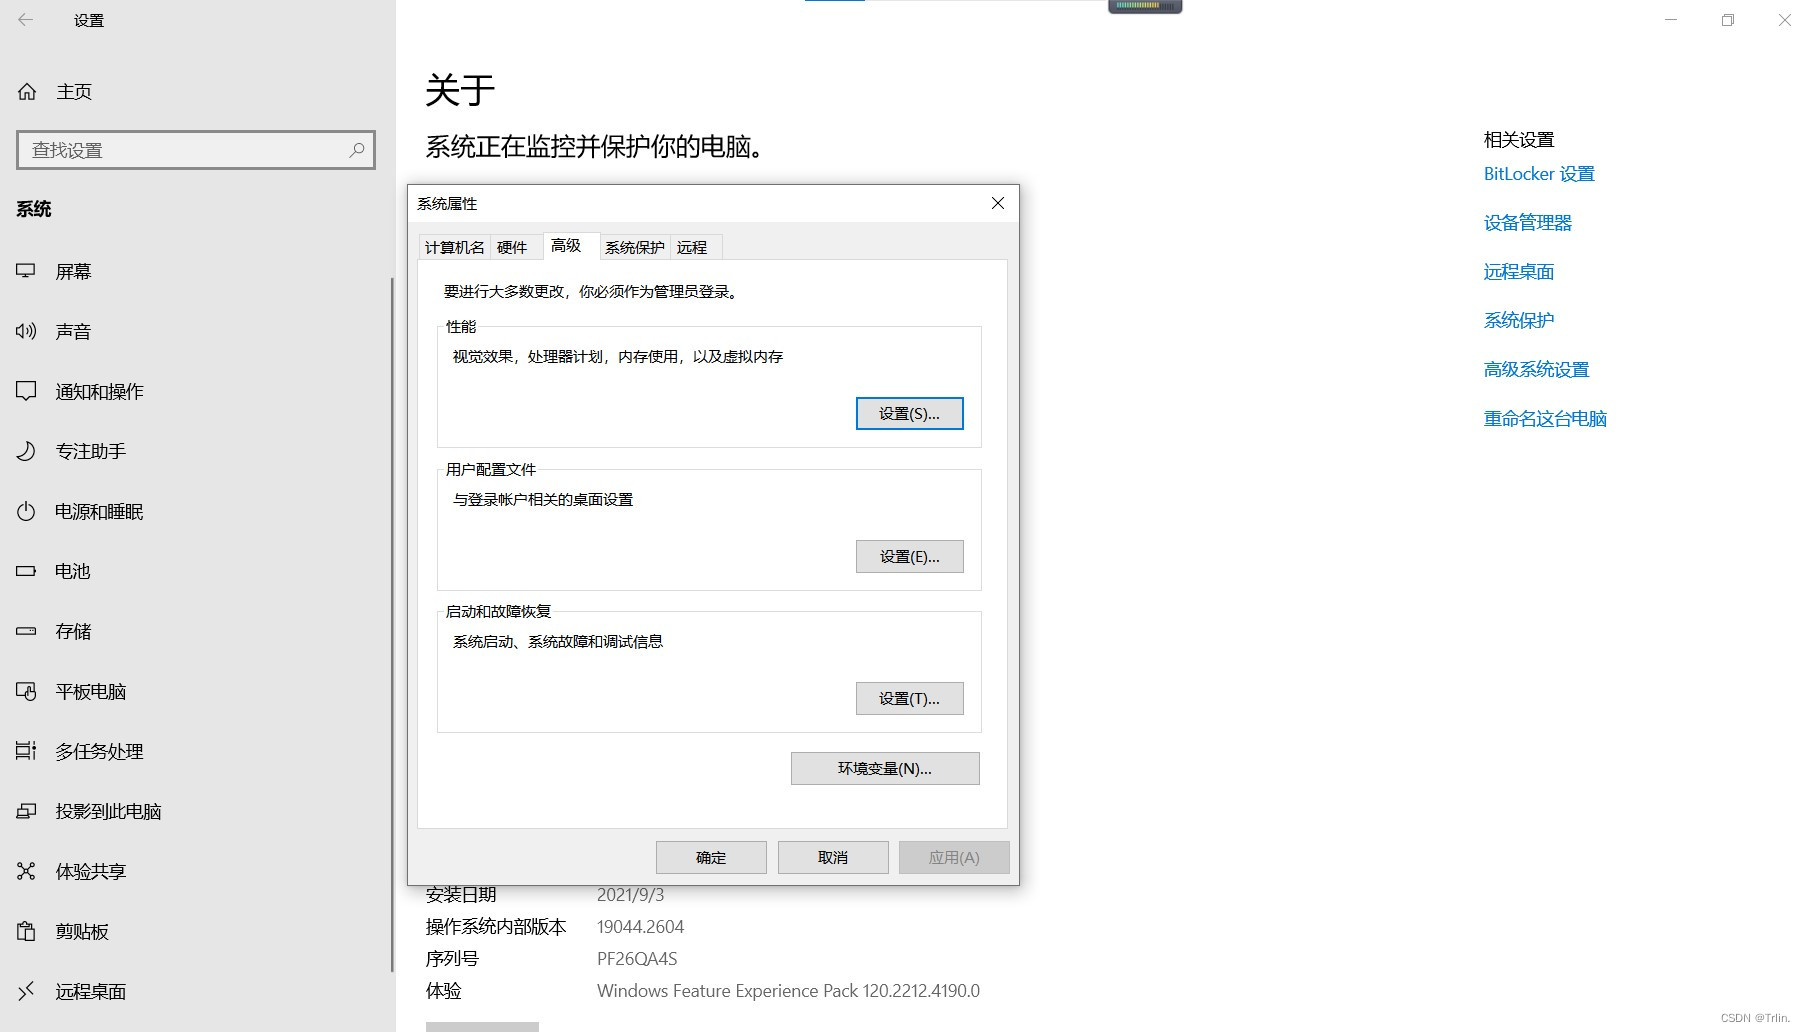
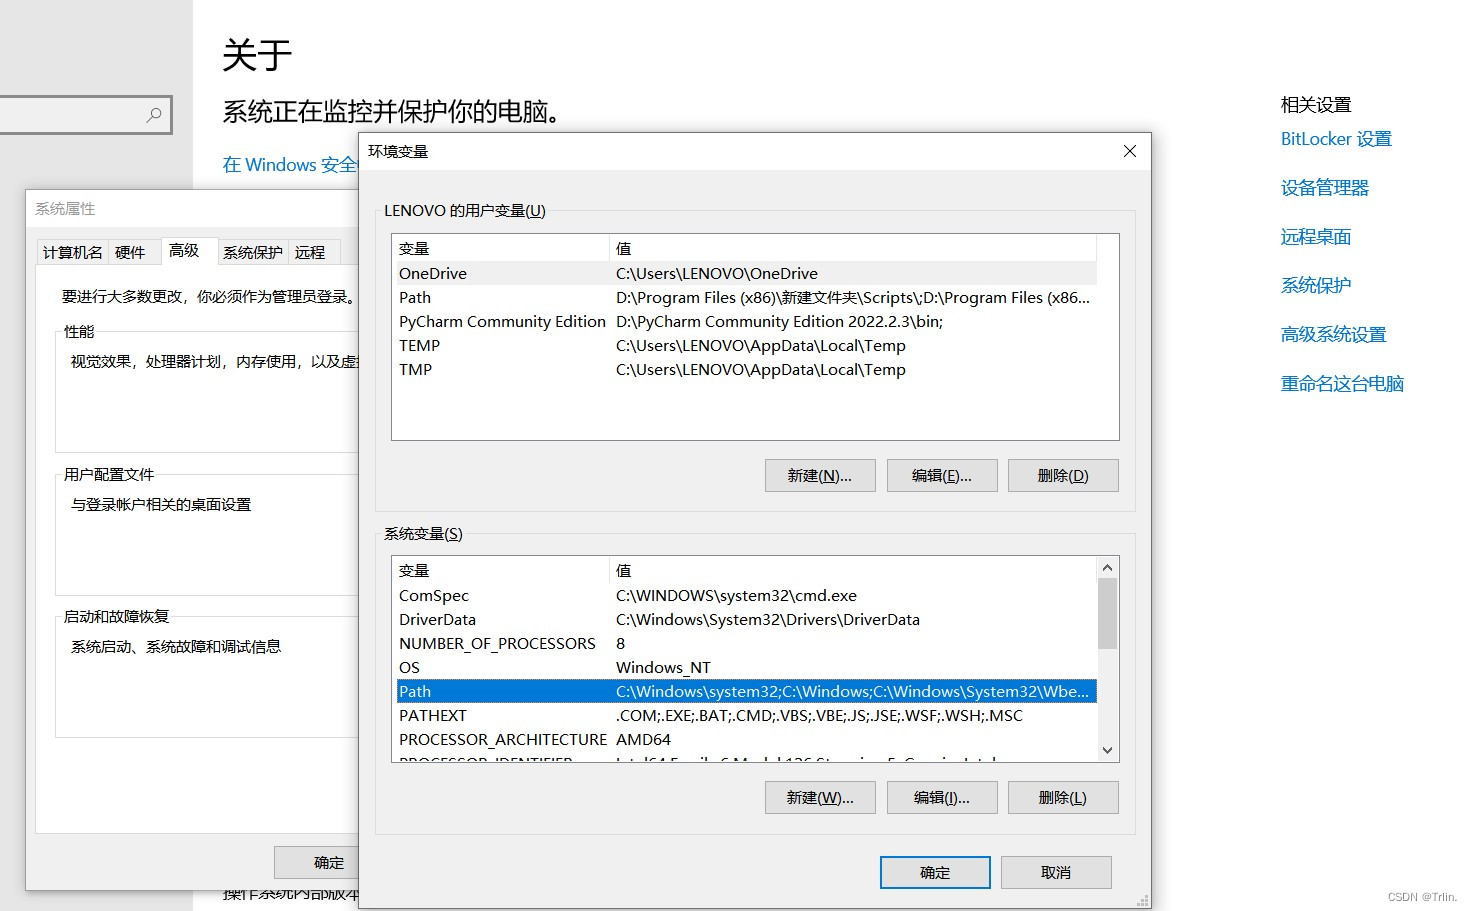
3. Click “Environment Variables” and select “path” in “System Variables”, then click “Edit”.
4. Click “New”, copy and paste the path of Mysql, and then click “OK”.
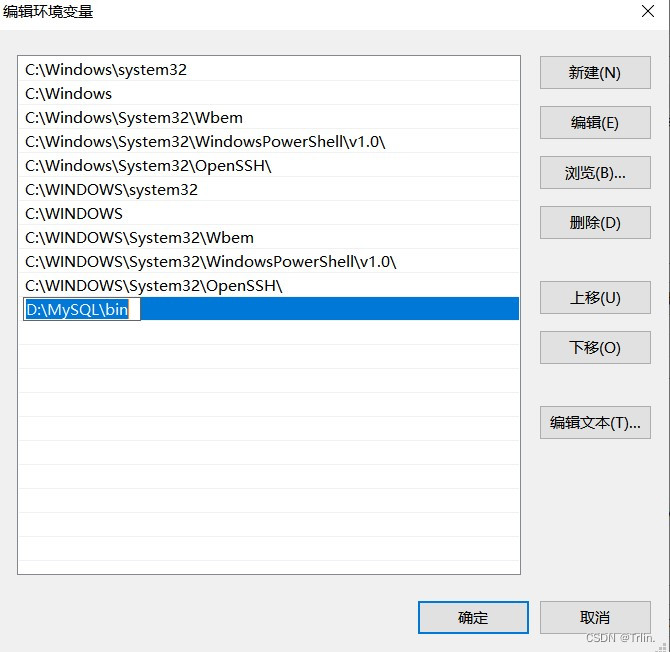
5. OK all the way to save the settings.
V. Verify that the configuration of environment variables is successful
“Window + R” key to pop up the run box, type “cmd” into the window command prompt, type “mysql -uroot -p” press enter, and then enter the password, press enter, the following interface is successfully configured.
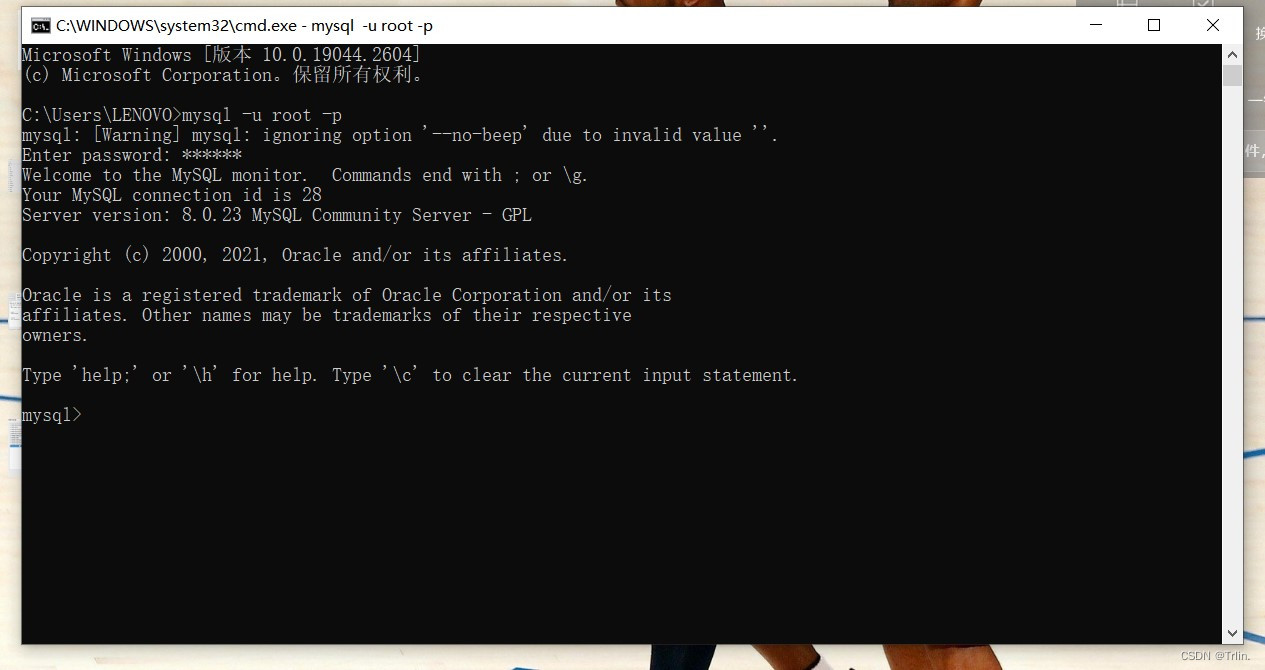
At this point the installation and configuration is complete.
