Local RabbitMQ service setup (windows)
preamble
The previous RabbitMQ has introduced a lot of content, today is mainly to build a usable RabbitMQ server, to facilitate the follow-up of further practice and detailed analysis
I. Erlang environment preparation
1. Download the installation package
Similar to running a java project, we need to install jdk. rabbitMQ is based on Erlang, so before installing rabbitMQ server, you need to install Erlang environment.
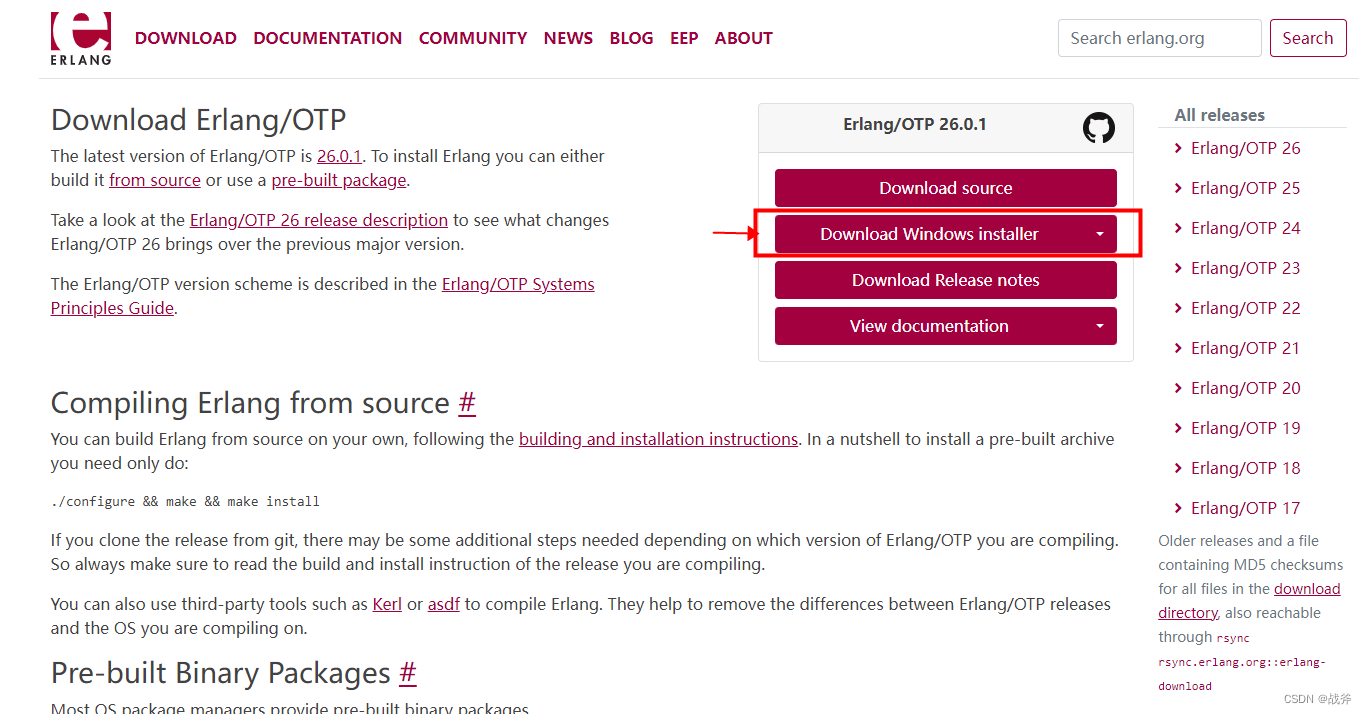
PS: I have uploaded the corresponding resources, windows can be directly downloaded and installed:Erlang/OTP 26.0.1 windos64 installation, official source (taken off the shelves)]
You can also go to the official website and download the windows direct install version directly:https://www.erlang.org/downloads
2. Installation
Because it is the installation version, so there is nothing special attention, you can click “Next” all the way.
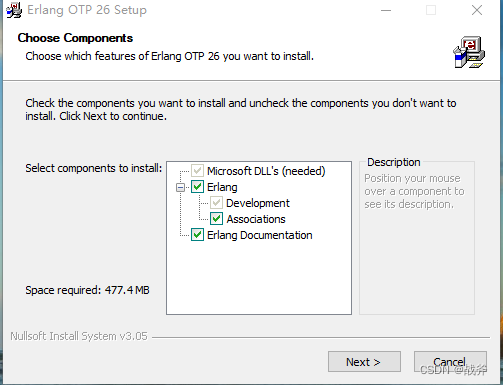
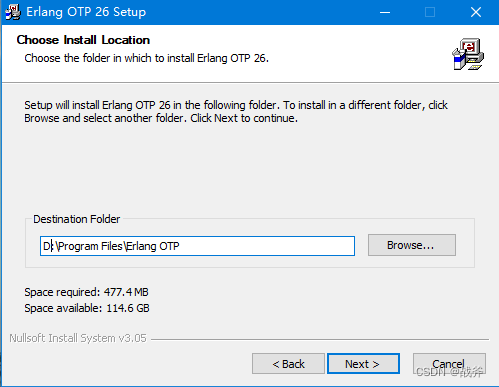
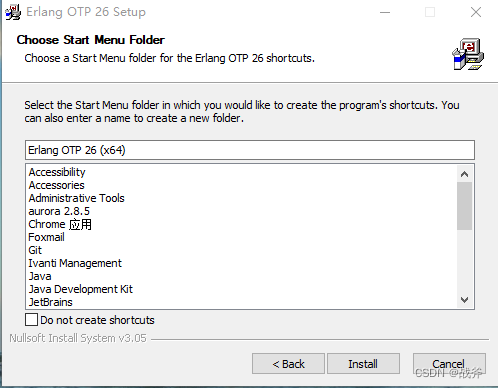
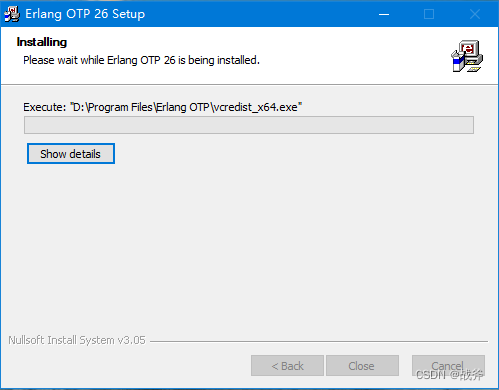
In the middle of the pop-up may ask to install visual C++, install it as required
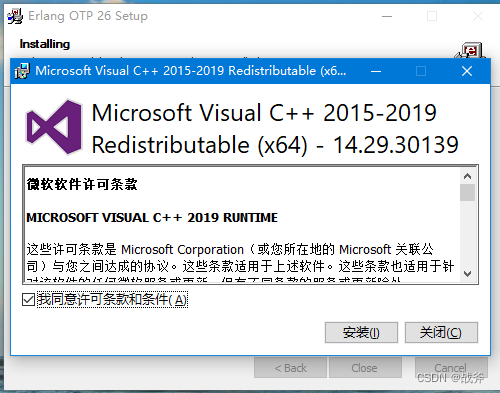
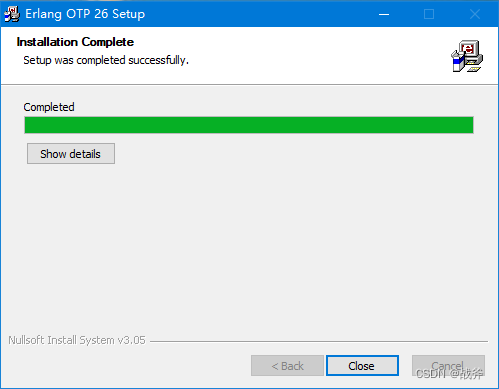
RabbitMQ server installation
1. Download the installation package
Official website location:https://www.rabbitmq.com/download.html
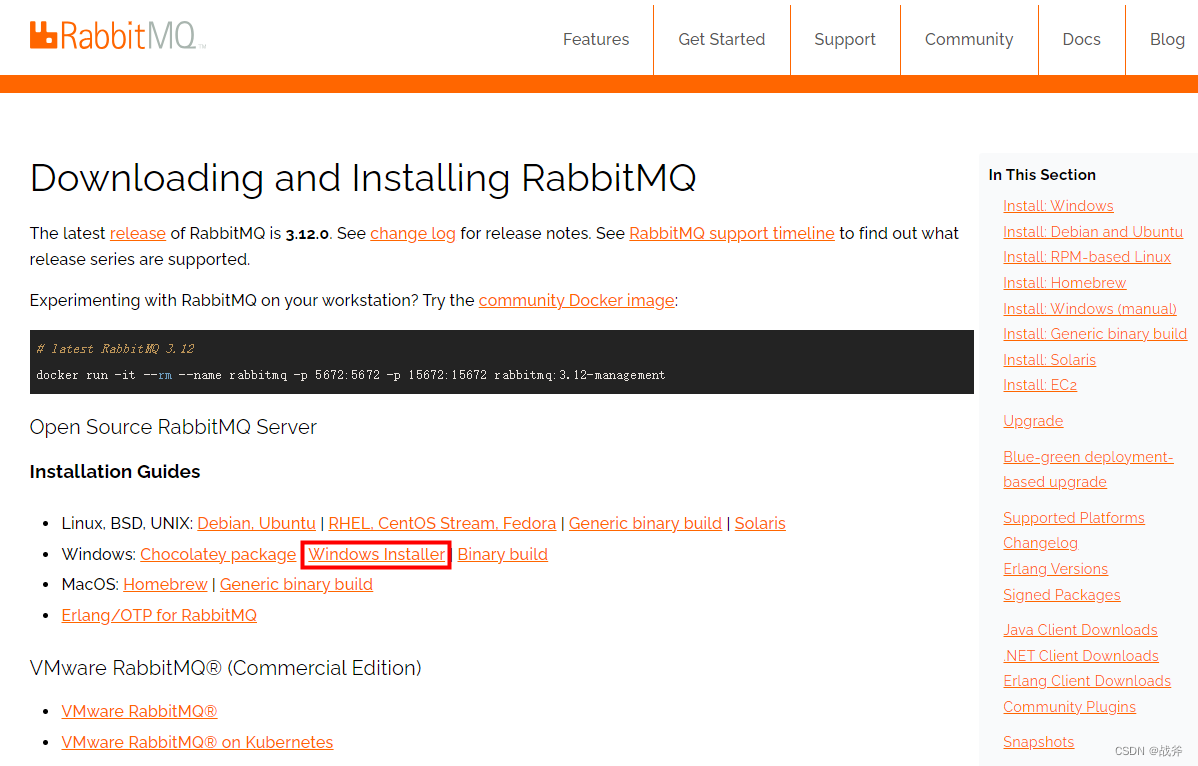
I had also uploaded a resource, but it was taken down for copyright reasons, so you’ll have to go to the official website and download it yourself
2. Install the RabbitMQ server
Just click on the downloaded installation package and fool around with the default configuration all the way through
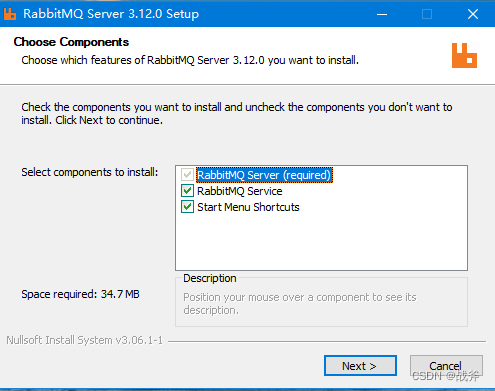
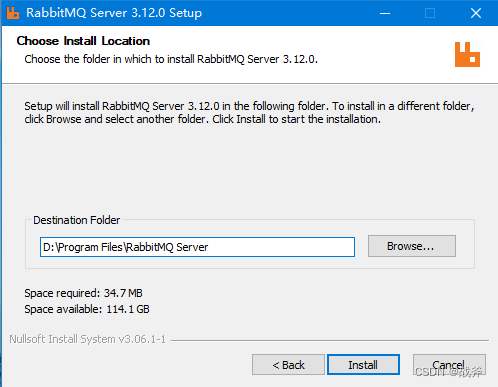
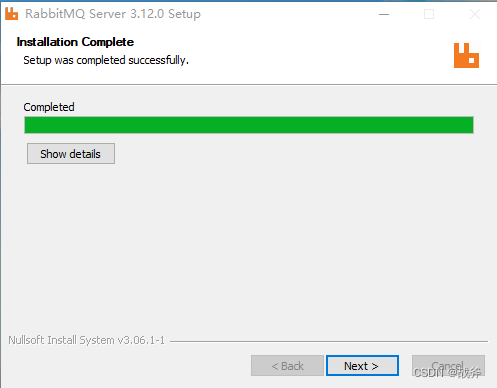
3. Start RabbitMQ
You can start and stop RabbitMQ by going to Computer – Administration – Services and Applications – Services, or you can set it to start on boot.
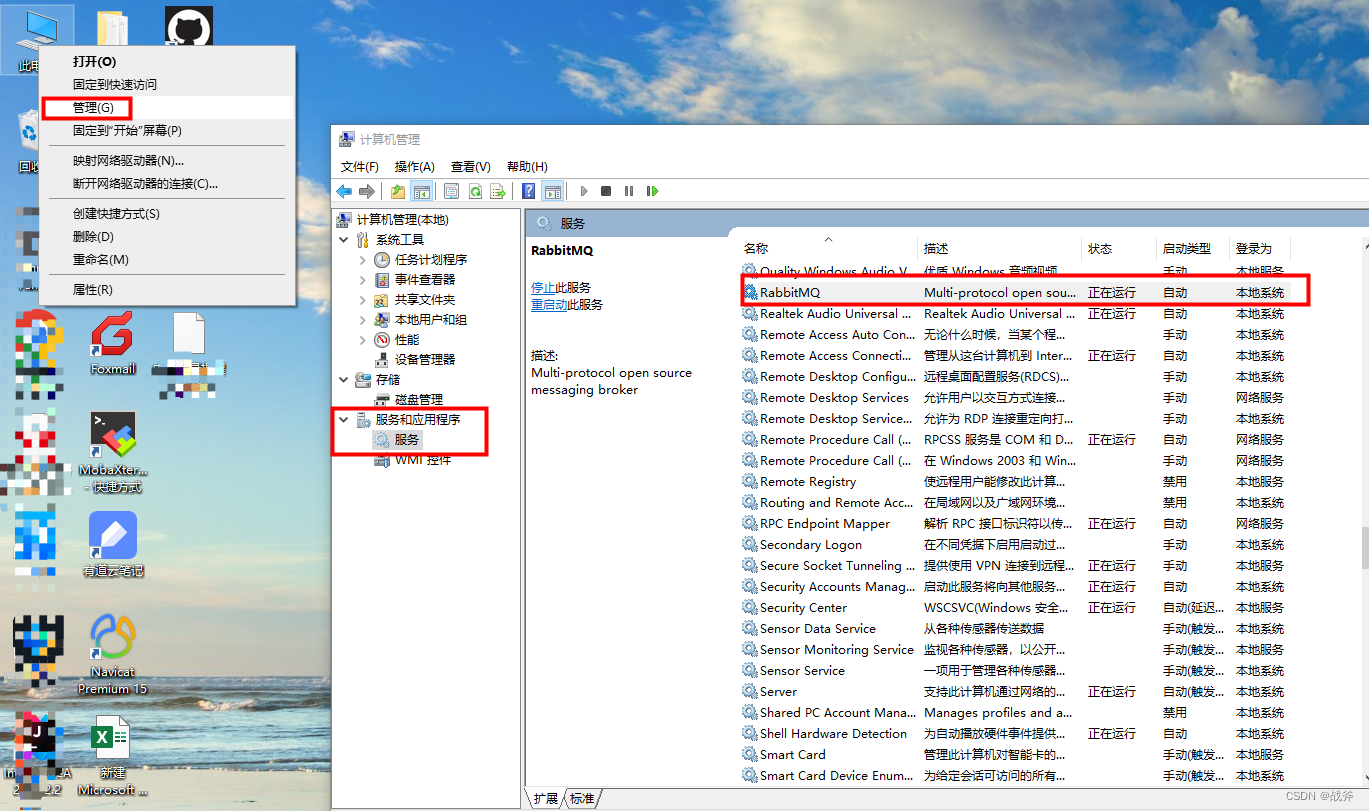
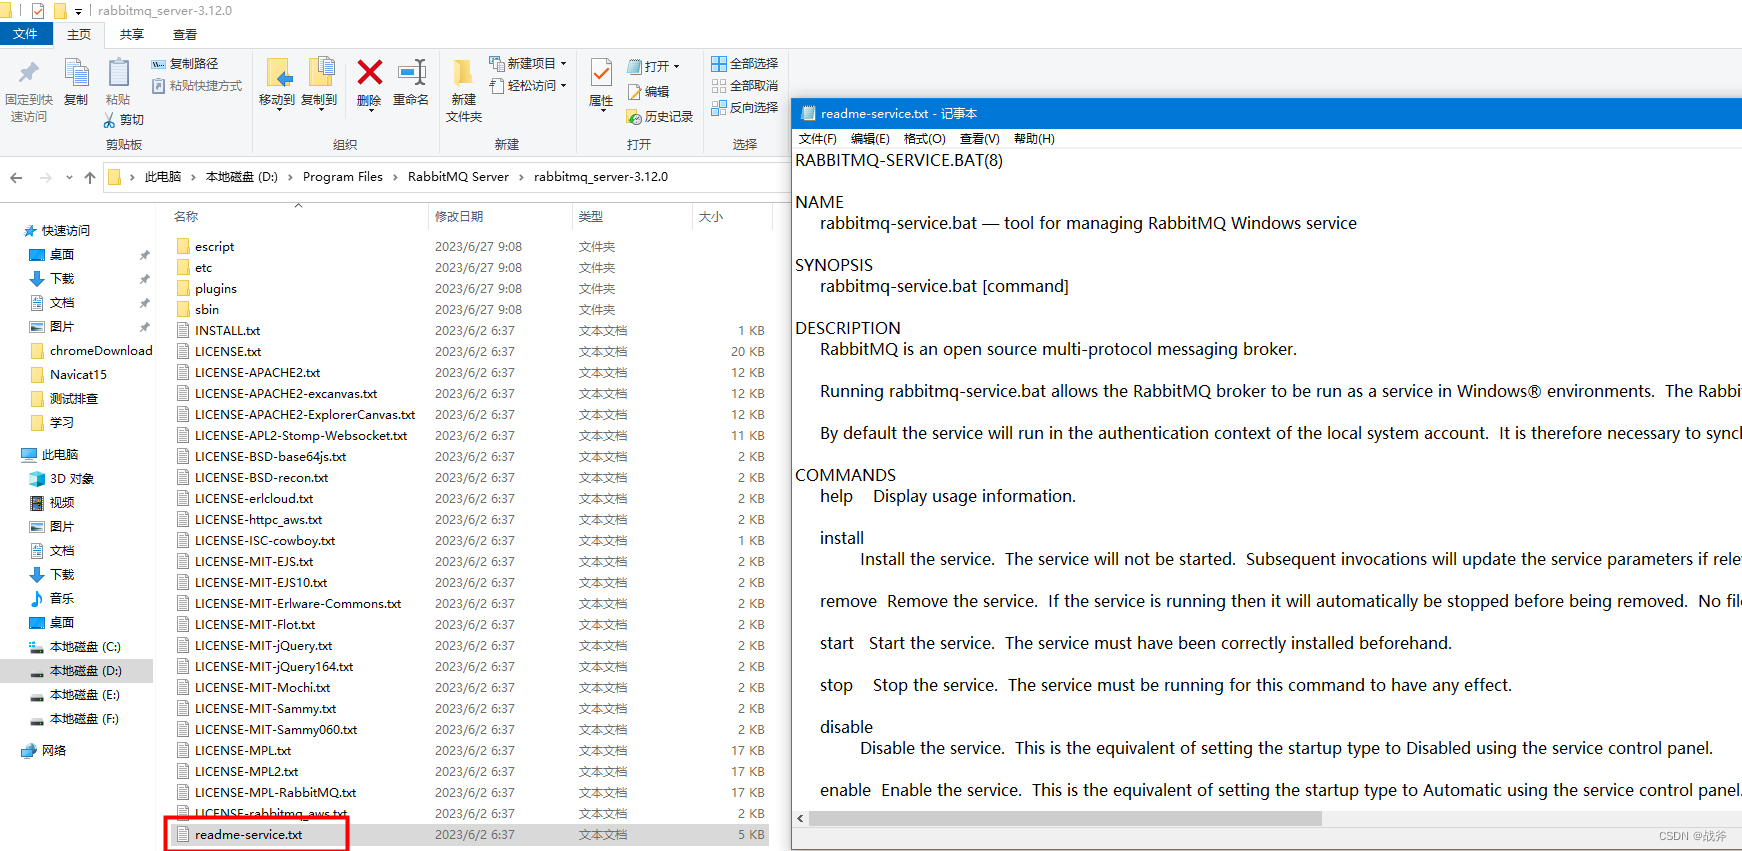
Of course, it can also be started and stopped from the command line, the list of commands for which can be found in the text file that came with the installation, as shown below:
4. Start-up status detection
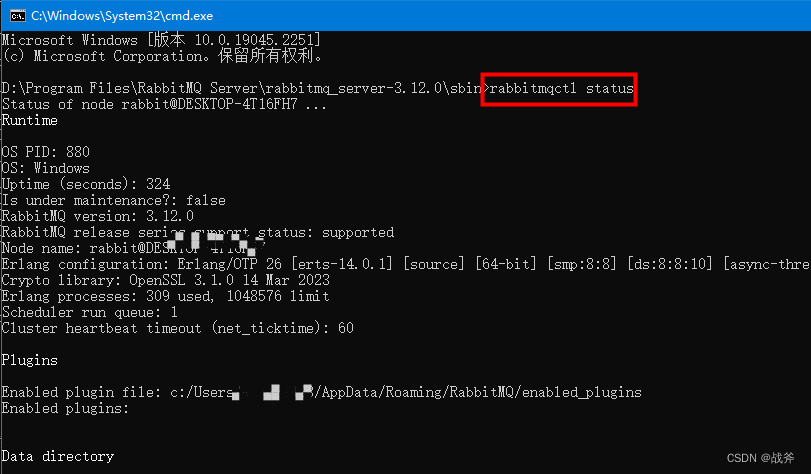
execute a commandrabbitmqctl status The normal situation can be seen in its operational status
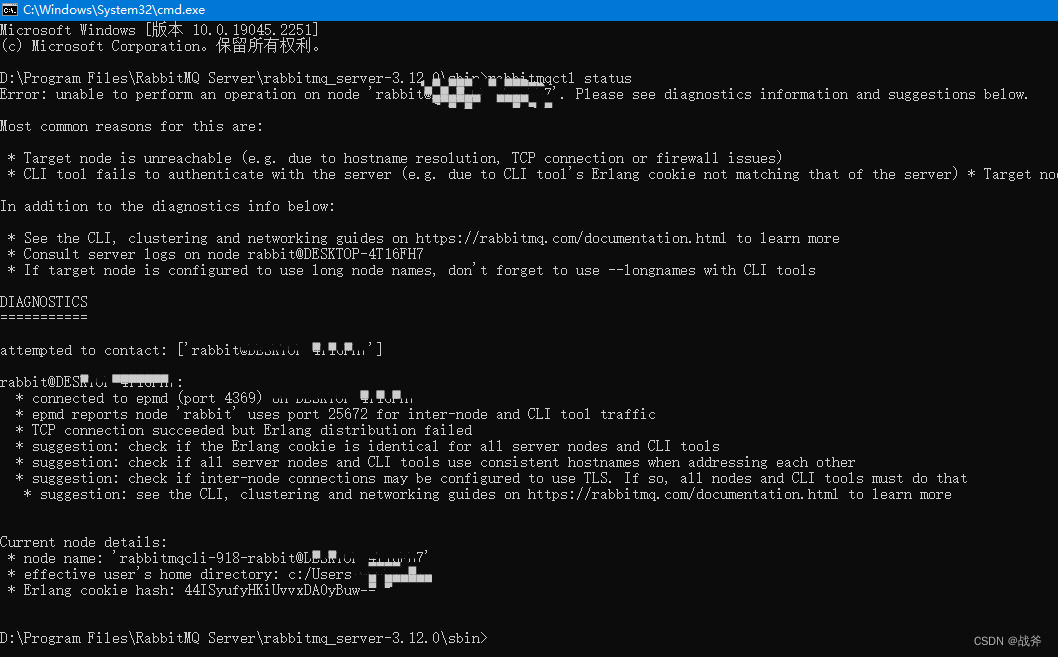
If the status check fails, as shown below, it is recommended to restart rabbitMQ by shutting down the service via Computer – Administration and starting it via rabbitmq-server.bat in the installation root directory
5. Managing plug-in enablement
Now that the service is up, but you still need to install the page management plugin, run the command
rabbitmq-plugins enable rabbitmq_management
At this point, execute therabbitmqctl status You can see that the plugin is successfully installed and port 15672 is opened by default.

III. Login management interface
Browser inputhttp://127.0.0.1:15672/ Open the management interface

The initial default user and password areguest Enter to log in
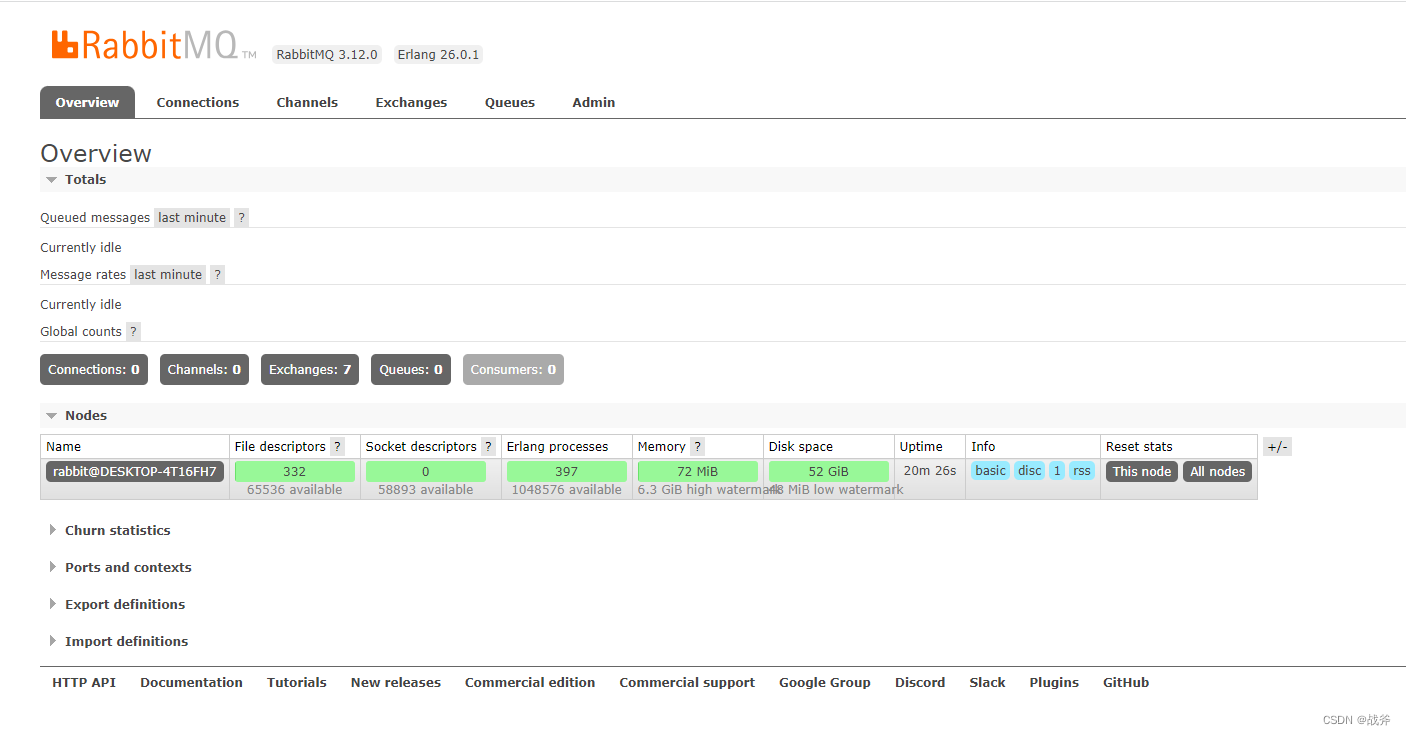
The windows version of rabbitMQ server is installed.
