Article Catalog
I. Environmental configuration
Installation: python 3.8, Miniconda, Visual C++
1.1 Installing python 3.8
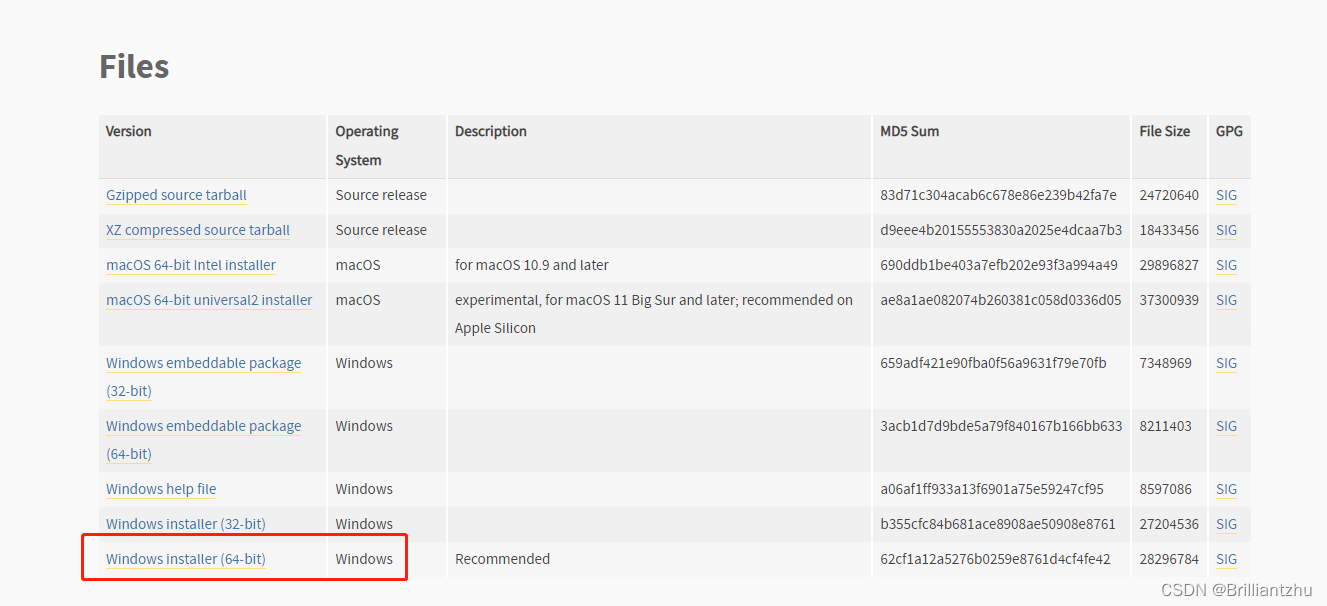
go intopython official websiteInstallation DownloadWindows installer (64-bit)(The version I downloaded)

1.2 Installing Miniconda
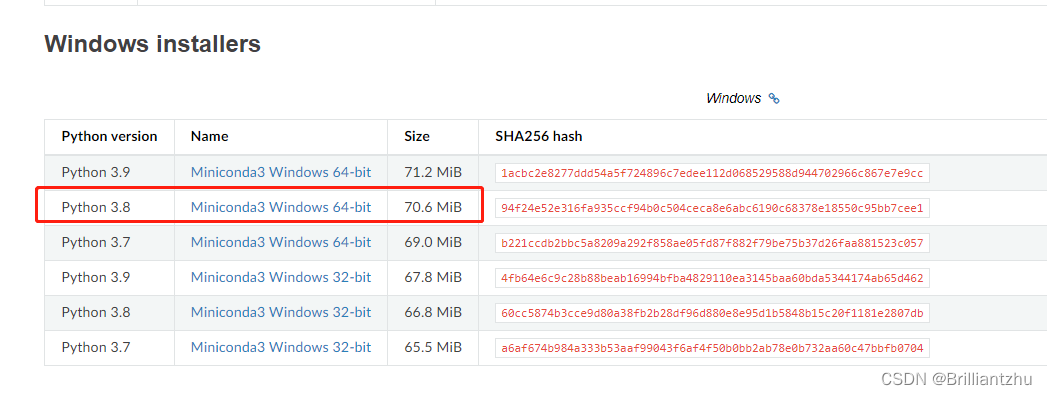
go intoMiniconda websiteInstallation DownloadMiniconda3 Windows 64-bit(I downloaded the version)
- Note that the version downloaded here should correspond to the python version.

1.3 Installing Visual C++
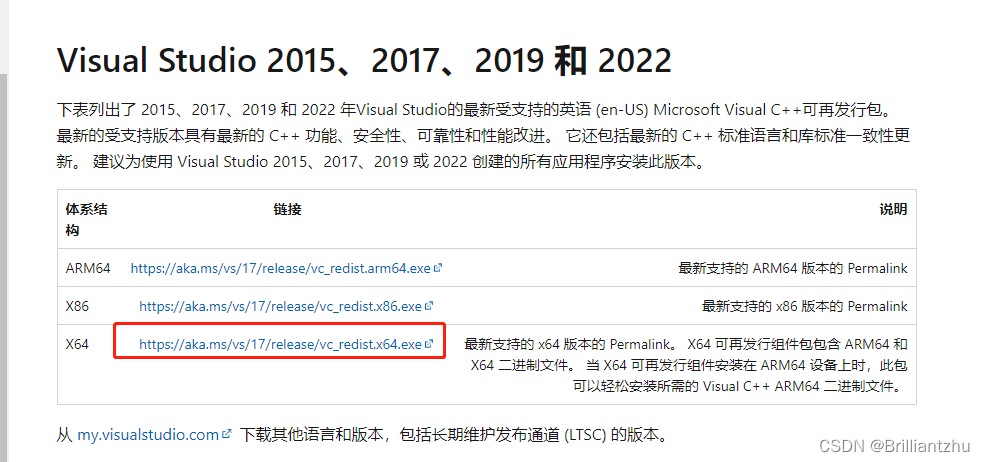
go intoVisual C++ official websiteInstallation DownloadVC_redist.x64.exe

After all the installation is complete, click on the bottom left corner of the program, as shown in the figure below

Second, install Tensorflow
Tensorflow is divided into two versions of CPU and GPU installation, due to their own computer limitations, only installed the CPU version, the GPU version is faster (but my computer does not support, you need to NVIDIA GPU450 + on the version), the following is only the CPU version of the installation
- 1) Enter
Anaconda Promptpage, enter the command
pip install tensorflow -i https://pypi.doubanio.com/simple/
- 2) Install the other auxiliary libraries, pandas, matplotlib and notebook, by entering the command
pip install pandas matplotlib notebook -i https://pypi.doubanio.com/simple/
- 3) Open notebook and enter the following command
jupyter notebook
Or (if it won’t open above)
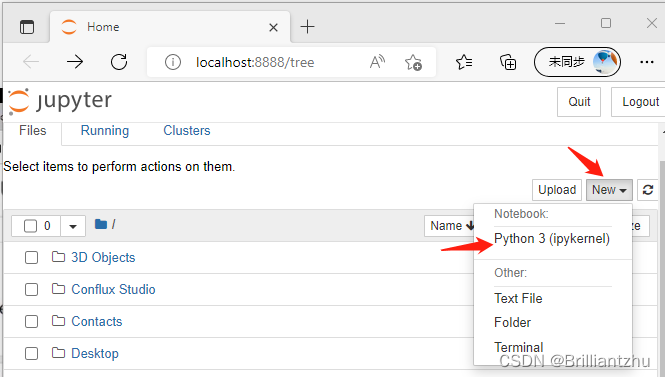
python -m notebookA window will then automatically pop up showing the notebook page, click on thenewand then clickPython 3 (ipykernel)A new programming environment can be created.

Then, typeimport tensorflow as tfandprint(tf.__version__)For a printable version, click(of a computer) runor shortcut keyshift+Enter。

That completes the installation of tensorflow.
