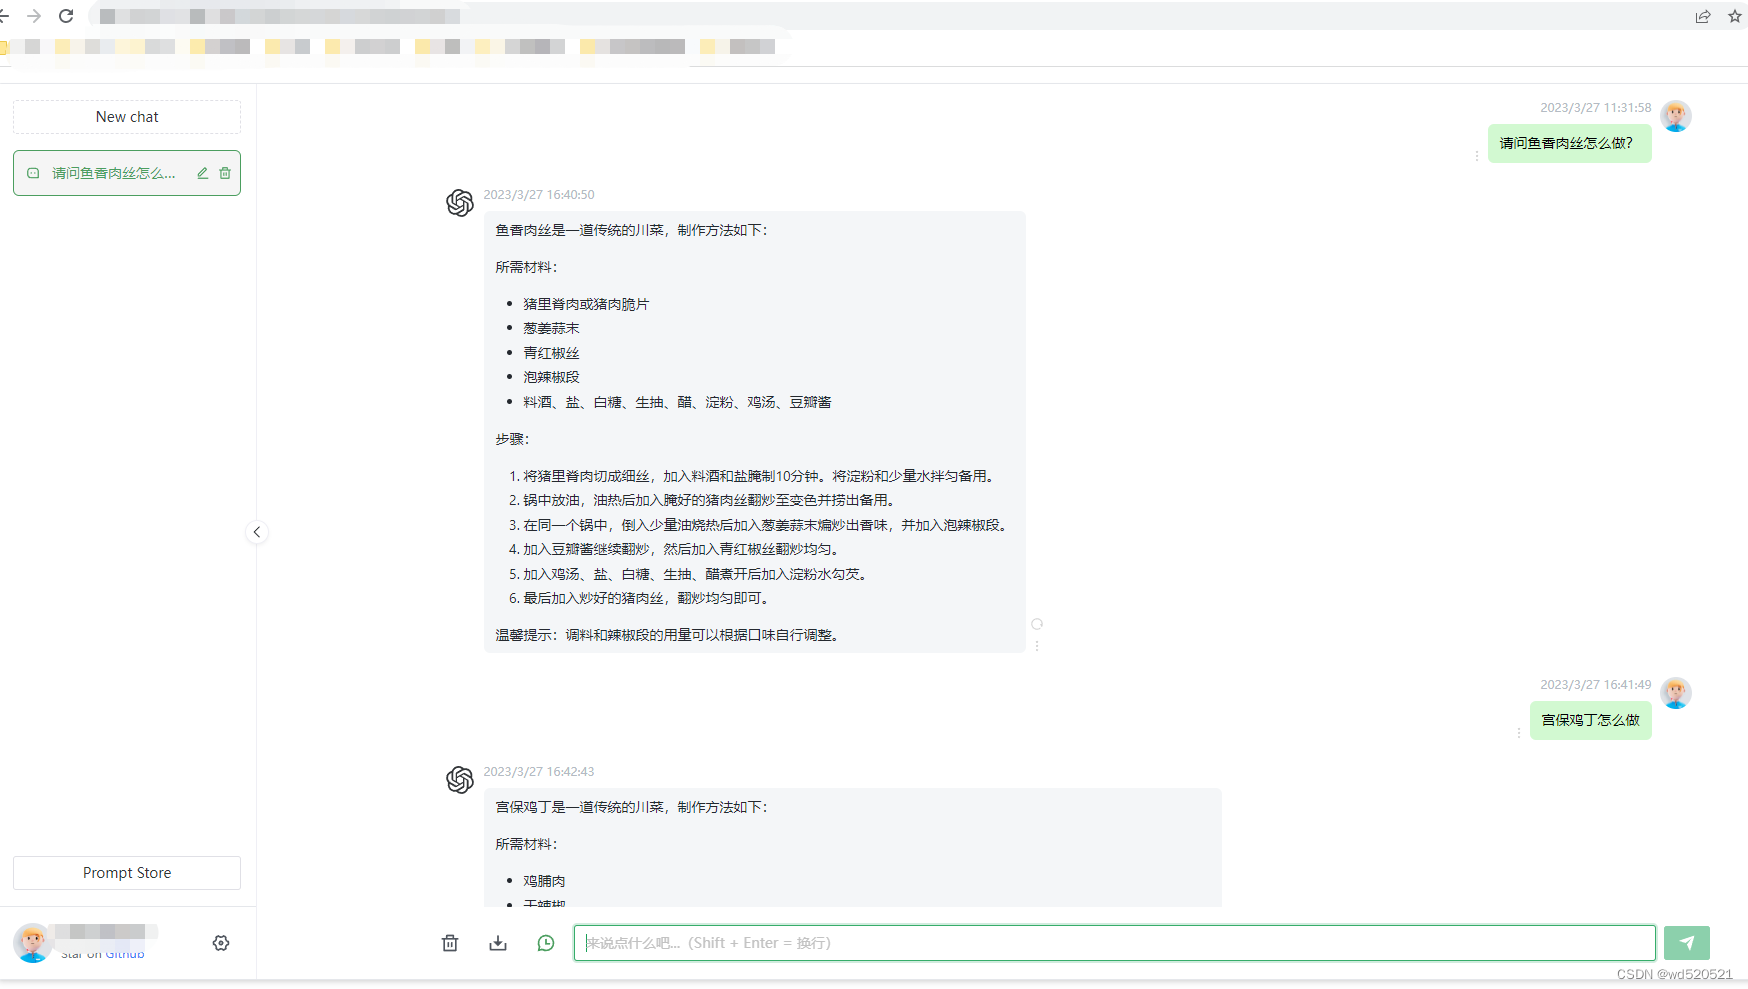
The premise of this post is to make sure that you have obtained openai’s API-KEYS, i.e., keys that start with sk-, and that you have installed docker and docker-compose on your server.
I. (Way 1) docker deploy chat-web to realize your own ChatGPT
1、Create the docker-compose.yml file
(1) Create a directory on the server: chatgpt_web
mkdir chatgpt_web && cd chatgpt_web
(2) Create docker-compose.yml file
vim docker-compose.yml
(3) Fill in the following into the yml configuration file and save it
version: '3'
services:
  app:
    image: chenzhaoyu94/chatgpt-web:latest
    ports:
      - 3002:3002
    environment:
      # api key
      OPENAI_API_KEY: sk-xxx (change to your own secret key)
      # Timeout in milliseconds, optional
      TIMEOUT_MS: 60000
Save: Press Esc, then type :wq to enter.
Note: When people write yml files. You have to remove the comments, otherwise there is a risk of reporting errors.
2. Deploy and start running
docker-compose up -d
3、Login to chatgpt_web page
Direct access after successful run (requires port 3002 to be open)
http 3002

4. Other problem solving
(1) If you encounter fetch failed, you can tap the circle above to refresh it.

If refreshing doesn’t help, restart docker and then restart the service.
# Restart docker
systemctl restart docker
#docker startup service

docker start Container id

#View Container ID

docker ps -a
5, configure the reverse proxy — can not be configured
The nginx configuration file is as follows:
server
{
    listen 80;
	listen 443 ssl http2;
	listen [::]:443 ssl http2;
    listen [::]:80;
    server_name your domain name.
    location / {
		proxy_pass http 3002/; # note the port number
	}
    ssl_certificate    /www/m/fn.pem;
    ssl_certificate_key    /www/m/py.pem;
    ssl_protocols TLSv1.1 TLSv1.2 TLSv1.3;
}
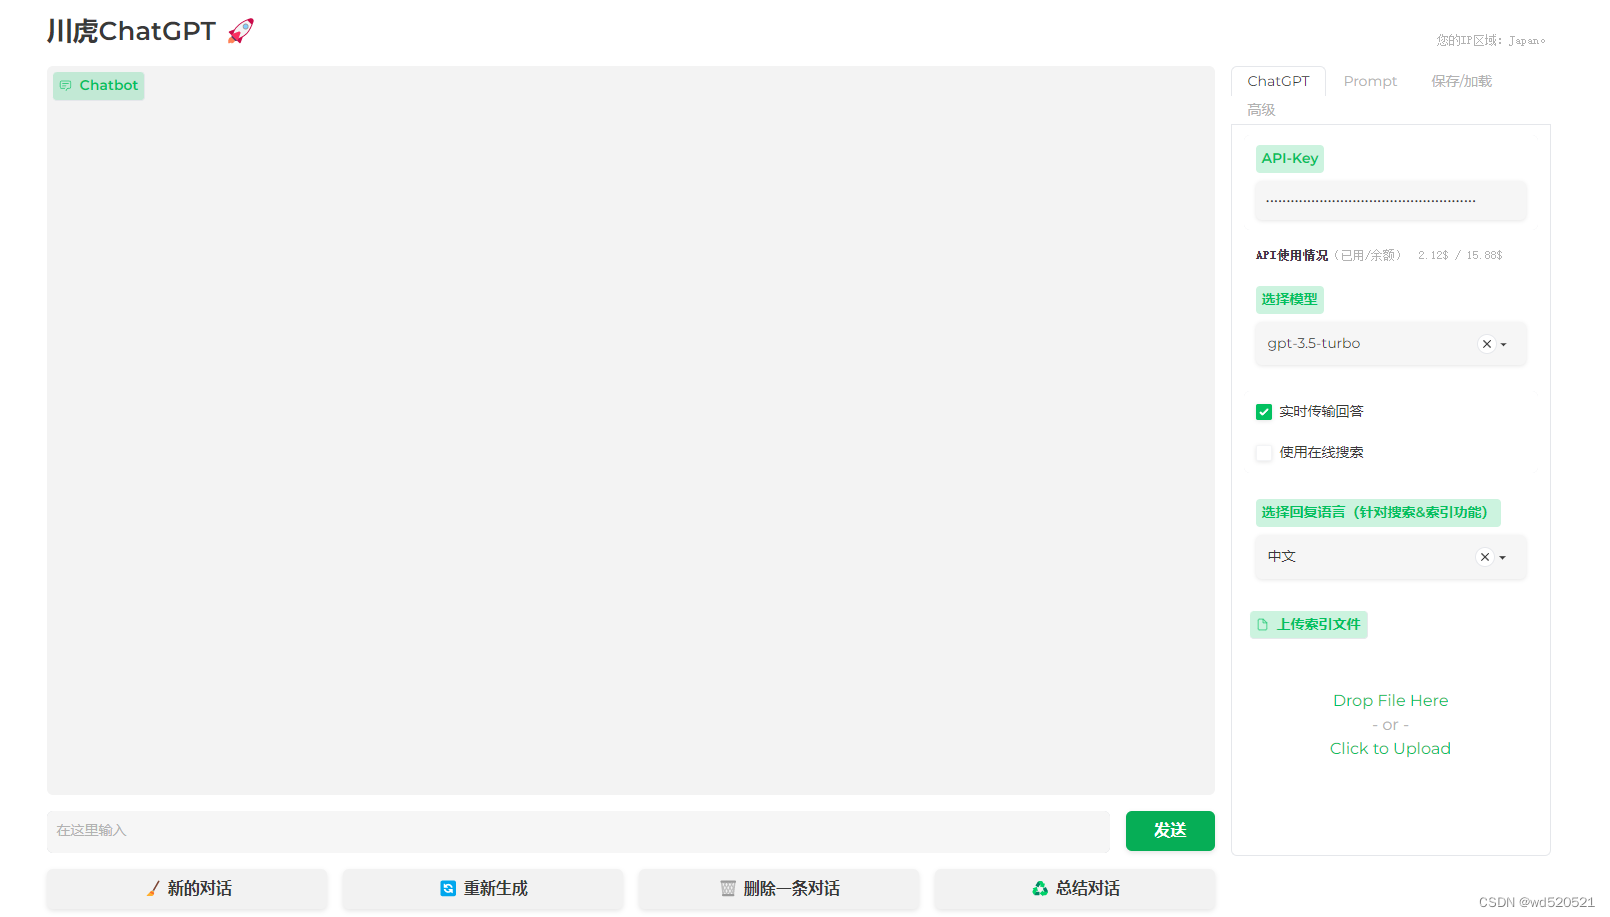
(ii) docker department Chuanhu ChatGPT
1, docker pull image
docker pull tuchuanhuhuhu/chuanhuchatgpt:latest
2. Start the image
docker run -d --name chatgpt \
	-e my_api_key="Replace with API" \
	-e USERNAME="Replace with user name" \
	-e PASSWORD="Replace with password" \
	-v ~/chatGPThistory:/app/history \
	-p 7860:7860 \
	tuchuanhuhuhu/chuanhuchatgpt:latest
Note: (1)
USERNAME respond in singing
PASSWORD Both lines can be omitted. If omitted, authentication will not be enabled.
(2) Personal recommendations, omitted
USERNAME respond in singing
PASSWORD Two acts are good.

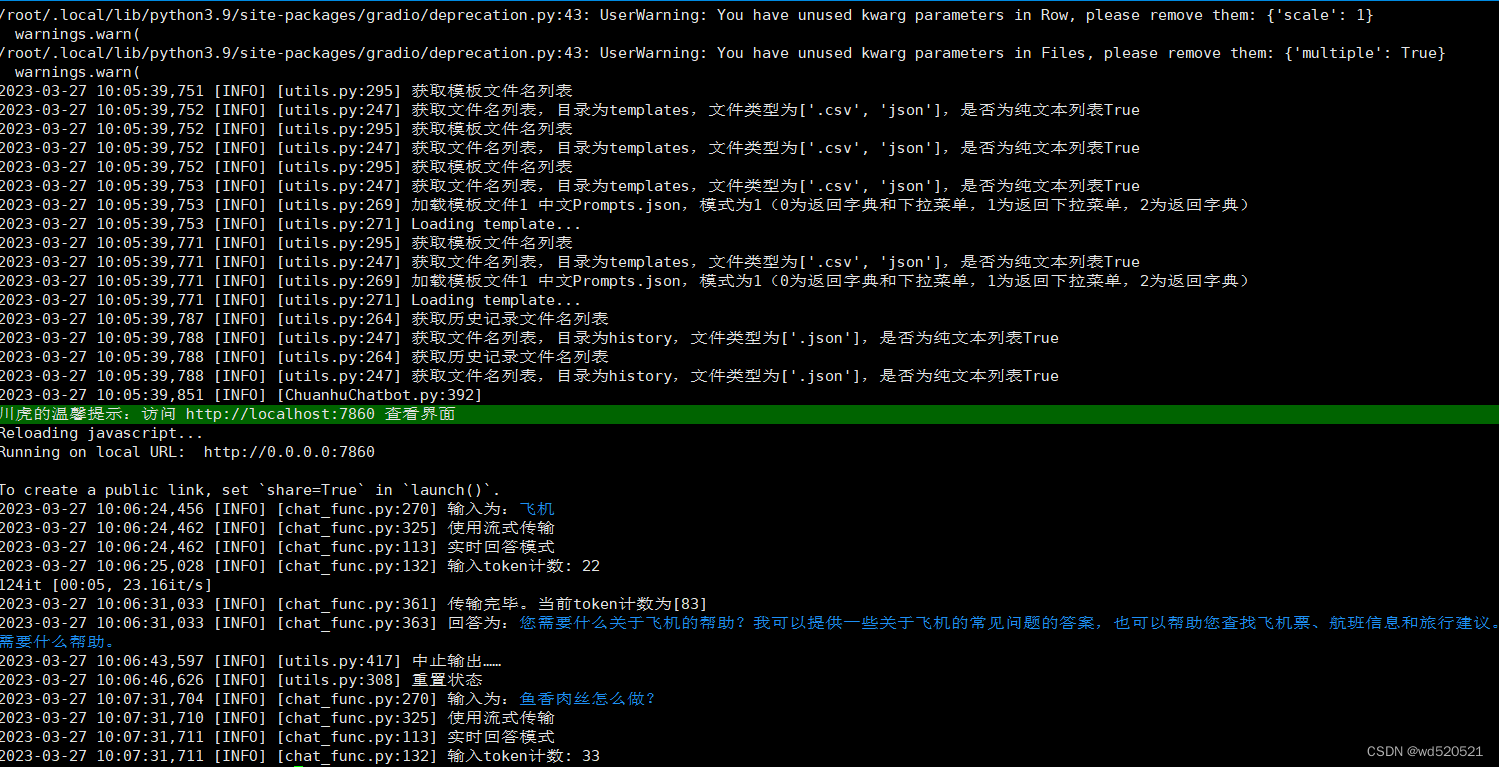
3、Check the operation status
docker logs chatgpt

This will allow you to use IP access, the access link is as follows
http://IP:7860
4, configure the reverse proxy
attention (heed):Configuring a reverse proxy is not required. If you need to use a domain name, you need to configure the Nginx reverse proxy.
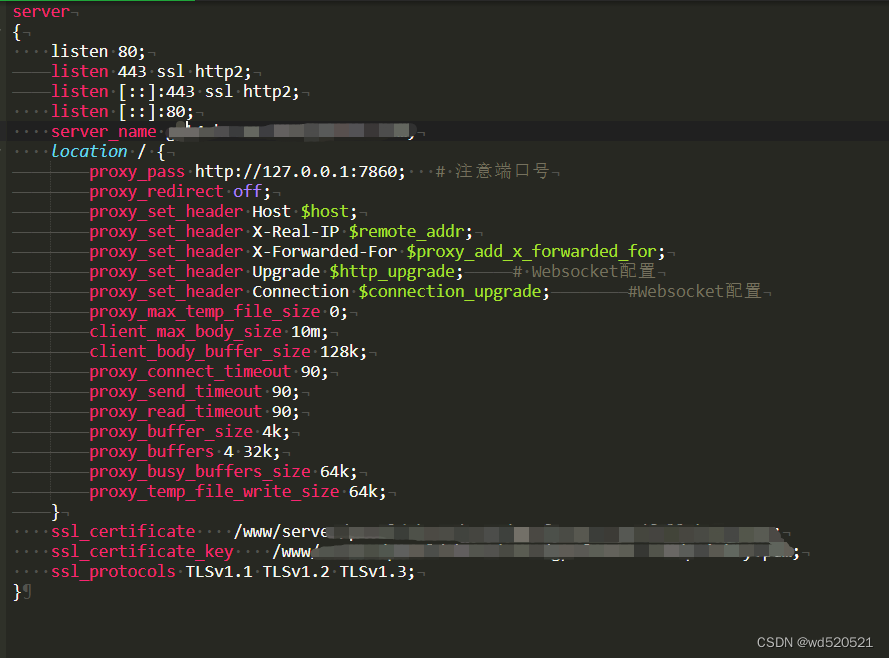
The nginx configuration file is as follows:

server
{
    listen 80;
	listen 443 ssl http2;
	listen [::]:443 ssl http2;
    listen [::]:80;
    server_name your domain name.

    The #location part is uniform and must be consistent
    location / {
		proxy_pass http 7860; # note the port number
		proxy_redirect off;
		proxy_set_header Host $host;
		proxy_set_header X-Real-IP $remote_addr;
		proxy_set_header X-Forwarded-For $proxy_add_x_forwarded_for;
		proxy_set_header Upgrade $http_upgrade;		 # Websocket configuration
		proxy_set_header Connection $connection_upgrade;		 #Websocket configuration
		proxy_max_temp_file_size 0;
		client_max_body_size 10m;
		client_body_buffer_size 128k;
		proxy_connect_timeout 90;
		proxy_send_timeout 90;
		proxy_read_timeout 90;
		proxy_buffer_size 4k;
		proxy_buffers 4 32k;
		proxy_busy_buffers_size 64k;
		proxy_temp_file_write_size 64k;
	}
    # SSL part of the configuration, you can configure your own
    ssl_certificate    /www/m/fn.pem;
    ssl_certificate_key    /www/m/py.pem;
    ssl_protocols TLSv1.1 TLSv1.2 TLSv1.3;
}
server
{
    listen 80;
    server_name your domain name.
    #rewrite ^(.*)$ https://$host$1 permanent;
    #return 301 https://$server_name$request_uri;
    location / {
		proxy_pass http 7860; # note the port number
		proxy_redirect off;
		proxy_set_header Host $host;
		proxy_set_header X-Real-IP $remote_addr;
		proxy_set_header X-Forwarded-For $proxy_add_x_forwarded_for;
		proxy_set_header REMOTE-HOST $remote_addr;
		proxy_set_header Upgrade $http_upgrade;		 # Websocket configuration
		proxy_set_header Connection $connection_upgrade;		 #Websocket configuration
		proxy_max_temp_file_size 0;
		client_max_body_size 10m;
		client_body_buffer_size 128k;
		proxy_connect_timeout 90;
		proxy_send_timeout 90;
		proxy_read_timeout 90;
		proxy_buffer_size 4k;
		proxy_buffers 4 32k;
		proxy_busy_buffers_size 64k;
		proxy_temp_file_write_size 64k;
	}

}
server{
	listen       443 ssl;
	listen       [::]:443 ssl;
	server_name your domain name.
    ssl_certificate    /www/m/fn.pem;
    ssl_certificate_key    /www/m/py.pem;
    ssl_protocols TLSv1.1 TLSv1.2 TLSv1.3;
    ssl_ciphers ECDHE-RSA-AES128-GCM-SHA256 !aNULL !RC4:!DHE;# follow this suite configuration
    ssl_prefer_server_ciphers on;
	if ($scheme = http) {
        return 301 https://$server_name$request_uri;
    }
	location / {
        proxy_pass http 7860; # note the port number
		proxy_redirect off;
		proxy_set_header Host $host;
		proxy_set_header X-Real-IP $remote_addr;
		proxy_set_header X-Forwarded-For $proxy_add_x_forwarded_for;
		proxy_set_header REMOTE-HOST $remote_addr;
		proxy_set_header Upgrade $http_upgrade;		 # Websocket configuration
		proxy_set_header Connection $connection_upgrade;		 #Websocket configuration
		proxy_max_temp_file_size 0;
		client_max_body_size 10m;
		client_body_buffer_size 128k;
		proxy_connect_timeout 90;
		proxy_send_timeout 90;
		proxy_read_timeout 90;
		proxy_buffer_size 4k;
		proxy_buffers 4 32k;
		proxy_busy_buffers_size 64k;
		proxy_temp_file_write_size 64k;
    }

}
This configures nginx so that everyone can access it with their own domain name.
attention (heed)(1) With authentication currently configured, Nginx must be configured with SSL.
Otherwise, there will beCookie mismatch issues。
(2) After configuring nginx, starting nginx reports an error
nginx: [emerg] unknown "connection_upgrade" variable nginx: configuratio
Solution: Modify
nginx.confConfiguration file, add the following configuration to the http section: (this step is to configure the websocket connection)
map $http_upgrade $connection_upgrade {
  default upgrade;
  ''      close;
}

 If refreshing doesn’t help, restart docker and then restart the service.

 This will allow you to use IP access, the access link is as follows

