Article Catalog
summaries
Nextcloud, which is an offshoot of ownCloud, is a file-sharing server that allows you to store your personal content (such as documents and images) in a centralized location, much like Dropbox. The difference with Nextcloud is that all of its features are open source. It also returns control and security of sensitive data to you, eliminating the use of third-party cloud hosting services.
In this tutorial, we will install and configure an instance of Nextcloud on an Ubuntu server.
We will be installing Nextcloud using the snap packaging system, which is provided by default on Ubuntu 22.04 and allows organizations to distribute the software, along with all the associated dependencies and configurations, in a separate unit with automatic updates. This means that we can install the snap package, which handles the underlying system automatically, eliminating the need to configure the web and database servers and then configure the Nextcloud application to run on them by downloading the Nextcloud snap package and installing it on the system.
1. Environment setup
Installing snap
sudo apt-get install snapd
sudo apt-get install snapcraft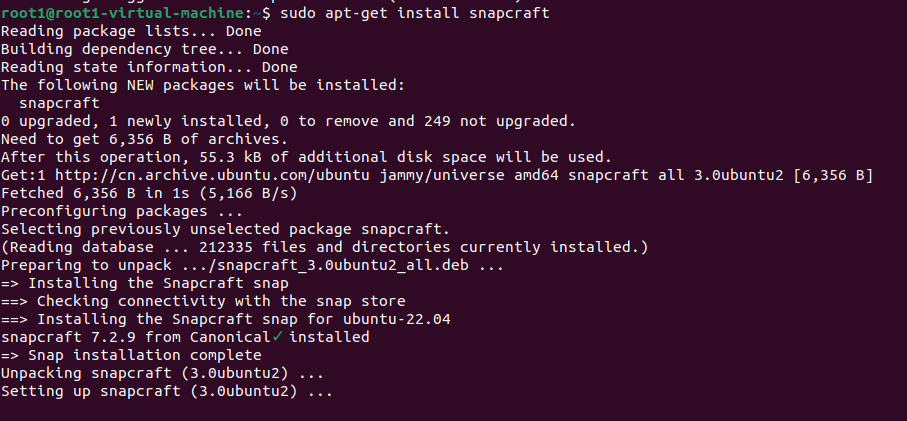
Install NextCloud
sudo snap install nextcloud
Verify that the installation process was successful by listing the changes associated with the snapshot
snap changes nextcloud

Then start nextcloud with
start: sudo snap start nextcloud
stop: sudo snap stop nextcloud
2. Testing of local area network access
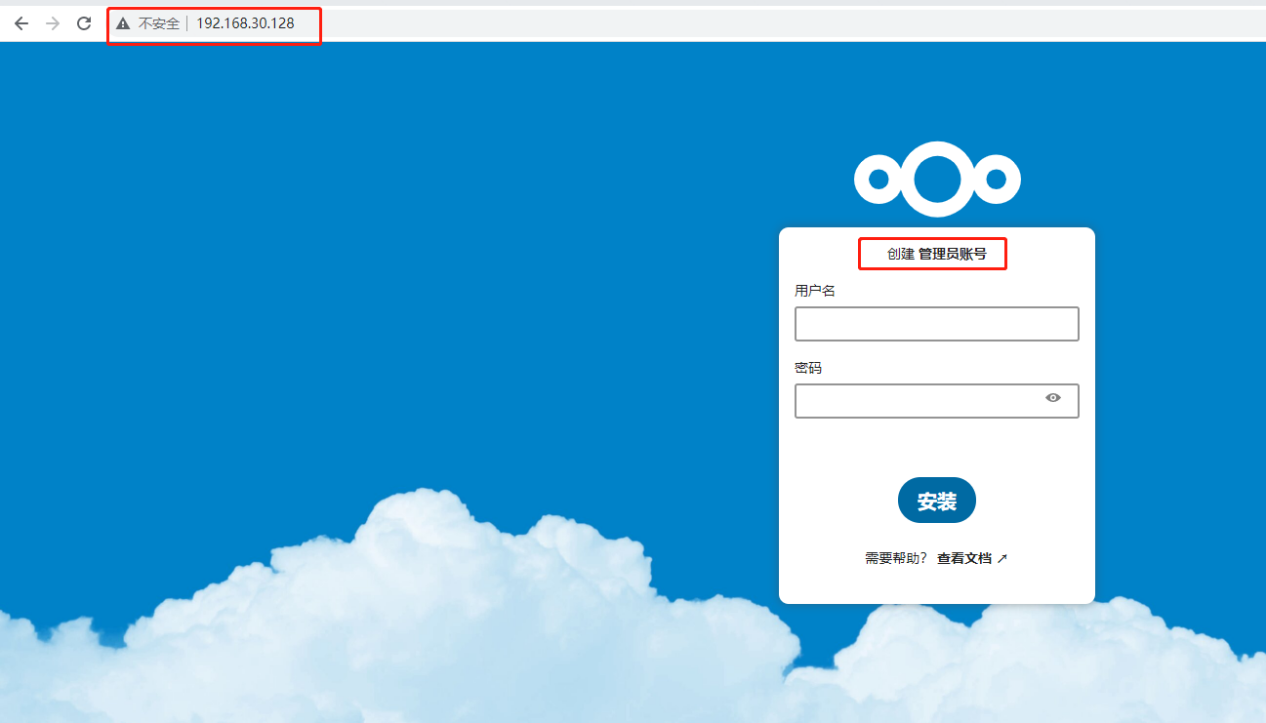
Open the browser, use the LAN ip address to access, appear nextcloud interface indicates success, note that the first installation needs to be created to set up the administrator account, user name and password, set up the completion of the installation can be clicked!
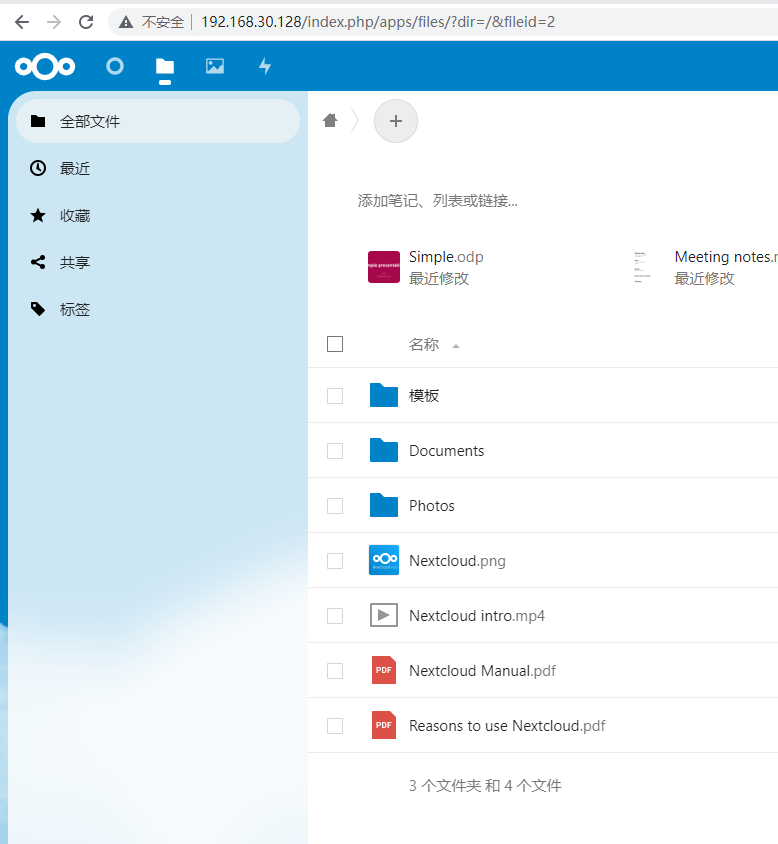
Normal access after successful installation
3. Intranet penetration
As the nextcloud can only be accessed locally, in order to make remote access, we need to set up to change the service published to the public network. Here we can through the cpolar intranet penetration tool to achieve, it supports http/https/tcp protocols, without the public IP, but also do not need to set up a router, you can easily publish the local site to the public network for remote access.
3.1 ubuntu local installation of cpolar
cpolar official website:https://www.cpolar.com/
- cpolar installation (for domestic use)
curl -L https://www.cpolar.com/static/downloads/install-release-cpolar.sh | sudo bash- or cpolar short link installation method: (for foreign use)
curl -sL https://git.io/cpolar | sudo bash- Check the version number, there is a normal display of the version number that is successfully installed
cpolar version
- token authentication
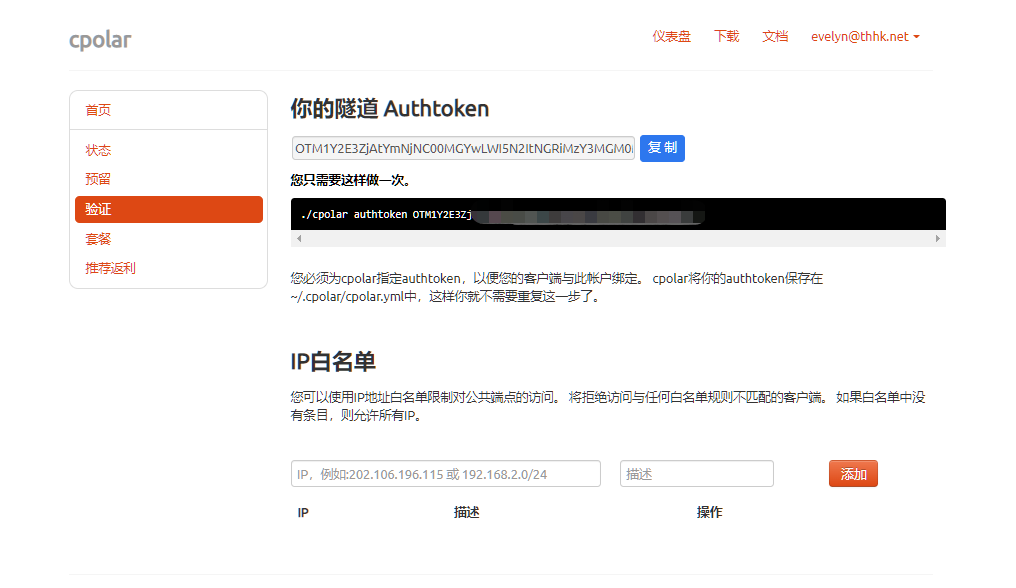
Log in to the backend of the cpolar website, click on Authentication on the left side, check your authentication token, and then paste the token into the command line
cpolar authtoken xxxxxxx
- Simple penetration test, there is a normal generation of the corresponding public address that is successful penetration
cpolar http 8080Press ctrl+c to exit
- Adding services to the system
sudo systemctl enable cpolar- Start the cpolar service
sudo systemctl start cpolar- Check Service Status
sudo systemctl status cpolar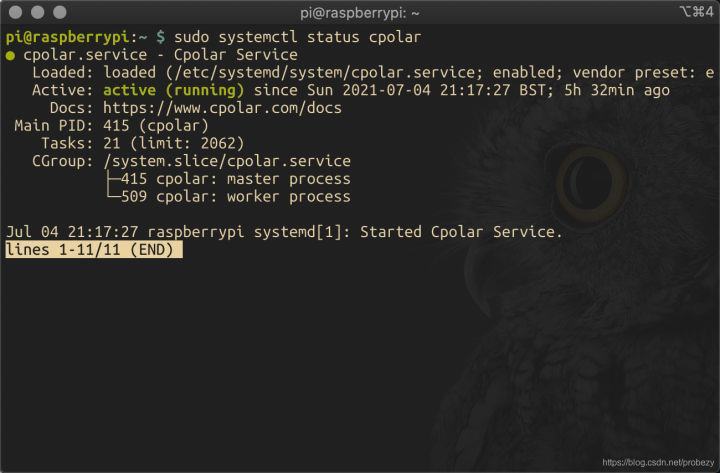
3.2 Creating tunnels
After cpolar is successfully installed, access port 9200 on your local or LAN ip on your browser and log in to the cpolar web UI management interface using your cpolar email account.
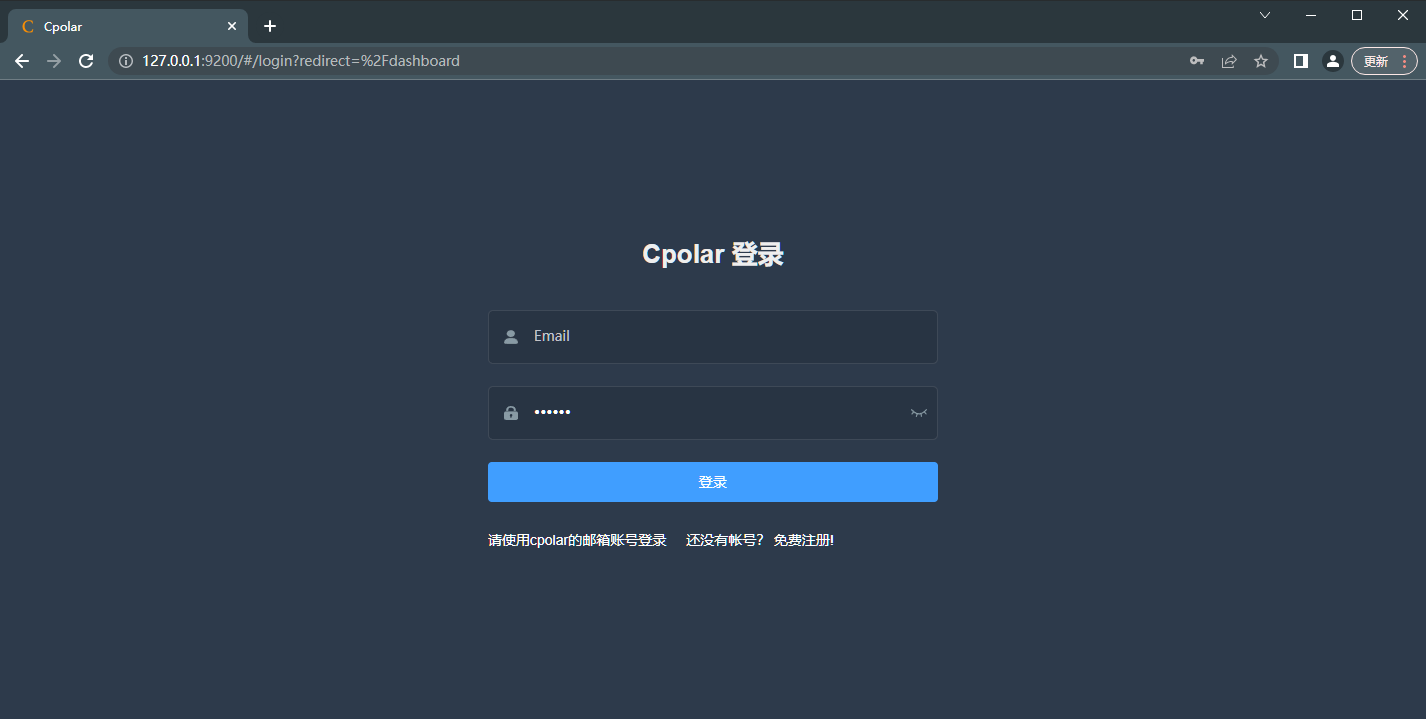
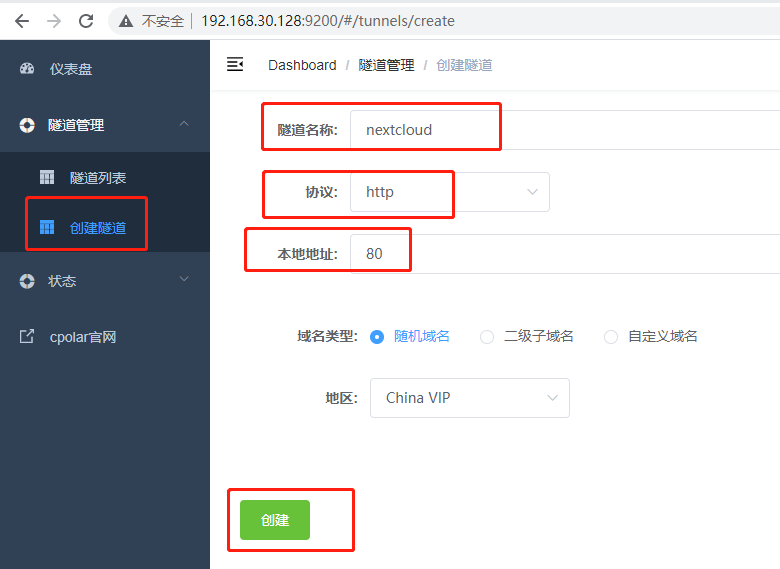
Click Tunnel Management – Create Tunnel on the left dashboard:
- Tunnel name: customizable, taking care not to repeat
- Protocol: http
- Local address: 80
- Port type: random domain name
- Region: China vip
Click to create
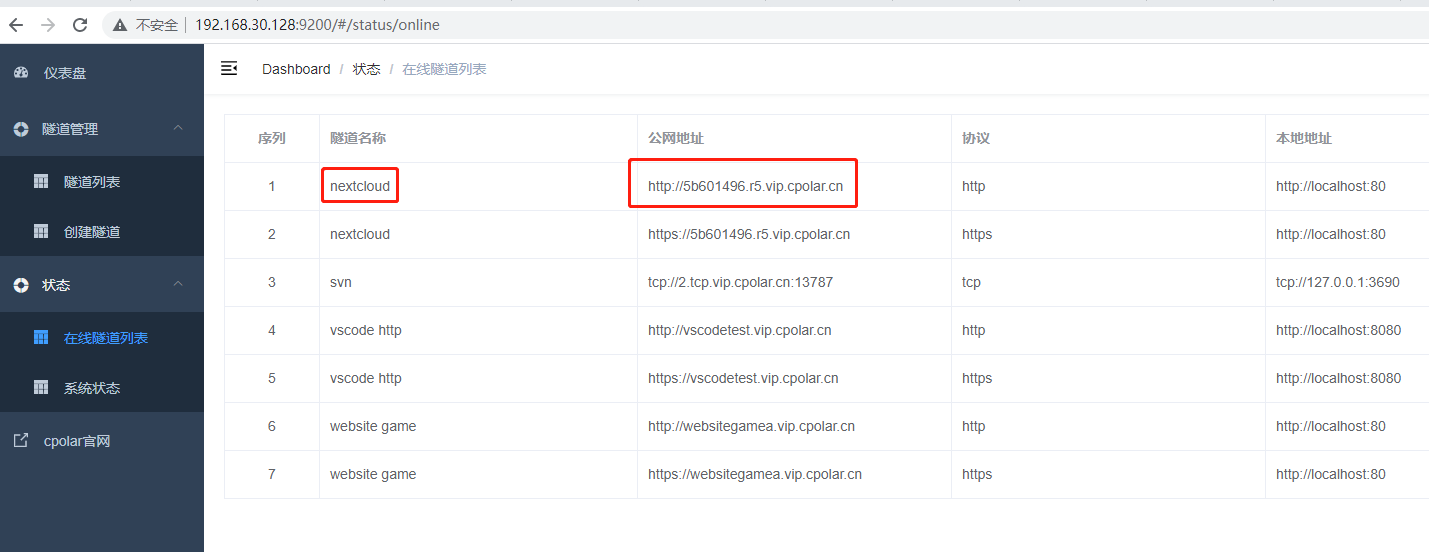
After the tunnel is successfully created, click on the left side of the status – online tunnel list, you can see that the tunnel has just been created to generate the corresponding public address, copy it down, and then test access to it.
3.3 Testing public network access
When I open my browser to access the public address I just copied, the following message appears: Accessing from an untrusted domain. The problem is that nextcloud restricts the way of access, and only supports LAN ip access.
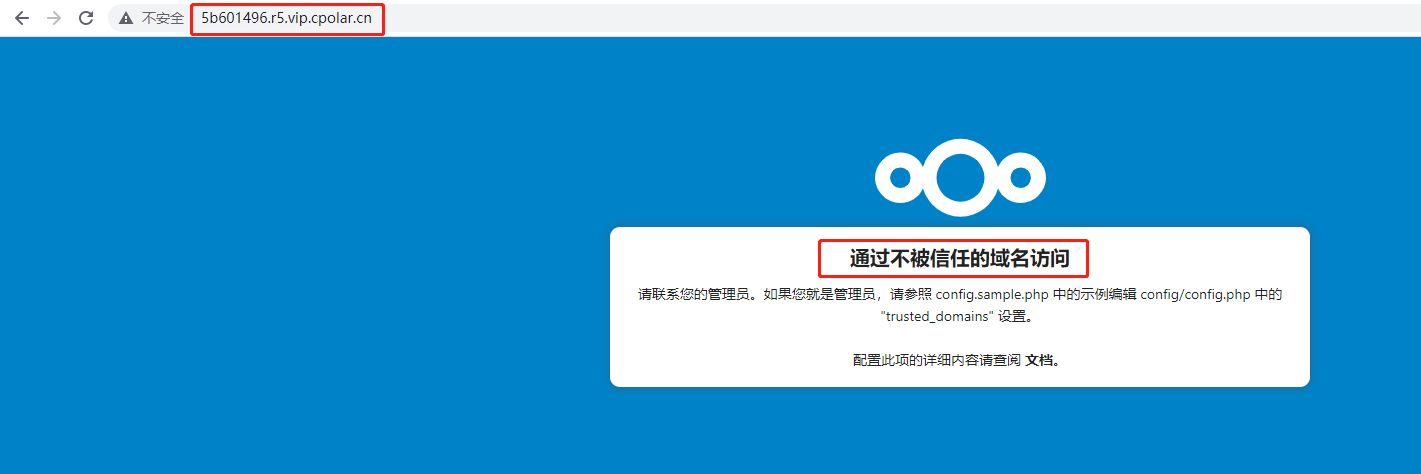
Solution, add an access method:*.*.*.*, indicating no restriction on access modalities
sudo nextcloud.occ config:system:set trusted_domains 1 --value=*.*.*.*
Then restart nextcloud
sudo snap restart nextcloud
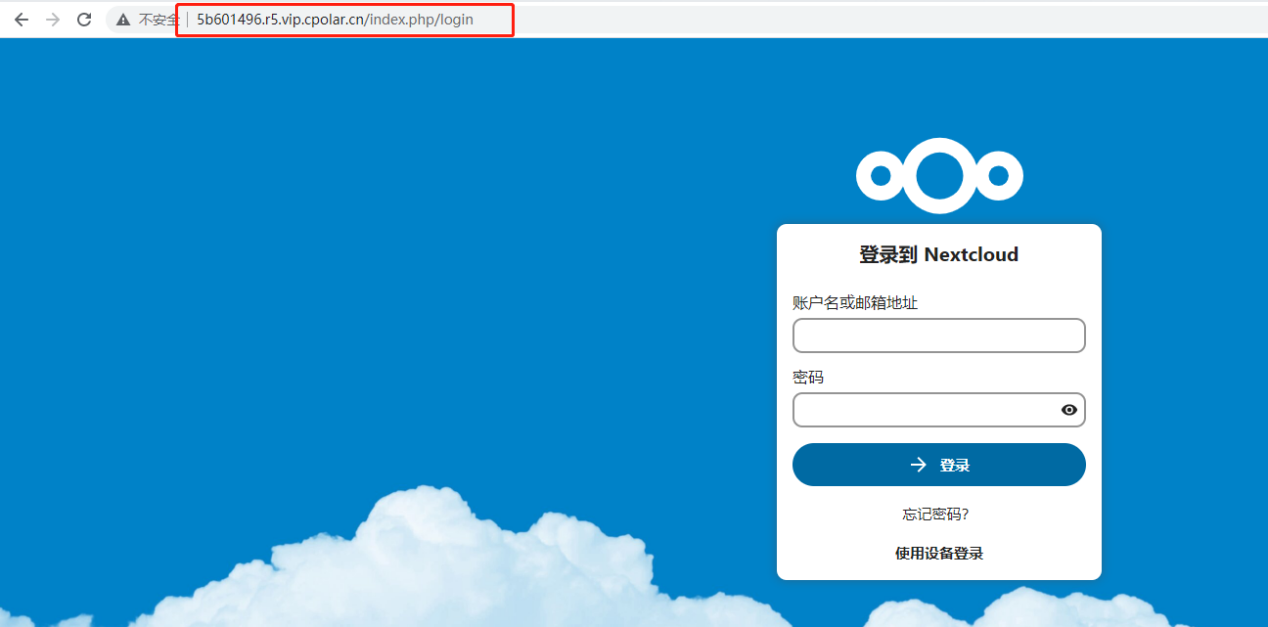
Then just access it again using the public address
4 Configure a fixed http public address
Since the tunnel created above is a random domain name, the generated public address will change randomly within 24 hours, which is inconvenient for long-term access. However, we can configure a fixed second-level sub-domain to access it, and the address will not change randomly.
Note: Configuring fixed second-level sub-domain function requires upgrading to the Basic package or above to support.
4.1 Reservation of a second-level subdomain
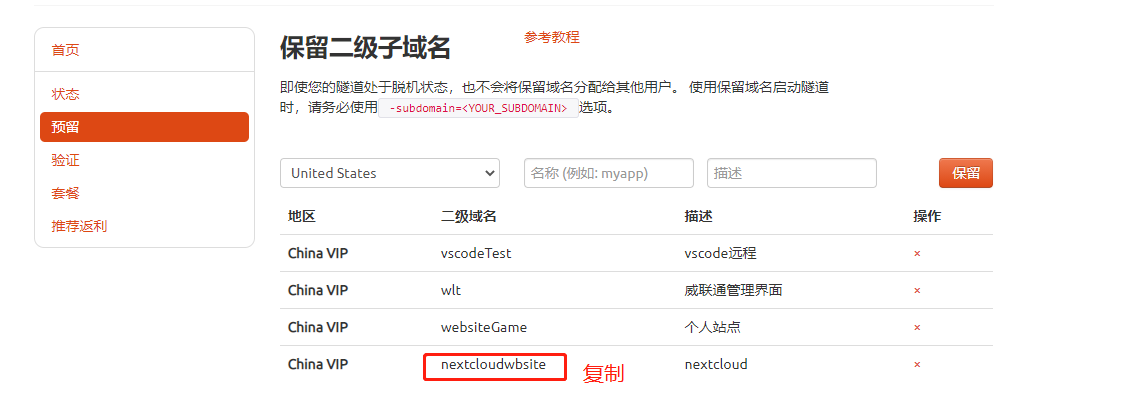
Log in to the backend of cpolar’s official website, click on Reservations on the left side, and find Reserve Second Level Subdomains:
- Region: Select China VIP
- Secondary domain name: customizable
- Description: i.e. notes, can be customized to fill in
Click to reserve
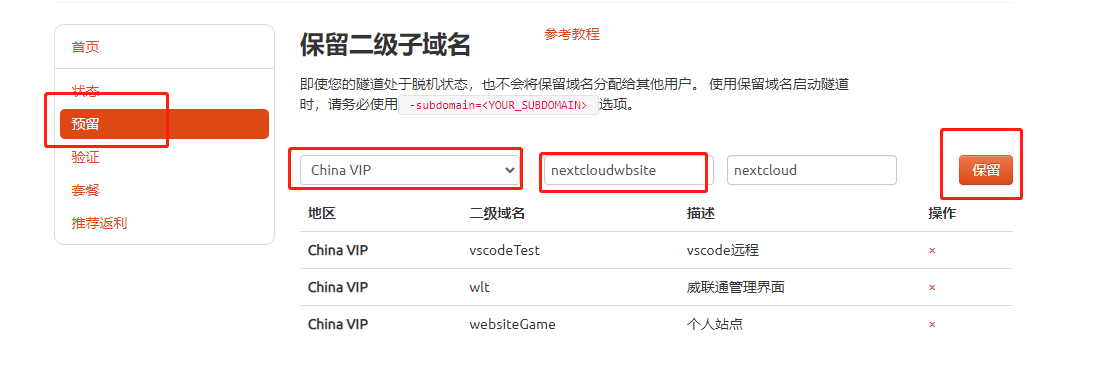
Prompt for successful sub-domain reservation, copy the reserved second-level sub-domains
4.1 Configuring fixed second-level subdomains
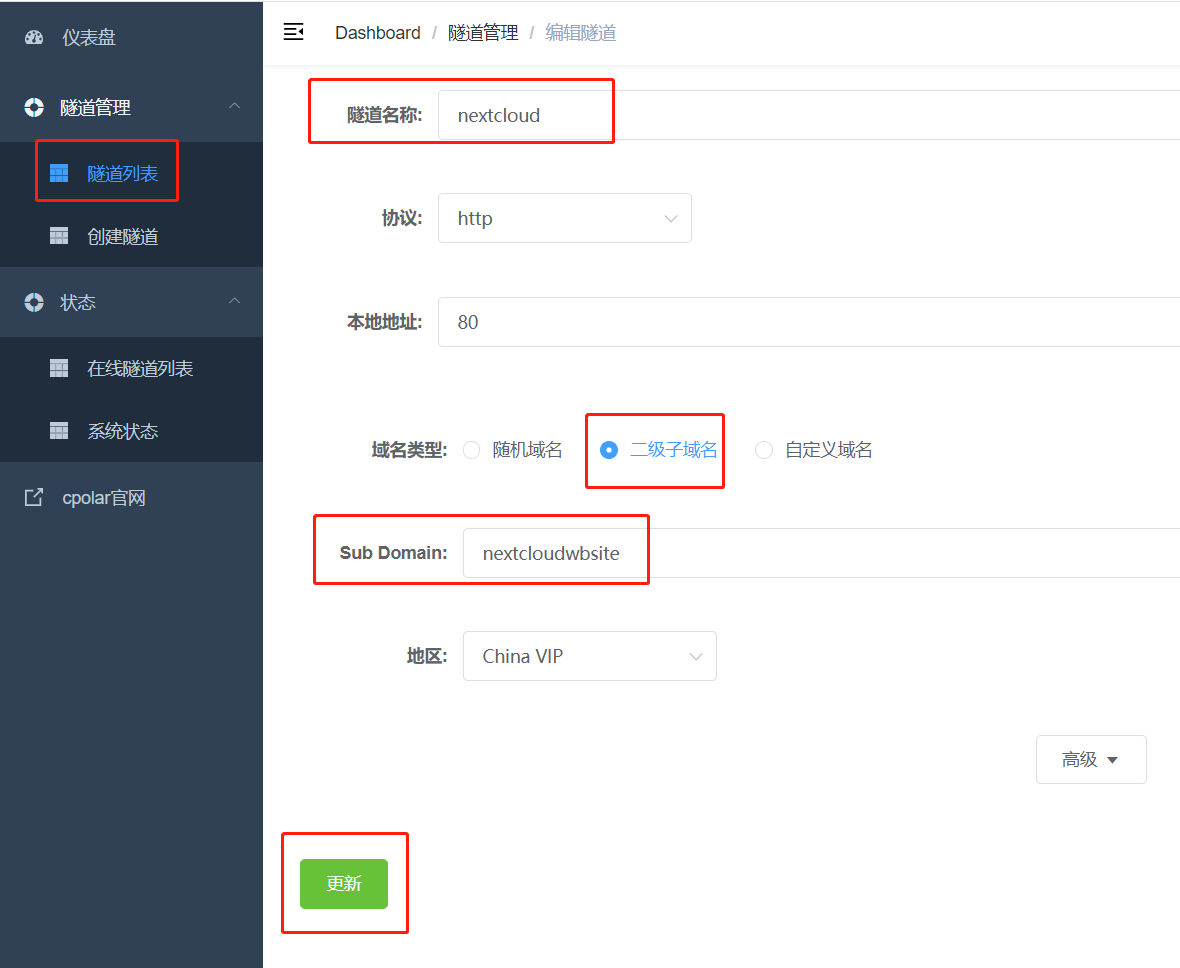
Access local port 9200 to log into the cpolar web UI management interface, click Tunnel Management – Tunnel List on the left dashboard, find the tunnel you want to configure, click Edit on the right side

Modify the tunnel information to configure a successfully reserved second-level subdomain into the tunnel
- Domain type: select a second-level subdomain
- Sub Domain: Fill in the second-level sub-domain name of the successful reservation, in this case, it is :nextcloudwbsite
Click to update
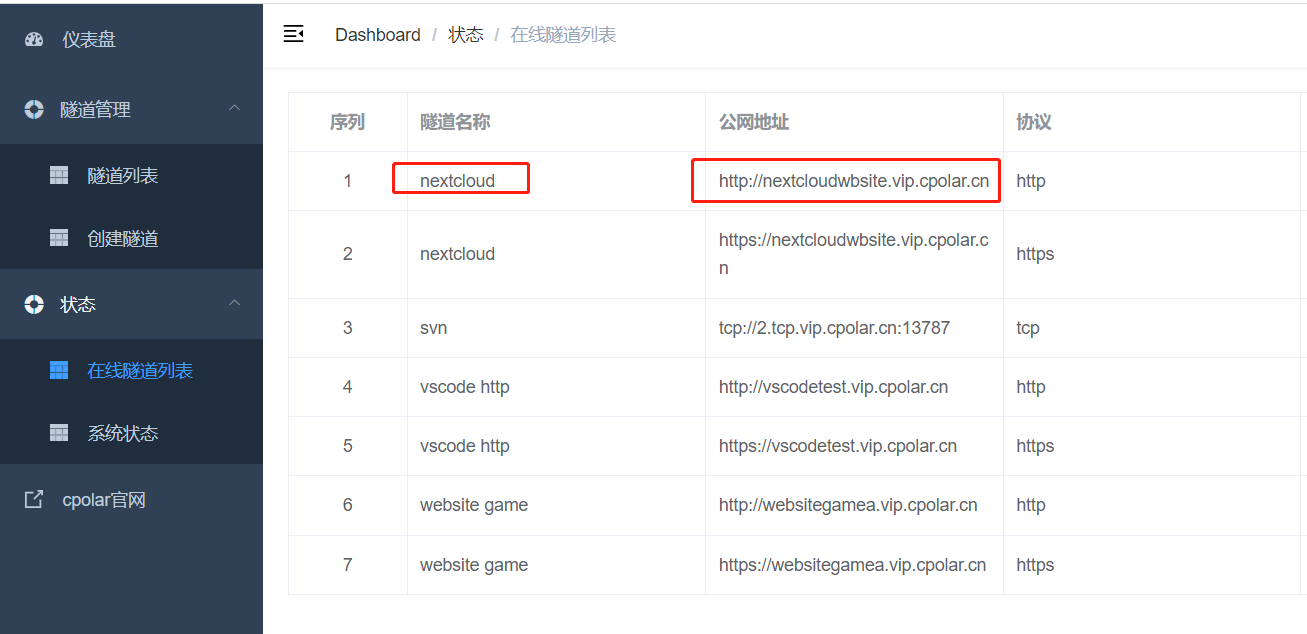
Prompted to update the tunnel successfully, click Status – Online Tunnel List on the left dashboard, you can see that the public address has been updated to the second-level subdomain with successful reservation, copy it down.
4.3 Testing access to fixed second-level subdomains on the public network
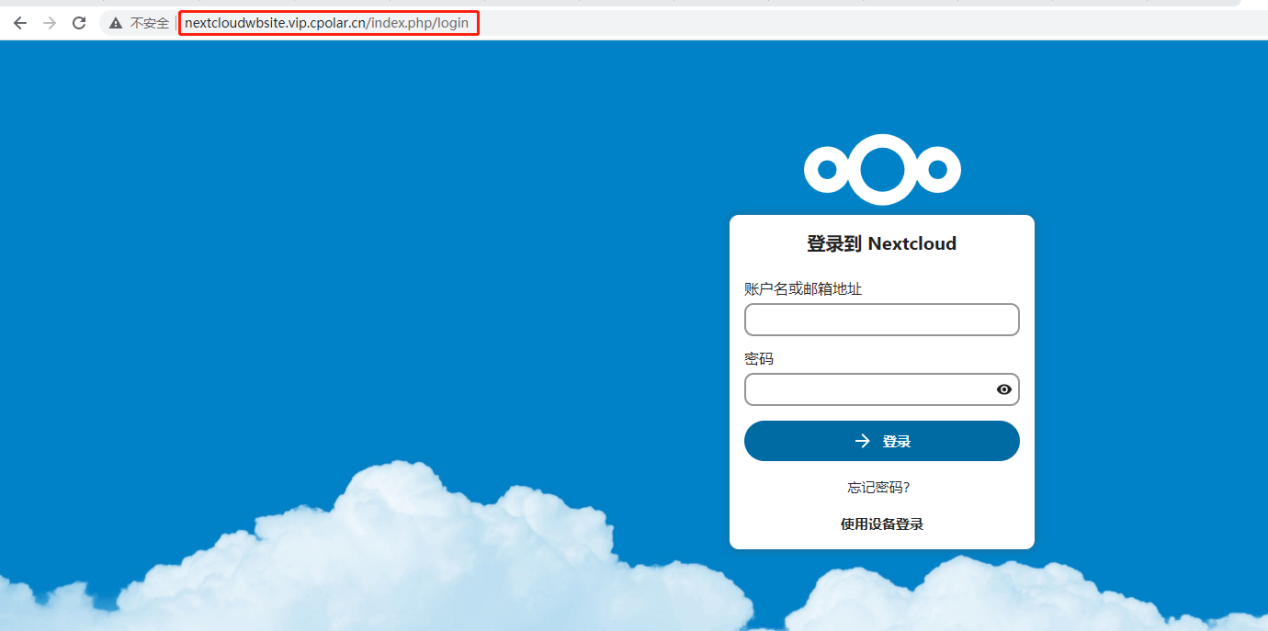
We use any browser, enter the just configured public network fixed second-level subdomain can see our nextcloud, and the address will not be randomly changed.
