ffmpeg installation
FFmpeg is a set of open source computer programs that can be used to record, convert digital audio and video to streams. Under the LGPL or GPL license. It provides a complete solution for recording, converting, and streaming audio and video.
There are four ways to install ffmpeg, namely apt installation, precompiled version installation, source installation and conda installation.
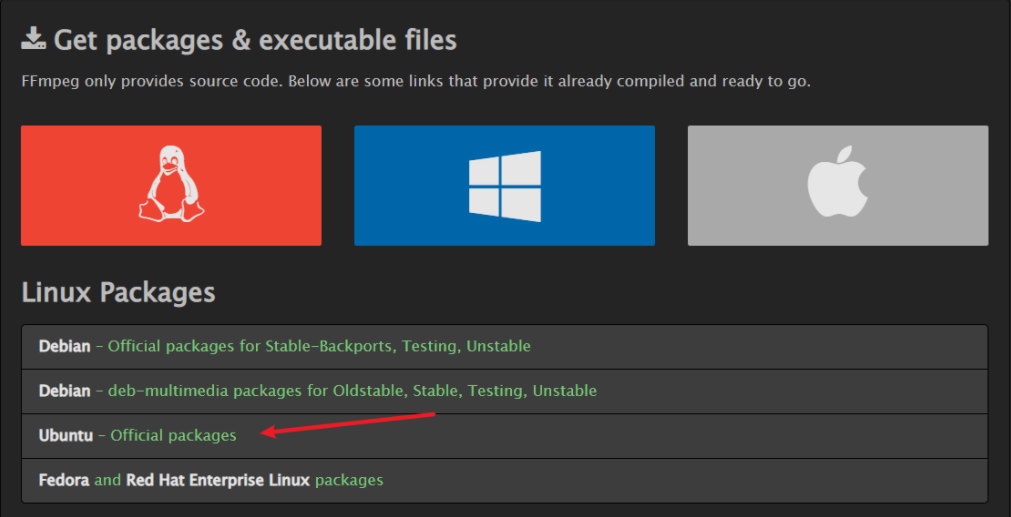
1. apt installation
sudo apt-get update

sudo apt-get install ffmpeg or sudo snap install ffmpeg

# Uninstallation
apt-get remove ffmpeg or apt-get purge ffmpeg

# See where ffmpeg is located
which ffmpeg
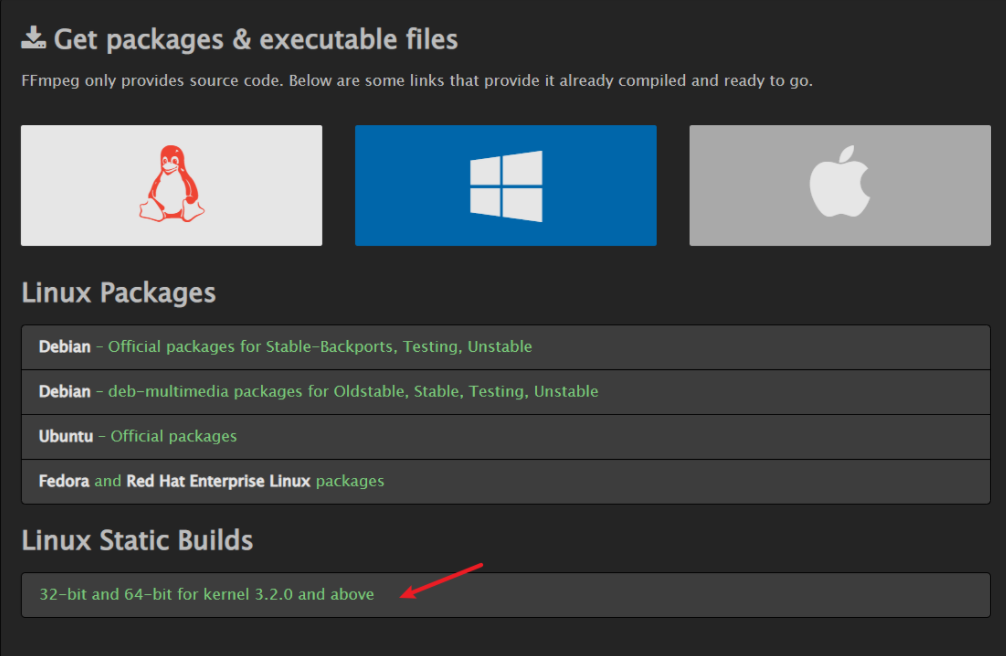
2. Pre-compile installation

Continue to decompress the downloaded file:
tar -xf ffmpeg-release-amd64-static.tar.xzAfter that, configure the environment variables
Use vim to go to etc/profile, press i to enter edit mode and add at the end of the text:
export PATH=$PATH: ~/ffmpeg # (just locate the FFmpeg folder, if you don't know where the FFmpeg folder is located, you can use the pwd command to check)After that, reload the config file: the
source etc/profile3. Source code installation
With the other three ways to install, there will be a lot of codecs can not be used, so if you want to use other codecs have to use the source code to install, according to their own needs to change the configure configuration file.
Before installing the source code, you should first install various dependency packages, otherwise you will not be able to use many features if you install the source code directly.
sudo apt install aptitude

# Install gcc and g++, compilers for c and c++ respectively.
sudo aptitude install build-essential

# Install yasm and nasm. These are two assemblers, which are needed to compile FFmpeg.
sudo aptitude install yasm nasm

# Installation dependencies, FFmpeg installation depends on many libraries (e.g., audio encoding libraries, audio decoding libraries, video codec libraries, etc.)
sudo apt-get install libgmp3-dev
sudo apt install pkg-config
sudo apt install gnutls-bin
sudo aptitude install libaom-dev
sudo aptitude install libass-dev
sudo aptitude install libbluray-dev
sudo aptitude install libfdk-aac-dev
sudo aptitude install libmp3lame-dev
sudo aptitude install libopencore-amrnb-dev
sudo aptitude install libopencore-amrwb-dev
sudo aptitude install libopenmpt-dev
sudo aptitude install libopus-dev
sudo aptitude install libshine-dev
sudo aptitude install libsnappy-dev
sudo aptitude install libsoxr-dev
sudo aptitude install libspeex-dev
sudo aptitude install libtheora-dev
sudo aptitude install libtwolame-dev
sudo aptitude install libvo-amrwbenc-dev
sudo aptitude install libvpx-dev
sudo aptitude install libwavpack-dev
sudo aptitude install libwebp-dev
sudo aptitude install libx264-dev
sudo aptitude install libx265-dev
sudo aptitude install libxvidcore-dev
sudo aptitude install liblzma-dev

# The above dependencies are installed using apt-get as well
3.1 Download ffmpeg source code
Address: https://ffmpeg.org/download.html#build-linux


Decompress the downloaded zip file
tar -xvf ffmpeg_4.4.orig.tar.xz

3.2 Compilation
3.2.1 Configuring compilation parameters
Go to the source folder and execute the following command
./configure --prefix=buildout --enable-gpl --enable-version3 --enable-libspeex --enable-libmp3lame --enable-libvorbis --enable-shared --enable-libfdk-aac --enable-libass --enable-libfontconfig --enable-libfreetype --enable-libopencore_amrnb --enable-libopencore_amrwb --enable-libopus --enable-libtheora --enable-libtwolame --enable-libvpx --enable-libx264 --enable-libx265 --enable-libxvid --enable-nonfree
If an error is reported, install the dependencies according to the corresponding error; after the configure command is successfully executed, execute it in the source directory:
make
make install
Among them, the make command takes longer to execute, just wait for the compilation to complete.
After the compilation is complete, there will be an extra buildout folder in the source directory, which generates four folders: bin, include, lib and share.
3.3 Configuring Environment Variables
Use the vim command to go to the etc/profile file and configure the following commands, making the corresponding changes according to your installation path
export LD_LIBRARY_PATH=$LD_LIBRARY_PATH:/root/cmm/ffmpeg-4.4/buildout/lib
export PATH=/root/cmm/ffmpeg-4.4/buildout/bin:$PATH
After that, reload the config file: the
source /etc/profile3.4 Validation
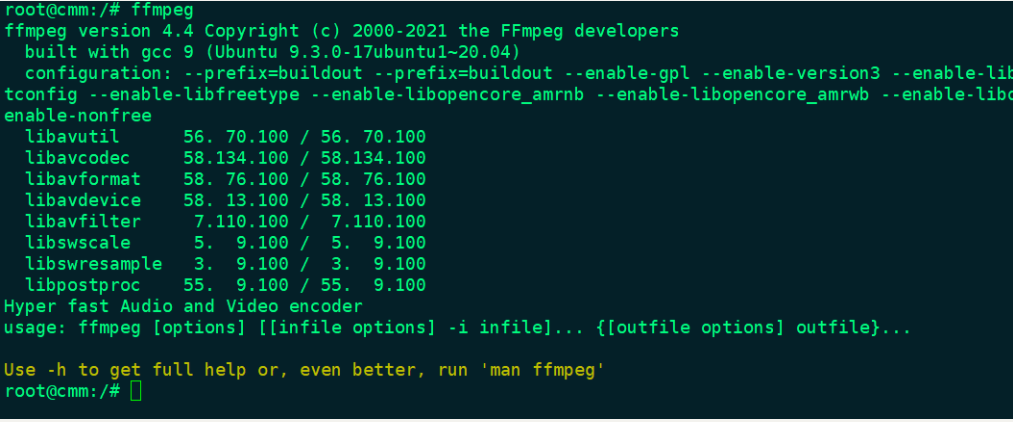
Enter the command ffmpeg, if the following screen appears, it means the configuration is successful

4.conda installation
To fuel with more audio-decoding power, you can install ffmpeg which ships with many audio decoders. Note that conda users on Linux and OSX will have this installed by default; Windows users must install ffmpeg separately.
audioread
If the librosa library is installed, conda users on Linux and OSX will have this software installed by default; Window users must install ffmpeg separately, or you can install it directly using conda.
conda install -c conda-forge ffmpeg5. Reference
- https://blog.csdn.net/liupenglove/article/details/100903564
- https://www.cnblogs.com/wanghuixi/p/7630737.html
- https://www.cnblogs.com/yjq520/p/10592958.html
- https://www.cnblogs.com/carle-09/p/11736390.html
